The M2 Quick Start Guide
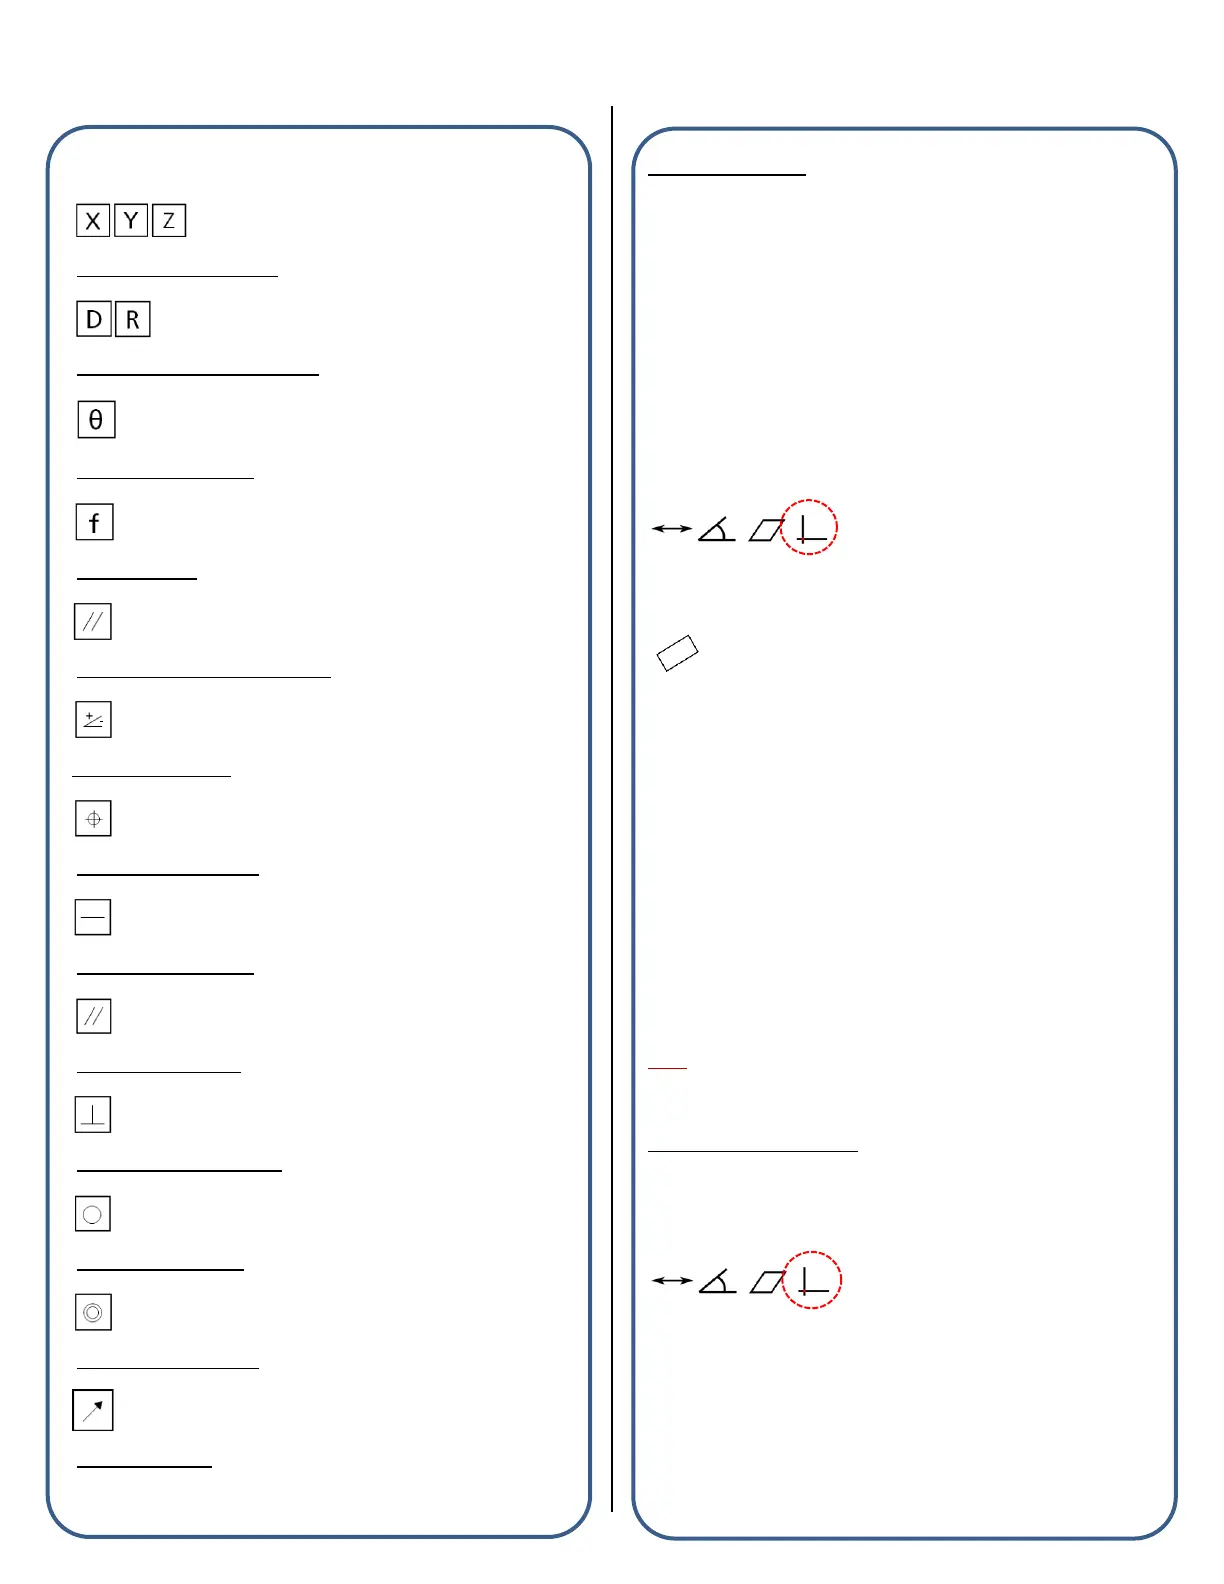
Tolerance Symbols:
X/Y/Z Positional Tolerance
Diameter/Radius Size Tolerance
Theta(Angle) Tolerance
Form Tolerance
Parallelism Orientation Tolerance
Angularity Tolerance
True Position Tolerance
Straightness Tolerance
Parallelism Tolerance
Perpendicularity Tolerance
Roundness Tolerance
Concentricity Tolerance
Runout Tolerance
Datum Features:
Datuming in the M2 software is accomplished using any of a variety of
alignment operations. These operations may be used individually or in
combination, and will be based upon the capability of the measuring
machine, as well as the particular alignment requirements of the
application.
“Part Skew” Example
The M2 software supports skew or secondary alignment and can be
explicitly measured using the following procedure:
■ Select a Video Probe from the probe menu.
■ Press the “Datum” toolbar button to access the datum submenu.
■ Press the “Measure Skew” button to initiate the explicit skew
measurement or skew construction.
■ Probe at least (2) points on the line to apply skew to, or select the
features from the feature list or part view that you would like to
construct the skew line from.
■ Press “Done” to complete the skew measurement.
Note: Previously measured or constructed features can also be used
to apply skew by manually zeroing the theta angle coefficient and X or
Y axis coefficient. Pressing the label buttons to the left of these
coefficients, in either the feature detail screen or the mini-DRO view
port, sets the corresponding value to zero.
“Part Datum” Example
The M2 software supports setting a Datum(Origin) point and can be
performed using the following procedure:
Note: Setting a datum position is typically performed on a previously
constructed or measured feature. Datum points can be explicitly
measured as well using the “Measure Datum” button.
“Datum Construction” Method
■ Press the “Datum” toolbar button to initiate the datum procedure. The
system is now prepared to set an existing feature to the datum or to
explicitly measure a datum position.
■ Select the feature that you would like to set as the Datum Zero
position.
■ Press “Done” to apply the datum to the selected feature.
Note: As in the example of skew, the datum can be manually zeroed
using the X,Y, or Z DRO buttons from a features detail view.
 Loading...