7. Connectors
8. Reset button
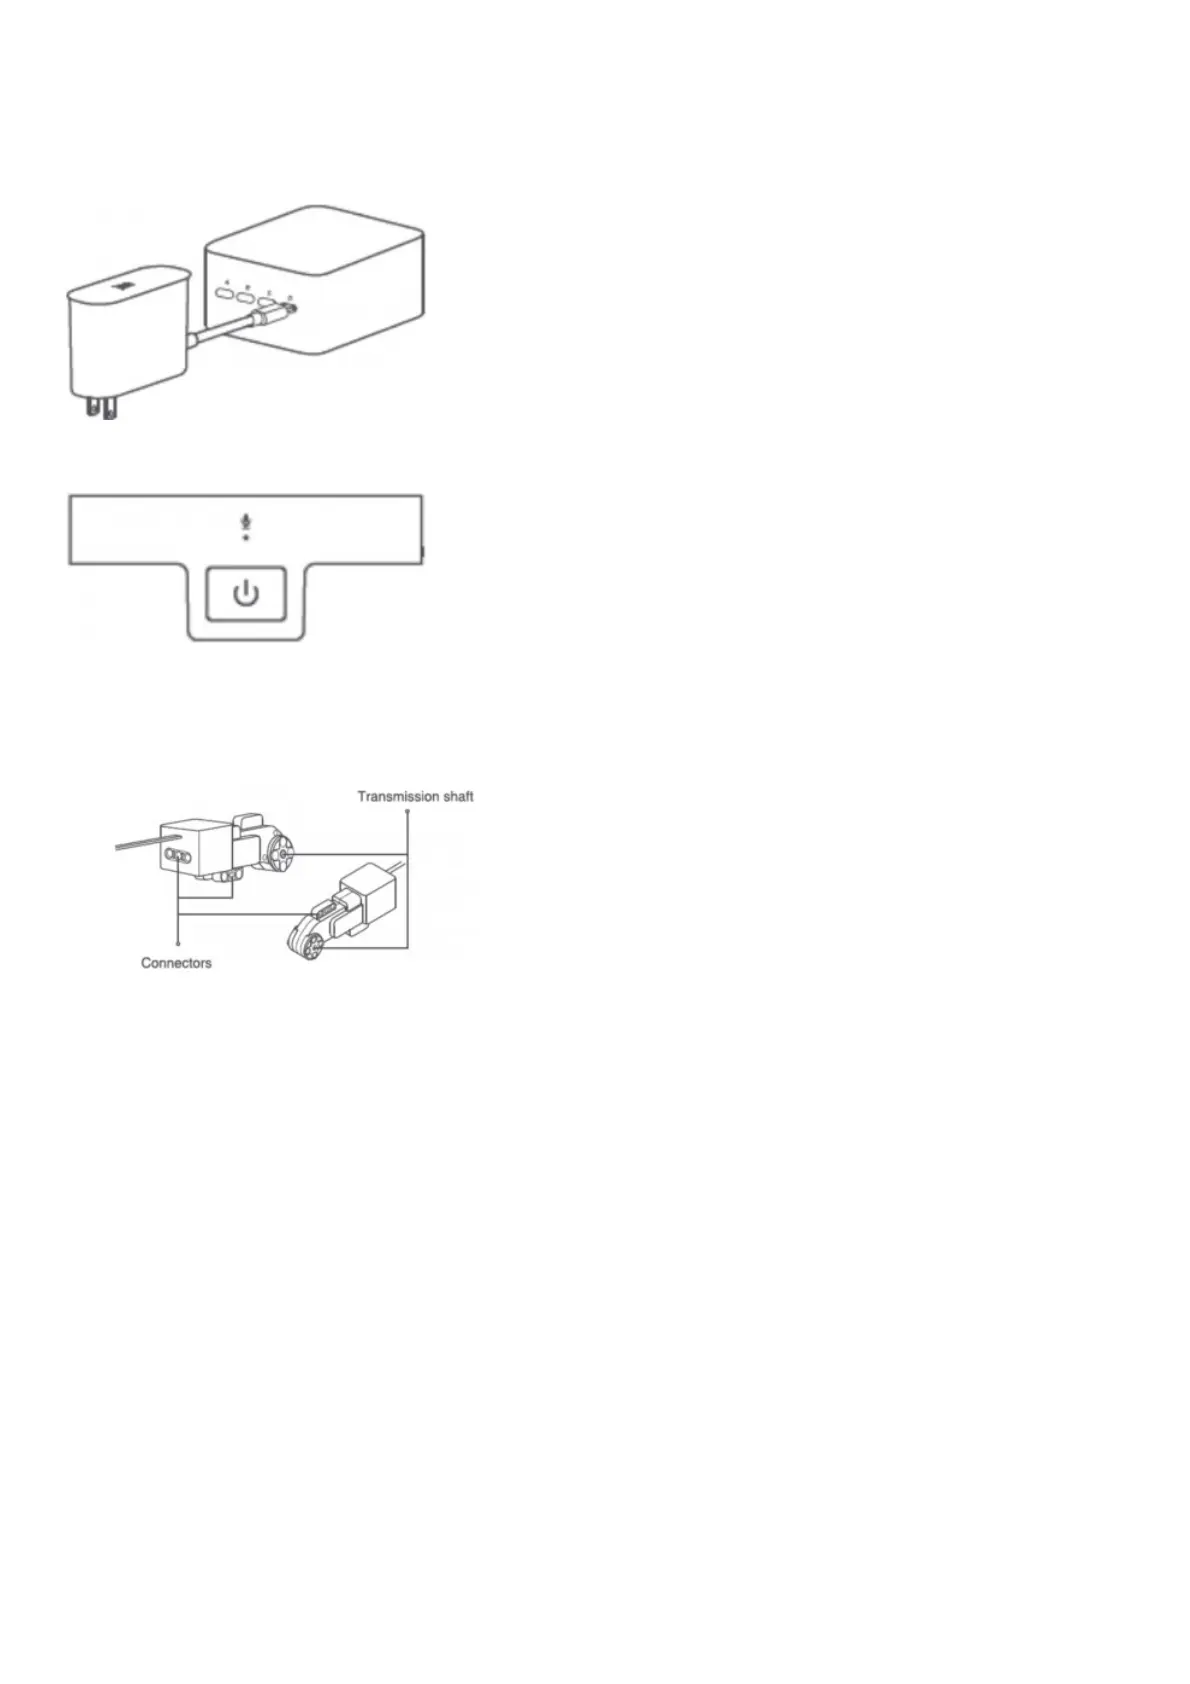
2. Adapter
Only use the power adapter that comes with your Mi Robot Builder.
Ports A, B, C, and D can be used for charging
Charging: Red light
Fully charged: Green light
3. Motor
Transmission shaft, Connectors
Assembling Mi Robot Builder
1. Before you start
Put smaller blocks in the storage box, and large blocks in the block bags.
2. Assembling blocks
Follow the building instruction. You can also find its electronic version in the Mi Robot Builder app.
3. Inspecting your robot
1. Fully charge the controller when you use the robot for the first time.
2. Make sure that the motor is connected tightly.
3. Mi Bunnies on the motor and the controller should be facing the same direction.
4. Double check if you followed the building instruction properly and didn’t miss any steps.
How to turn Mi Robot Builder on
1. Choose an open level floor with enough room for your robot.
2. Place your robot on the floor vertically.
3. Press the power button. Your robot will turn on, adjust its gravity center, and balance itself.