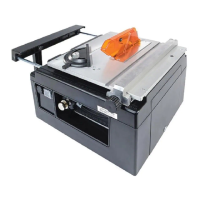
A Note about Saw Blades
When installing a new saw blade, it is crucial to identify the proper orientation of
the blade. While some blades are marked with a directional arrow, others are not.
T
o avoid any confusion, the best way to identify the proper direction of blade rotation
is to look at the blade’s teeth. They should always point towards the front of the saw
(from the 12:00 to 9:00 position) as shown.
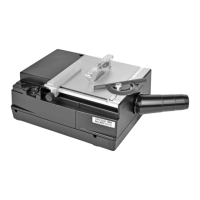
Mounting the Saw
T
o use the saw safely, accurately and
successfully, and to avoid vibration, it must be
secured to your work surface. Securing the saw
is straight-forward and relatively easy using one
of the methods below:
• Use the specially designed C-clamps provided
with the saw to quickly and easily secure it to
work surfaces up to 1-7/8” thick. Add a wood
spacer block if your work surface is too thin
for the clamps to be tightened securely.
• 3 wood screws (2 long and one short) are
provided to permanently mount the saw to
your work surface. Insert the 2 long screws
through the holes indicated in the top of the
saw on the left side of the housing and the
remaining small wood screw in hole “C.”
Drive the screws into the work surface until
tight (be careful not to over-tighten). You may
also consider using these screws to mount
the saw onto a piece of 3/4” plywood and
then clamp the entire assembly to your work
surface for a less-permanent option.
• Our optional #81387 Easy-Mount Bench
Bracket attaches to the saw and provides a
quick and easy way to mount the saw to work
surfaces up to 2” thick. Foam pads protect the
surface from damage.