ON
OFF
AC IN
INPUT 1 INPUT 2
L- L+
R
L
L SPEAKER
BASSTREBLE
INPUT
INPUT1 INPUT 2
ON
OFF
AC IN
INPUT1 INPUT 2
L- L+
R
L
L SPEAKER
BASSTREBLE
INPUT
INPUT1 INPUT2
L
3
R
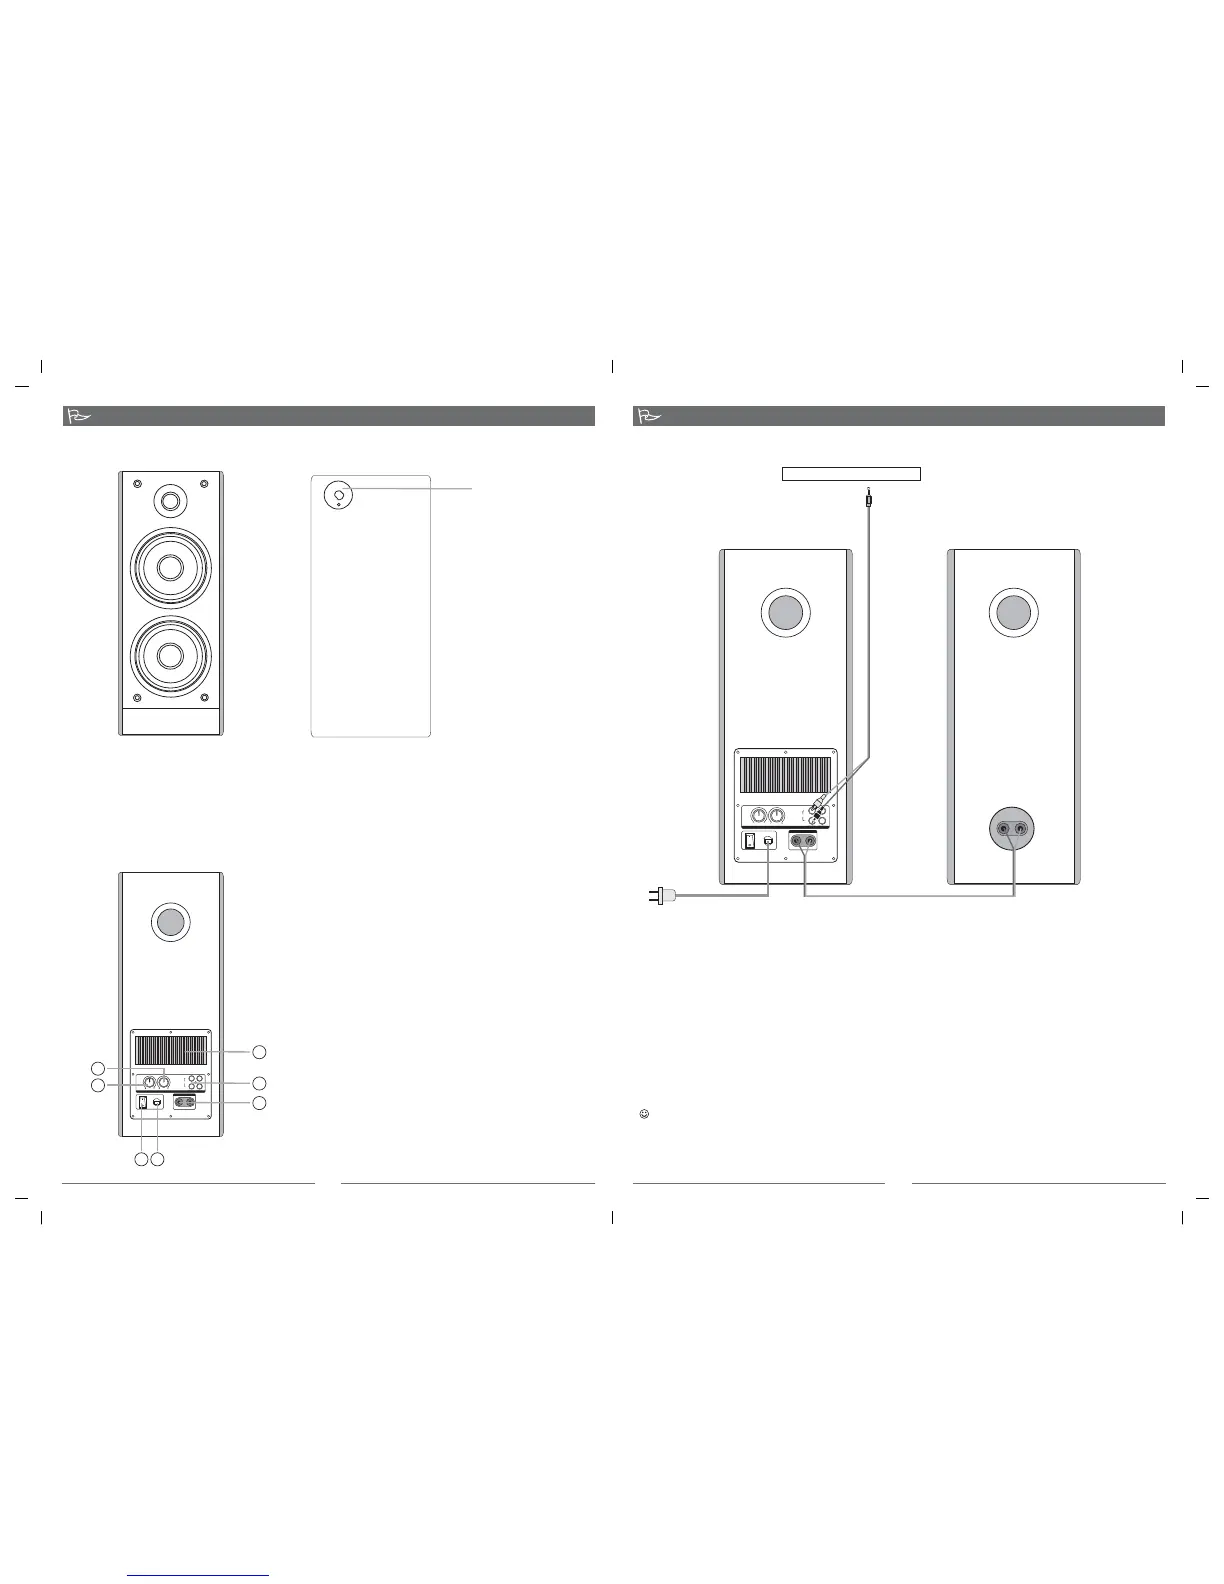
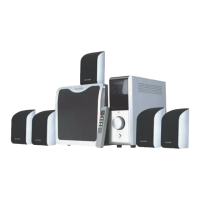
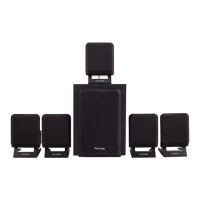
System Connection
To sound card CD MP3,etc、、
4
1.Connect one end of the translucent speaker cable to the audio input screw terminal on the back of
the sub speaker. the golden wire connect to red screw terminal. the silvery connect to black
screw terminal, the other end to the L-speaker Audio output screw terminal on the back of the main
speaker.
2.Connect the RCA plug of the audio cable (one end with RCA plug, the other end with 3.5mm stereo
plug) to the audio input socket of the main speaker, the 3.5mm stereo plug to the audio output
socket of PC or other audio equipment.
3. While connecting to such as CD player, MP3 or PC, etc., please connect the audio cable to Input 1;
while connecting to such as VCD or DVD player, etc., please connect the audio cable to Input 2.
4. Make sure all the cable are connected correctly, then connect the power cord to AC outlet.
wire
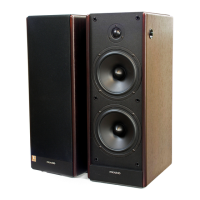
*Front View
*Back View
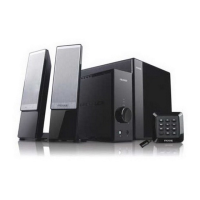
Function Instruction
1.
2.BASS CONTROL
Turn the bass control at the center, adjusting
the bass control to your demanding level
3.TREBLE CONTROL
Turn the treble control at the center, adjusting
the treble control to your demanding level
4.INUPUT
2.0 channel signal input jack
5.OUTPUT
To L speaker
6.
7.POWER CORD
HEAT SINK
POWER
Press the switch ON or OFF
1
4
5
2
3
6
7
VOLUME CONTROL
Adjust the speaker system's volume, turn the volume control
anti-clockwise to minimum, adjusting the volume control to
your demanding level
VOLUME CONTROL
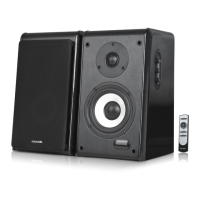
*Please note the correct placement of speaker is shown in the above picture.
Statement indicating that the socket-outlet shall be installed near the equipment and shall be
easily accessible.
The highest environmental temperature suitable for this product is 40℃
80- -97-0001-03 08-11-21 SOLO7(07 )SOLO7