Dear Customer,
Thank you for purchasing CD.
This unit provides ease of use and sonics of the highest quality. Please pay close attention to this instruction manual, and
read it fully before attempting to operate. It is designed to ensure that you maximise your pleasure of CD and familiarise
you with its many unique functions.
CHECKING
Check that the carton has no damage. Should you have any
doubt about its condition, please do not hesitate to contact your
dealer.
UNPACKING
Very carefully remove the unit from the box, taking care to
preserve all the packing material. It is good practice to put the
carton and its contents into an outer plastic bag and deposit it
somewhere safe and dry. In the unlikely event that your unit
needs to be sent back to either your dealer or distributor, it must
be sent in the original packing material. Failure to observe this
will invalidate your warranty.
ACCESSORIES
Upon opening the carton you should find the following:
Mains Lead.
Stereo Cinch cable
Remote control Handset and 2x AAA batteries.
MAINS VOLTAGE
Check that the mains voltage indicated on both the carton
and the rear of the unit correspond to the local power supply
If you are in any doubt, consult your dealer.
INSTALLATION
In order to obtain the maximum performance of CD, it is
important to follow the installation instructions.
Wherever possible, we recommend that CD is installed in an
audio rack or other suitable furniture that provides sufficient
ventilation.
CONNECTIONS
Having verified that the ON/OFF switch is on OFF position,
connect the mains leads provided to the rear of the unit and to
the wall socket.
Connect the interconnect cable from the rear of CD to your
amplifier input. Connect the Digital out if required.
POWER UP
You may now turn on CD by switching the ON/OFF switch
located at the back of the unit.
The central LED lights up indicating that the unit is in Standby
mode. Press once the CD key of the remote control or the
STANDBY key of the unit. The display indicates:
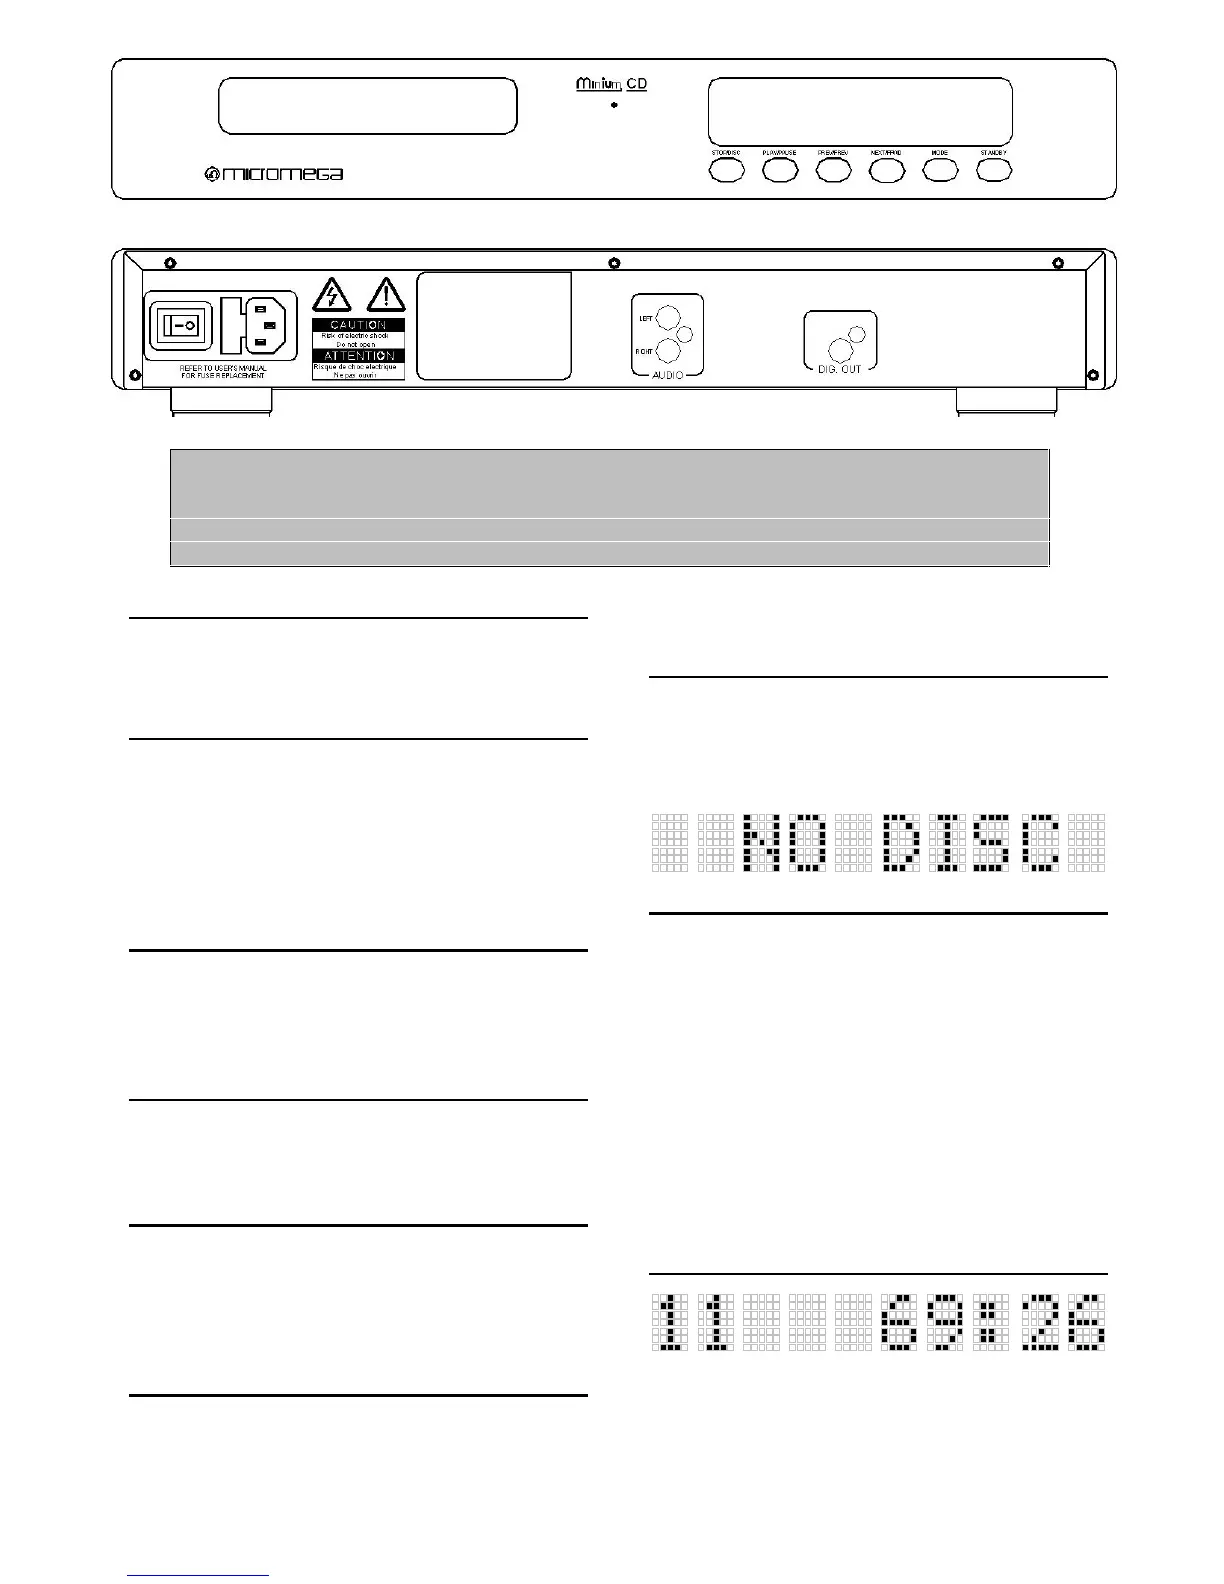
CD FRONT PANEL
STAND-BY : To switch the unit in and out of Standby mode.
A red LED located below the central logo illuminates when in
Standby mode.
MODE : To switch the Digital output on and off.
NEXT/FFWD : Selection of the Next track and Forward
search during play.
PREV/FREV : Selection of the Previous track and Reverse
search during play .
To replay the current track during play.
PLAY/PAUSE : To start Play and to Pause during play.
STOP/DISC : To Stop play, to clear a program in Stop mode
or to Open and Close the cd tray.
DISPLAY
The display indicates :
On the left side track indication,.
In the middle the status of the unit
On the right side the time in minutes and seconds.
 Loading...