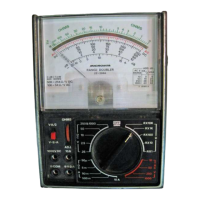
Micronta 22-204A range doubler multimeter instructions,manual, circ... file:///C:/Documents%20and%20Settings/Owner/My%20Documents/aj...
3 of 7 02/05/2010 16:45
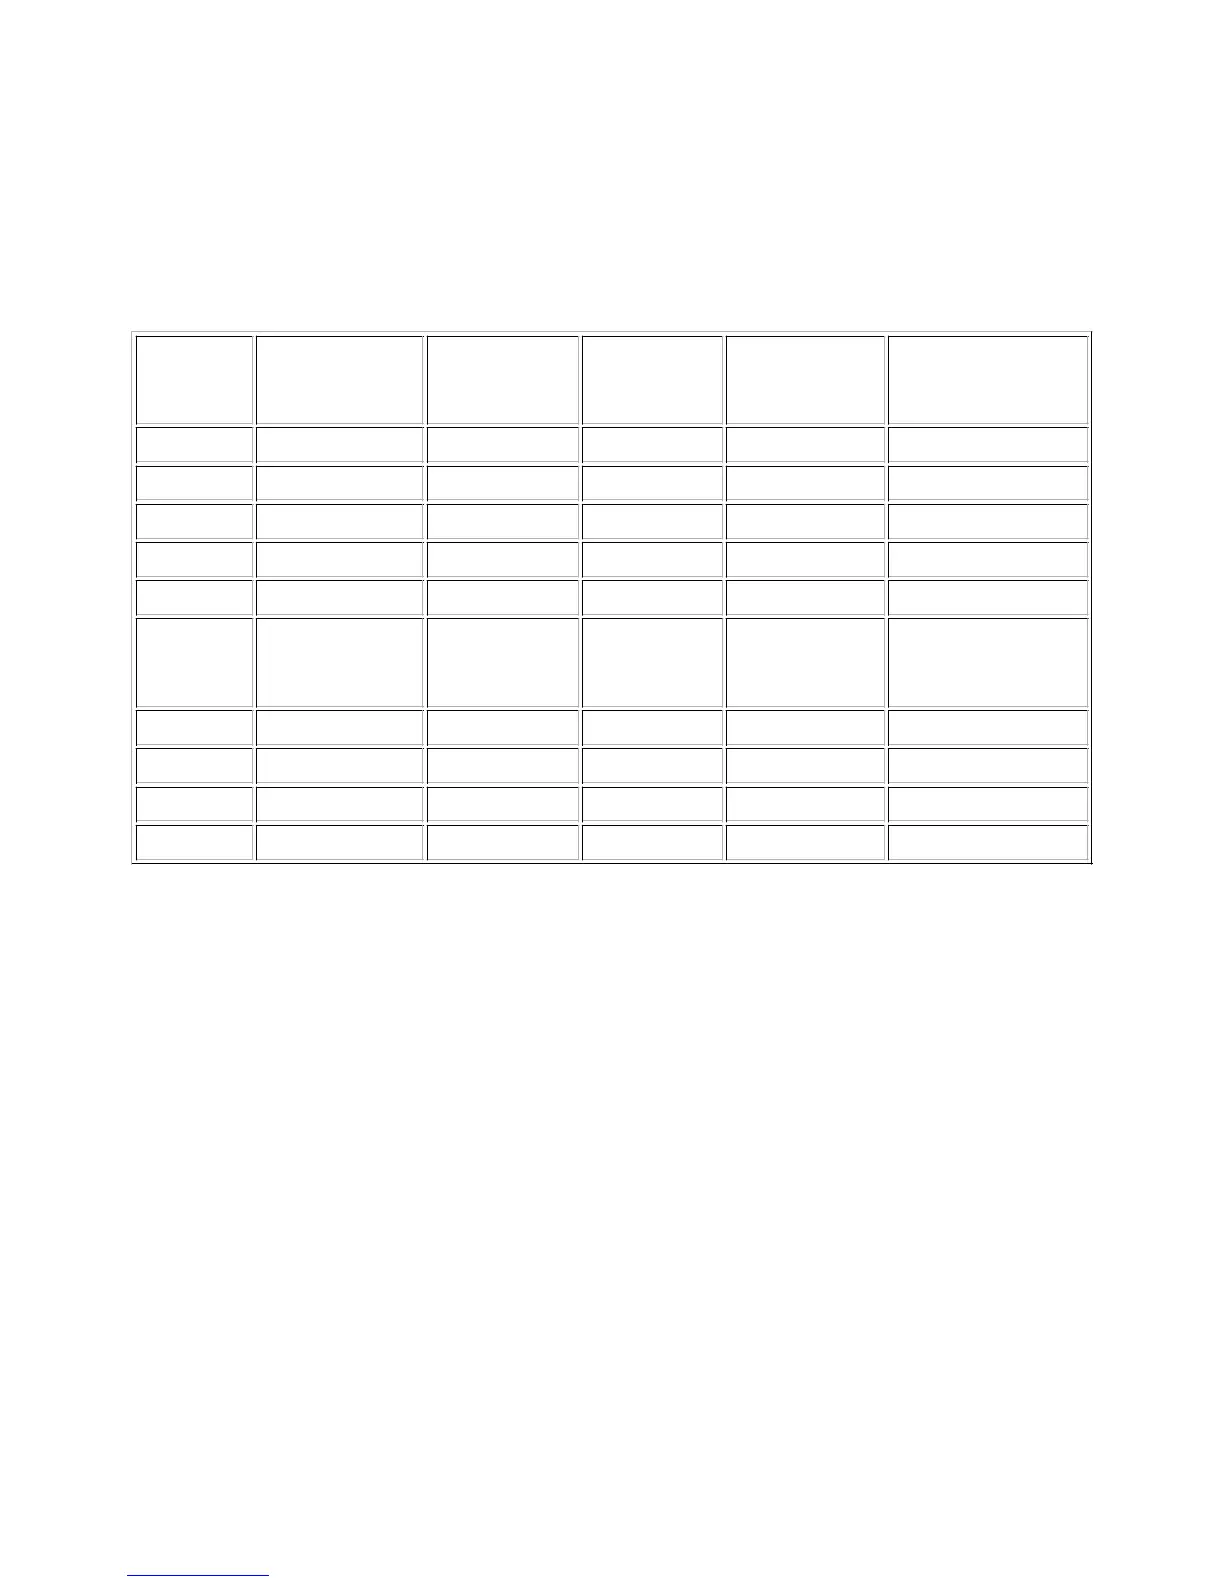
Measured sensitivity
The resistance values in this table are from measurements of 22-024A using a calibrated digital meter,
other 22-024A meters are probably very similar.
This is typical for a reasonable analog meter, better than the cheapest little analog meters. This is not a
FET input meter, it loads the circuit under test significantly more than a modern digital meter which are
typically 10Megaohm or higher imput impedance on all ranges.
Range
V for full
scale, "V.A/2"
mode
Normal
"V-Ω-A"
"V.A/2"
mode
sensitivity,
normal mode
sensitivity "V.A/2"
mode
0.25VDC 0.125VDC 6.17Kohm 6.1Kohm 24.6Kohm/volt 48800ohms/volt
2.5VDC 1.25VDC 62Kohm 62Kohm 24.8Kohm/volt 49.6Kohm/volt
10VDC 5VDC 250Kohm 250Kohm 25Kohm/volt 50Kohm/volt
50VDC 25VDC 1.27Mohm 1.27Megaohm 25.4Kohm/volt 50.8Kohm/volt
250VDC 125VDC 6.24Mohm 6.23Megaohm 24.9Kohm/volt 49.8Kohm/volt
1000VDC
(other
socket)
500VDC 24.8Megaohms 24.8megaohm 24.8Kohm/volt 49.6Kohm/volt
10VAC 5VAC 57.9Kohm 56.9Kohm 5.8Kohm/volt 11.4Kohm/volt
50VAC 25VDC 269Kohm 268Kohm 5.38Kohm/volt 10.72Kohm/volt
250VAC 125VAC 1.27Megaohm 1.27Megaohm 5.08Kohm/volt 10.1Kohm/volt
1000VAC 500VAC 5Megaohm 4.99Megaohm 5Kohm/volt 10Kohm/volt
USING YOUR MULTITESTER
DO NOT PUT THE PROBES ACROSS A VOLTAGE SOURCE WITH THE METER SET TO
CURRENT OR OHMS.
Unlike most modern meters, the 22-204A does not have any internal fuses, you will burn resistors inside
the meter if you put is across a power supply with it set to read current or resistance.
Remove the back of the Multitester and install the batteries. Be careful to observe battery polarity.
To avoid electric shock, disconnect measuring terminals before removing battery.
For most accurate readings, keep the meter laying flat on a non-metallic surface.
If the pointer does not normally rest exactly over "0" at the left side of the scale, adjust the plaster screw in
the lower center of the meter face to bring the needle to "0".
Look at the scale from the point where the pointer and its reflection on the mirror come together; else a
reading error due to parallax will result.
If you can't adjust the pointer for "0" on OHMS scale, it's time for a new battery.
Also, use a Range and Range Doubler switch setting that results in a reading in the upper 1/3rd of the
meter scale.