On a Surface 3, plug the Micro USB connector into the Micro USB charging
port with the power cord extending downward and the light on the power
connector facing toward you. Plug the full-size USB connector into the
power supply.
Step 5:
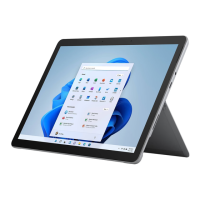
Press and release the power button on your Surface.
Your Surface turns on and Windows setup begins.
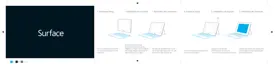
Set up Windows
Windows setup runs the first time you turn on your Surface. Here’s what you need to
do next:
Choose a language, colour and name for your Surface
Choose a language, colour and name for your Surface. It is very important that the
tablet is named correctly for audit purposes. The name of the tablet should be
“Surface-<Asset No>” for example “Surface-45124”. The asset number can be found
under the stand on a silver sticker. If you need any help with this, please call the IT
Service Desk on 0191 208 5999. You can change these settings later if you want. You'll
also need to accept the licence terms to continue.
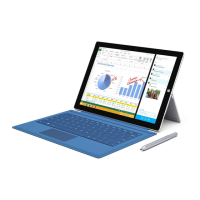
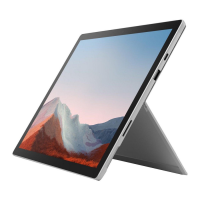
Pair your Surface Pen
Surface Pro 3: Windows will prompt you during setup to pair your Bluetooth
®
-
enabled Surface Pen with your Surface Pro 3.
Step 1:
On the pen, press and hold the top button until the light in the middle of the
pen clip starts to flash.
Step 2:
When pairing is successful, you’ll see Your device is connected on the
screen.
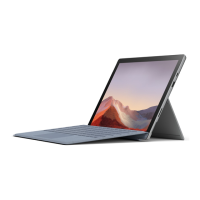
Surface 3: Windows won’t prompt you to pair your Surface Pen with your Surface 3
during Windows setup. Instead, you’ll need to pair it manually after setup. For how-to
info, see Using Surface Pen.
Note
Surface Pen works with Surface Pro 3 and Surface 3 only.