'
This feature lets you remove images or audio from the
camera's memory, allowing you to free up space in
which to store future photos and recordings.
Deleting Current
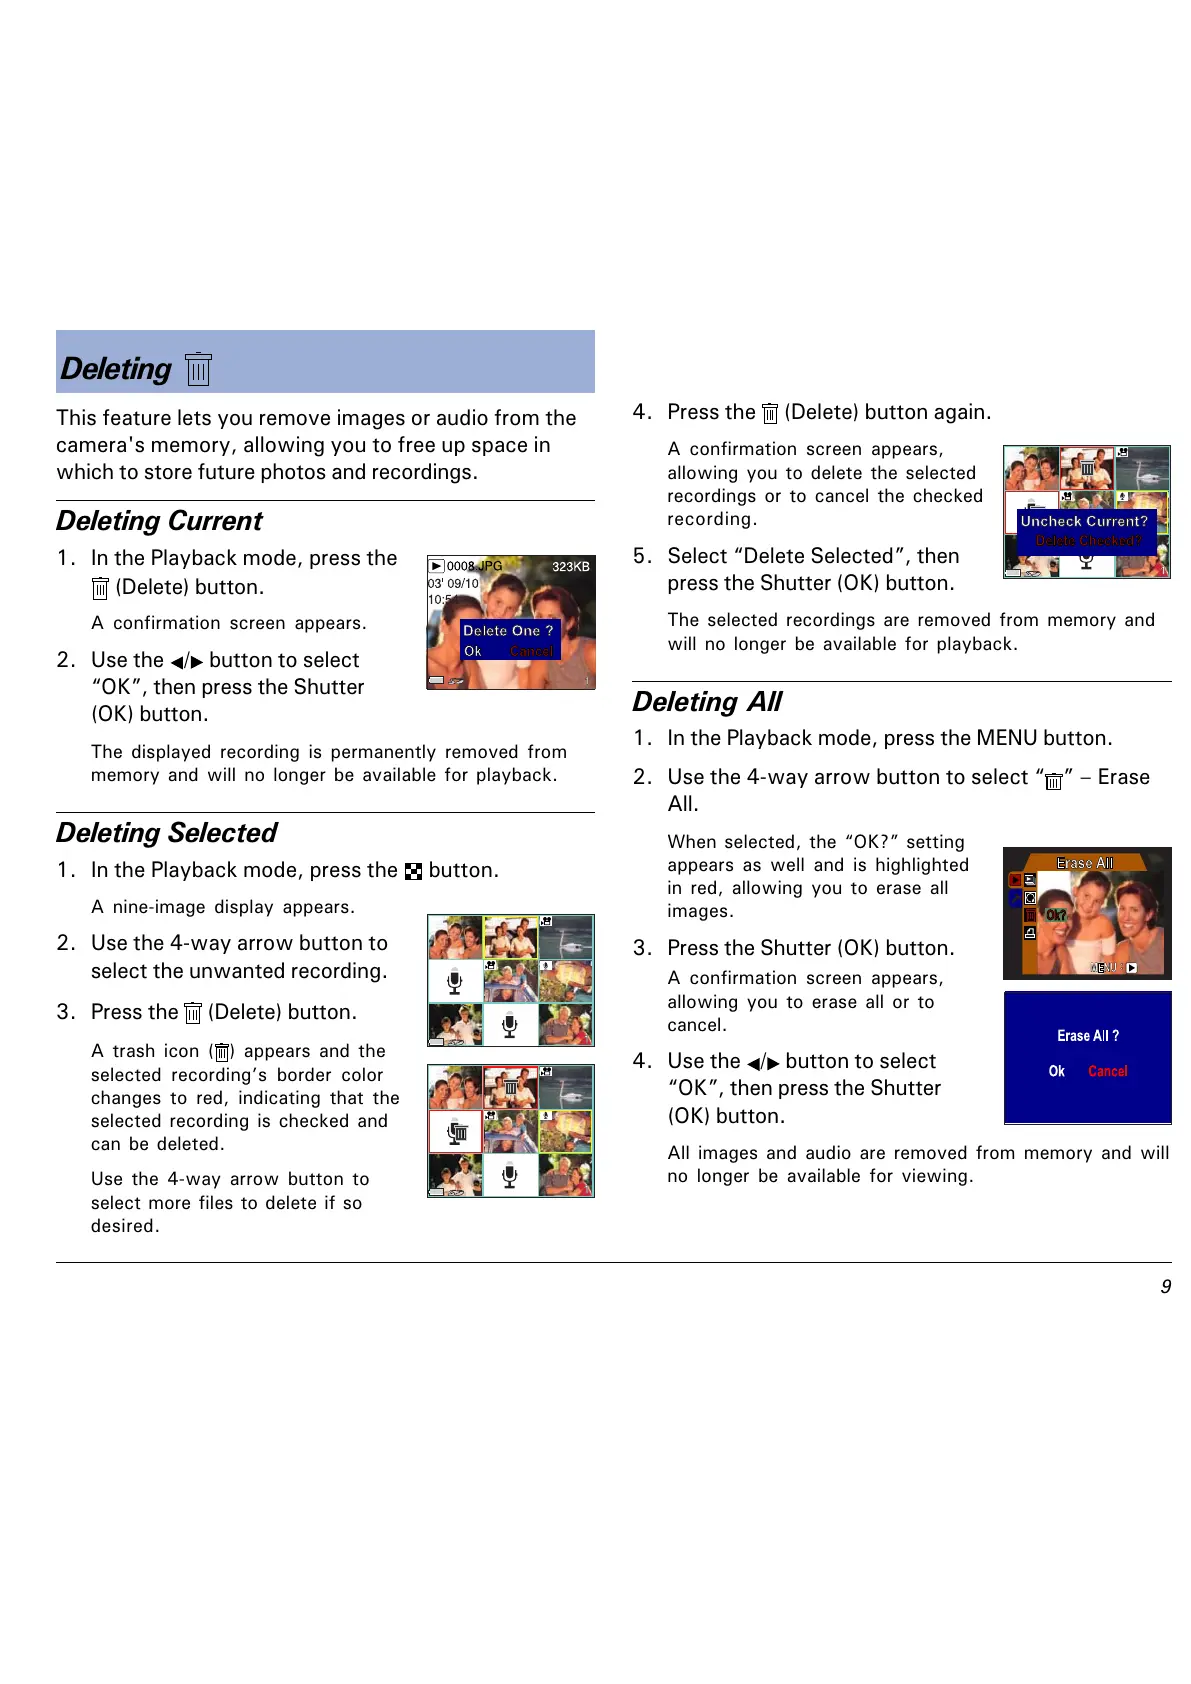
1. In the Playback mode, press the
(Delete) button.
A confirmation screen appears.
2. Use the / button to select
OK, then press the Shutter
(OK) button.
The displayed recording is permanently removed from
memory and will no longer be available for playback.
Deleting Selected
1. In the Playback mode, press the button.
A nine-image display appears.
2. Use the 4-way arrow button to
select the unwanted recording.
3. Press the
(Delete) button.
A trash icon ( ) appears and the
selected recordings border color
changes to red, indicating that the
selected recording is checked and
can be deleted.
Use the 4-way arrow button to
select more files to delete if so
desired.
4. Press the (Delete) button again.
A confirmation screen appears,
allowing you to delete the selected
recordings or to cancel the checked
recording.
5. Select Delete Selected, then
press the Shutter (OK) button.
The selected recordings are removed from memory and
will no longer be available for playback.
Deleting All
1. In the Playback mode, press the MENU button.
2. Use the 4-way arrow button to select
Erase
All.
When selected, the OK? setting
appears as well and is highlighted
in red, allowing you to erase all
images.
3. Press the Shutter (OK) button.
A confirmation screen appears,
allowing you to erase all or to
cancel.
4. Use the / button to select
OK, then press the Shutter
(OK) button.
All images and audio are removed from memory and will
no longer be available for viewing.
Deleting
f
 Loading...