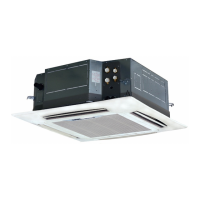
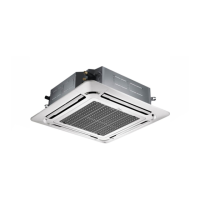
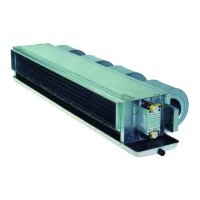
Midea DC Fan Coil Unit
29
12. Installation
12.1 Before Installation
Please check whether the accessories are of full scope. If there are some fittings free from use, please restore
them carefully.
12.2 Installation space
(Refer to fig.1, fig.2, fig.3 and table 1 for specification.)
The indoor unit should be installed in a location that meets the following requirements:
There is enough room for installation and maintenance.
The ceiling is horizontal, and its structure can endure the weight of the indoor unit.
The outlet and the inlet are not impeded, and the influence of external air is the least.
The air flow can reach throughout the room.
The connecting water pipe and drainpipe could be extracted out easily.
There is no direct radiation from heaters.
Caution:
Keep indoor unit, outdoor unit, power supply wiring and transmission wiring at least 1 meter away from
televisions and radios. This is to prevent image interference and noise in those electrical appliances. (Noise
may be generated depending on the conditions under which the electric wave is generated, even if 1 meter is
kept.)
12.3 Installation procedures for fresh air intake duct connection
Preparing the connection hole
Cut off the knockout hole on the side plate with a nipper.
Cut the inner insulation of the hole portion with a cutter.
Placing the insulation
Put the insulation tightly around the hole of the unit as shown. The ends of the side plate and the inner
insulation must be completely adhered without leaving any clearance along the circumference of the
hole. Make sure the inner surface of insulation tightly contacts the inner insulation edge and the side
plate. (refer to fig.5)
12.4 Install the Main Body
A. The existing ceiling (to be horizontal)
a. Cut a quadrangular hole of 880×880mm in the ceiling according to the shape of the installation paper board.
The center of the hole should be at the same position of that of the air conditioner body.
Determine the lengths and outlets of the connecting pipe, drain pipe and cables.
To balance the ceiling and to avoid vibration, please enforce the ceiling when necessary.
b. Select the position of installation hooks according to the hook holes on the installation board.
Drill four holes of Ø12mm, 50~55mm deep at the selected positions on the ceiling. Then embed the
expansible hooks (fittings).
Face the concave side of the installation hooks toward the expansible hooks. Determine the length of
the installation hooks from the height of ceiling, and then cut off the unnecessary part.
If the ceiling is extremely high, please determine the length of the installation hook according to facts.
c. Adjust the hexangular nuts on the four installation hooks evenly, to ensure the balance of the body.
If the drainpipe is awry, leakage will be caused by the malfunction of the water-level switch.
Adjust the position to ensure the gaps between the body and the four sides of ceiling are even. The
body's lower part should sink into the ceiling for 10~12 mm (refer to fig.6).
In general, L is half of the screw length of the installation hook. (refer to fig.6)
Locate the air conditioner firmly by wrenching the nuts after having adjusted the body's position well.
(refer to fig.7)
B. New built houses and ceilings.