MIDIPLUS Co, Ltd. http://www.midiplus.com.tw
Chapter 2:The basic MIDI Controllers
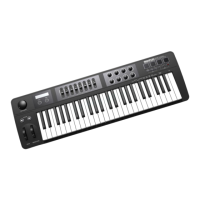
Because BK492 does not contain built-in soundcard, play the keyboard will
only send MIDI data out including the midi message. A virtual instrument can
change it into a track of your DAW software and creates the sound based on
the MIDI message received from BK492. For more details on using virtual
instruments, please refer to the documentation in your DAW software.
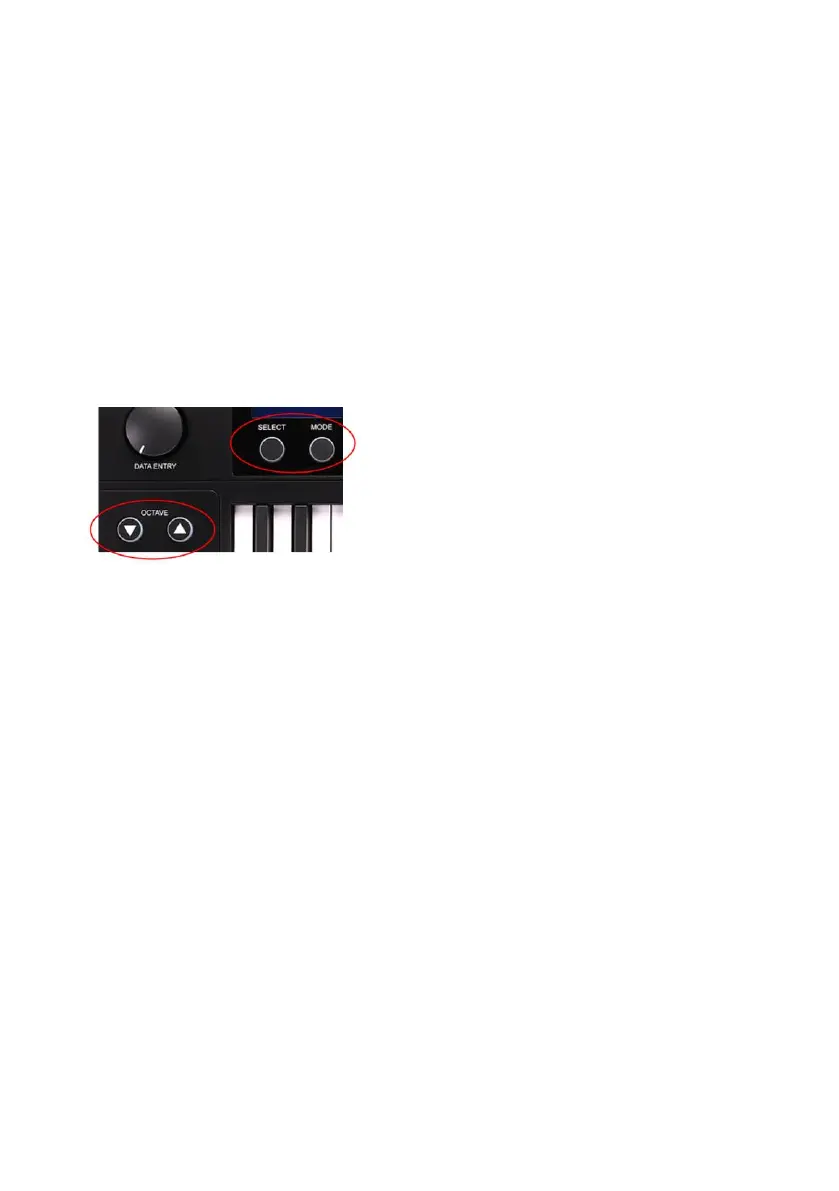
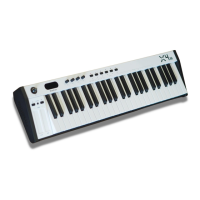
2.1 BK492 Function Buttons
2.1.1 BK492 Function Buttons Screenshot
2.1.2 Set Controller Buttons
There are knobs, sliders, trigger pads and transport which can be used to send
any MIDI controller data on any MIDI channel. All the knobs and sliders can
be stored into 16 different groups at any time. Also, you can use the "SELECT"
Button to choose any setting of different controllers in just a few steps.
In order to activate this function, you need to do as follows:
Press the "SELECT" Button and the LED under the button will light on.
Move the "DATA ENTRY" Knob to select a desired number. (1-16)
Press the "SELECT" Button again (LED lights off) to complete the process.
The selected group will activate soon.
2.1.3 Set Mode Button
Pressing the Mode Button, then you can configure the device with the labeled
key and edit all the controllers (include knobs, sliders, pads, Transpose
buttons).In order to change the configuration of the device or edit the
controllers, you need to do as follows:
Press the "MODE" Button and the LED under the button will light on.