MAKING DRINKS
GUIDE TO THE MACHINE / PREPARING FOR USE
CONTROLS AND DISPLAY
Important information Controls and display Making drinks Cleaning and care
M.-Nr. 09 856 991 / 00
CVA 6800, CVA 6805 en – GB 2014
Please observe the detailed information on cleaning and care in the Operating
instructions. Clean the coffee machine every day after use.
Recommended
frequency
What do I have to clean / maintain?
Every day
(at the end of the day)
– the milk flask and lid
– the water container
– the waste container
– the drip tray and grille
Once a week
(or more often if needed)
– the central spout
– the central spout connector
– clean the milk valve with the cleaning brush
– the interior
– the small drip catcher inside the front of the
machine
– the brew unit
– the front of the machine
(especially straight after descaling)
Once a month – lubricate the cap on the central spout connector
When prompted – the milk pipework (using the cleaning agent for
milk pipework)
– the brew unit (degrease with the cleaning
tablets)
– descale the machine
As required – the coffee bean container
– remove any blockages from the milk pipework
The following items are not dishwasher safe:
– Central spout cover
– Milk flask lid
– Brew unit
– Coffee bean container and lid
– Service panel
All other removable components of the coffee machine are dishwasher safe.
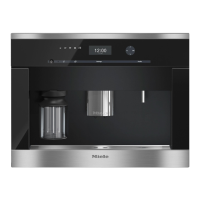
Making espresso or coffee
ĺ Place a cup under the central spout.
ĺ Touch the field for the drink you want:
Espresso
Coffee
Long coffee
The coffee or espresso will be dispensed
from the central spout into the cup.
Making two portions
To fill two cups at the same time:
ĺ Place a cup under each of the coffee
dispensers in the central spout.
ĺ Touch the two cup symbol for the drink
you want.
Two portions of the desired drink will be
dispensed from the central spout.
Cancelling preparation
To cancel preparation:
ĺ Touch "Cancel" or "Stop".
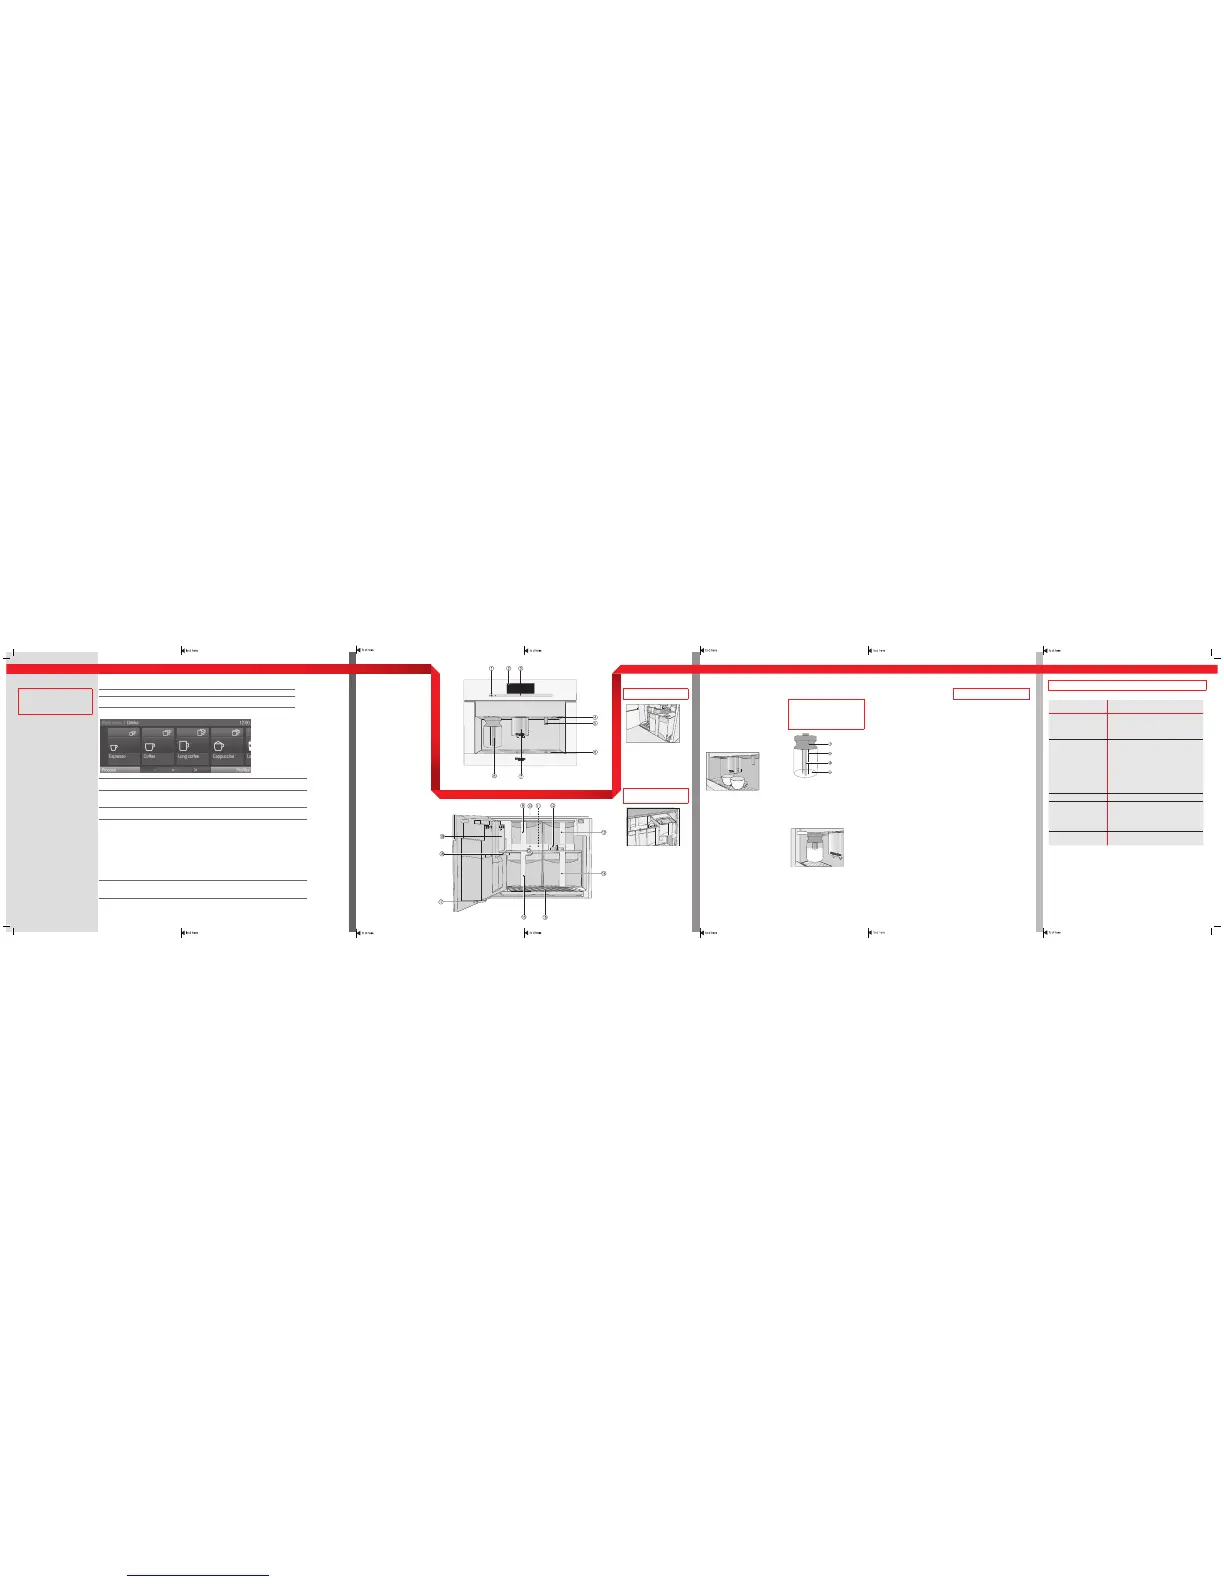
Drinks with milk
Notes on the milk flask
The milk will not keep cool in the milk
flask. It should therefore be kept in the
fridge if you are not going to be using
milk for a long period.
Cold milk (below 13 °C) gives the best
results for milk froth.
Lid
Sensor
Milk suction tube
Glass flask
ĺ Fill the flask with milk up to a maximum
of 2 cm below the rim.
ĺ Push the milk flask fully back into the
coffee machine.
Making drinks with milk
ĺ Place a suitable container underneath
the central spout.
ĺ Touch the drink you want:
Cappuccino
Latte macchiato
Caffè Latte
Hot milk
Milk froth
The selected drink will now be made.
Hot water
Please note that the water dispensed is
not hot enough for making tea.
ĺ Place a suitable container underneath
the hot water spout.
ĺ Select "Hot water".
Hot water is dispensed into the container
under the spout.
To cancel preparation:
ĺ Touch "Cancel" or "Stop".
Before using for the first time
The coffee machine must be
correctly installed and connected
before it is used for the first time.
For more information please see the
Operating and installation instructions.
ĺ Before filling the coffee machine with
water and coffee beans, clean the
coffee machine and the milk flask
thoroughly.
ĺ Please see "Using for the first time"
in the Operating and installation
instructions.
Water hardness
Set the water hardness level on the coffee
machine to the water hardness level for
the local area to ensure that the machine
functions correctly and is not damaged.
See the Operating and installation
instructions for more information.
Filling the water container
Change the water every day to
prevent a build-up of bacteria.
ĺ Fill the water container with fresh,
cold tap water up to the "Max."
marker.
Filling the coffee bean
container
Warning. Only put roasted
espresso/coffee beans in the
container.
ĺ Open the front of the machine
and remove the coffee bean
container.
ĺ Fill the container with roasted
coffee beans.
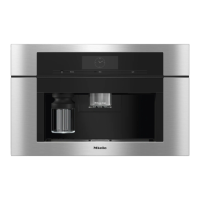
Exterior view
On/Off sensor
Touch display
"Back" sensor
Handle
Hot water spout
Drip tray cover
Central spout with lighting and
automatic height adjustment
Milk flask and lid
Interior view
Ground coffee chute cover
Brew unit
Ground coffee chute
Slide control to select fineness of
ground coffee
Coffee bean container
Water container
Drip tray with grille
Waste container
Drip catcher
Central spout connector
Service panel
Guide to the machine Preparing for use
Sensor controls
On/Off sensor
For switching the coffee machine on and off
"Back"
For returning to the previous menu,
cancelling unwanted actions
Touch display
Selecting or acessing
a menu
ĺ Touch the field you want once with your finger.
Scrolling ĺ Swipe the screen, i.e. place your finger on the Touch display and swipe it in the
direction you want.
ĺ Or: Touch the or arrows to scroll from left to right.
Exiting a menu
ĺ Touch .
Entries made before this which have not been confirmed with "OK" will not be saved.
Entering numbers You can enter numbers by swiping and touching the roller or via the numerical keypad.
Roller:
ĺ Swipe the roller up or down to select the number you want.
Numerical keypad:
ĺ Touch in the bottom right of the input field.
The numerical keypad will appear:
ĺ Touch the numbers you want.
When you enter a valid number, the "OK" field will light up green.
ĺ Use the arrow to delete the last entered number.
ĺ Touch "OK".
Entering letters Names are entered using a keyboard. It is best to select short names.
ĺ Touch the letters or characters you want.
ĺ Touch "Save".
 Loading...