Caring for the environment
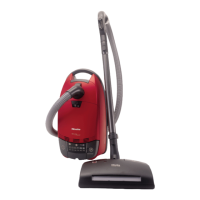
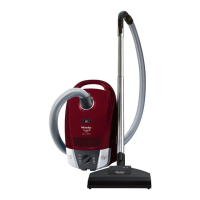
Description of the appliance
Warning and Safety instructions
Preparing for use
Using the accessories supplied
Use
Mains connection cable. . . . . . . . . . . . . . . . . . . . . . . . . . . . . . . . . . . . . . . . . . . . . 17
Switching on and off . . . . . . . . . . . . . . . . . . . . . . . . . . . . . . . . . . . . . . . . . . . . . . . 17
Selecting the suction power . . . . . . . . . . . . . . . . . . . . . . . . . . . . . . . . . . . . . . . . . 18
Opening the air inlet valve on the handle . . . . . . . . . . . . . . . . . . . . . . . . . . . . . . . 19
Setting down, transportation and storage
ParkSystem for pauses in vacuuming . . . . . . . . . . . . . . . . . . . . . . . . . . . . . . . . . . 20
ParkSystem for storage . . . . . . . . . . . . . . . . . . . . . . . . . . . . . . . . . . . . . . . . . . . . . 20
Maintenance and care
Purchasing new dustbags and filters . . . . . . . . . . . . . . . . . . . . . . . . . . . . . . . . . . 22
Ordering the correct dustbags and filters . . . . . . . . . . . . . . . . . . . . . . . . . . . . . . . 22
When to change the dustbag . . . . . . . . . . . . . . . . . . . . . . . . . . . . . . . . . . . . . . . . 23
Replacing the dustbag . . . . . . . . . . . . . . . . . . . . . . . . . . . . . . . . . . . . . . . . . . . . . 24
When to change the exhaust filter . . . . . . . . . . . . . . . . . . . . . . . . . . . . . . . . . . . . . 25
Correctly replacing the Air Clean filter. . . . . . . . . . . . . . . . . . . . . . . . . . . . . . . . . . 25
Replacing the Active Air Clean or Active HEPA filter . . . . . . . . . . . . . . . . . . . . . . 26
Replacing one type of exhaust filter with another . . . . . . . . . . . . . . . . . . . . . . . . . 27
When to change the dust compartment filter (for motor protection) . . . . . . . . . . . 28
Correctly changing the dust compartment filter . . . . . . . . . . . . . . . . . . . . . . . . . . 28
When to change the thread lifters . . . . . . . . . . . . . . . . . . . . . . . . . . . . . . . . . . . . . 29
Correctly replacing the thread lifters . . . . . . . . . . . . . . . . . . . . . . . . . . . . . . . . . . . 29
Cleaning and care
Problem solving guide
After sales service / Electrical connection
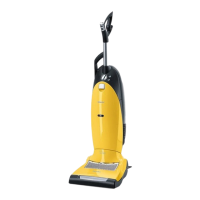
Optional accessories
Contents
2