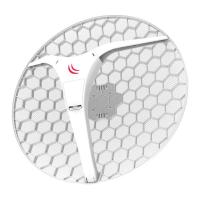
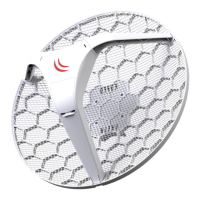
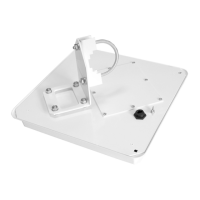
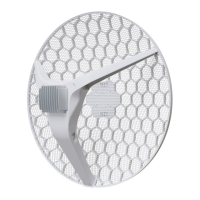
Assembling
The device needs to be assembled from four parts, LHG dish, two legs and, the main body.
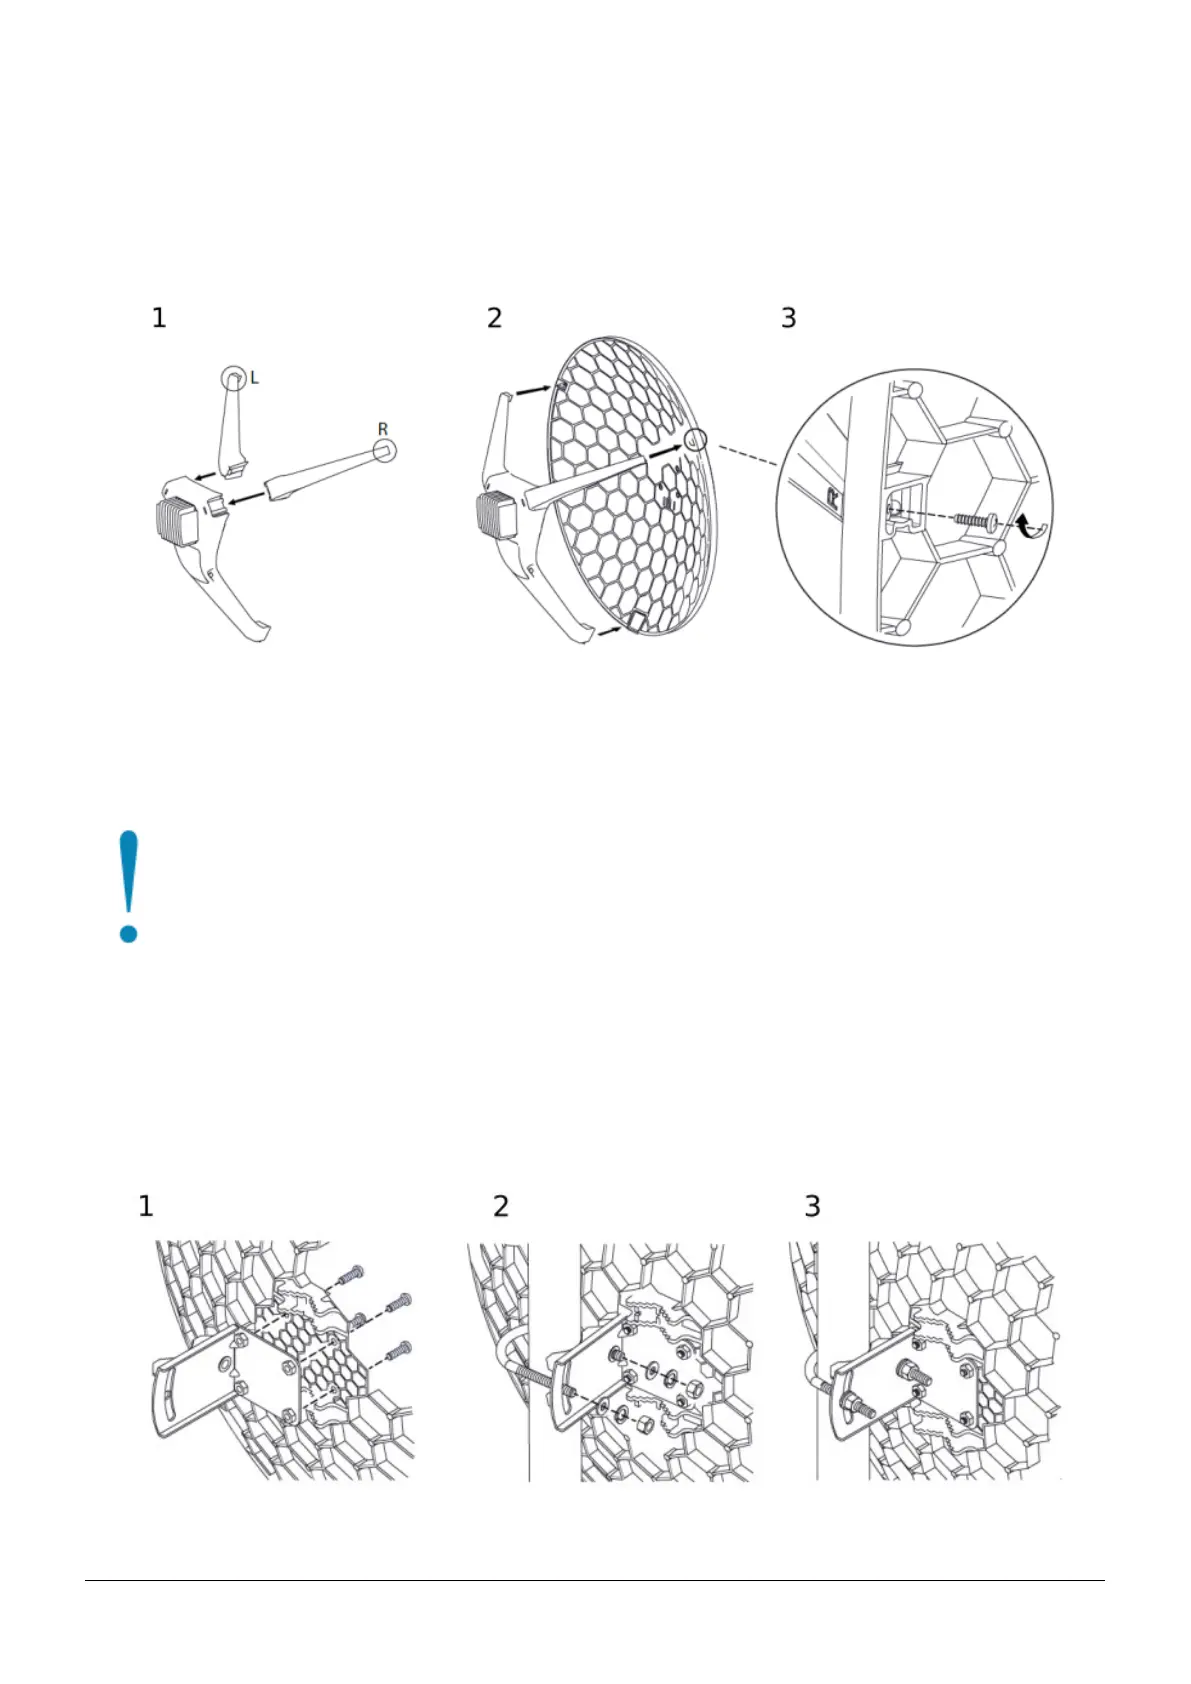
1. Attach two legs to the main body, legs are different and marked with L and R.
2. Attach the assembly to the dish.
3. Secure with provided screws using PH2 screwdriver.
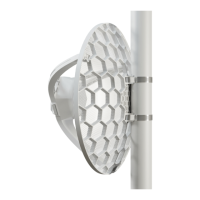
Mounting
The LHG XL ac is designed to be used outdoors and mounted on pole or mast. Package includes adjustable
mounting assembly.
When mounting, please ensure that cable feed is pointing downwards.
The IP rating scale of this device is IP54. We recommend using Cat6 shielded cables.
Warning! This equipment should be installed and operated with a minimum distance of 20 cm between the
device and your body. Operation of this equipment in the residential environment could cause radio
interference.
Mounting and configuration of this device should be done by a qualified person.
The Mounting assembly is provided with the package.
1. Attach the mounting assembly to the back of the dish using four screws.
2. Attach the unit to the pole using U clamp placing washers and nuts in order as shown on the illustration.
3. Align unit accordingly to the signal and secure nuts.
* The device should be always placed by UP arrow facing upwards.
See mikrotik.com/products for the latest version of this document. Page 2, Document #51437 Modified on: 16.AUG.2019
 Loading...