14
•Add one capful of bleach to the Activated
Carbon Post Filter Housing. Carefully ll
the Housing with tap water and temporarily
install the Housing without the Activated
Carbon Post Filter.
•The Dispensing Faucet should be open,
slowly open the Feed Water Saddle Valve.
•As soon as water begins to drip out of the
Dispensing Faucet, close the Faucet.
•Let the system stand for 15 minutes.
•At the end of 15 minutes, in the following
order, close the Feed Water Saddle Valve,
close the Holding Tank Valve and open the
Dispensing Faucet to release the pressure.
•Remove the Sediment/Carbon Prelter
Housing and empty. Remove the wrapping
and install the Sediment/Carbon Prelter.
Firmly tighten the Housing hand tight only.
•Remove the Activated Carbon Post Filter
Housing and empty. Remove the wrapping
and install the Activated Carbon Post Filter.
Firmly tighten the Housing hand tight only.
•Disconnect the yellow product water tubing
that runs from the Holding Tank to the Tee
(see Fig. 1, page 5). Put 50 drops of bleach
(this is ½ tsp. or 3 ml) into the tubing and
reconnect it to the Tee.
NOTE: Now is the convenient time to
change the In–Line Activated Carbon Post
Filter, see Sec. V, C.1–6.
•Slowly open the Feed Water Saddle Valve.
When water begins dripping out of the
Dispensing Faucet, in the following order,
close the Faucet and then open the Holding
Tank Valve.
•Do not open the Faucet for at least 8 hours.
•Discard the rst three full tanks of water
produced, they will contain chlorine.
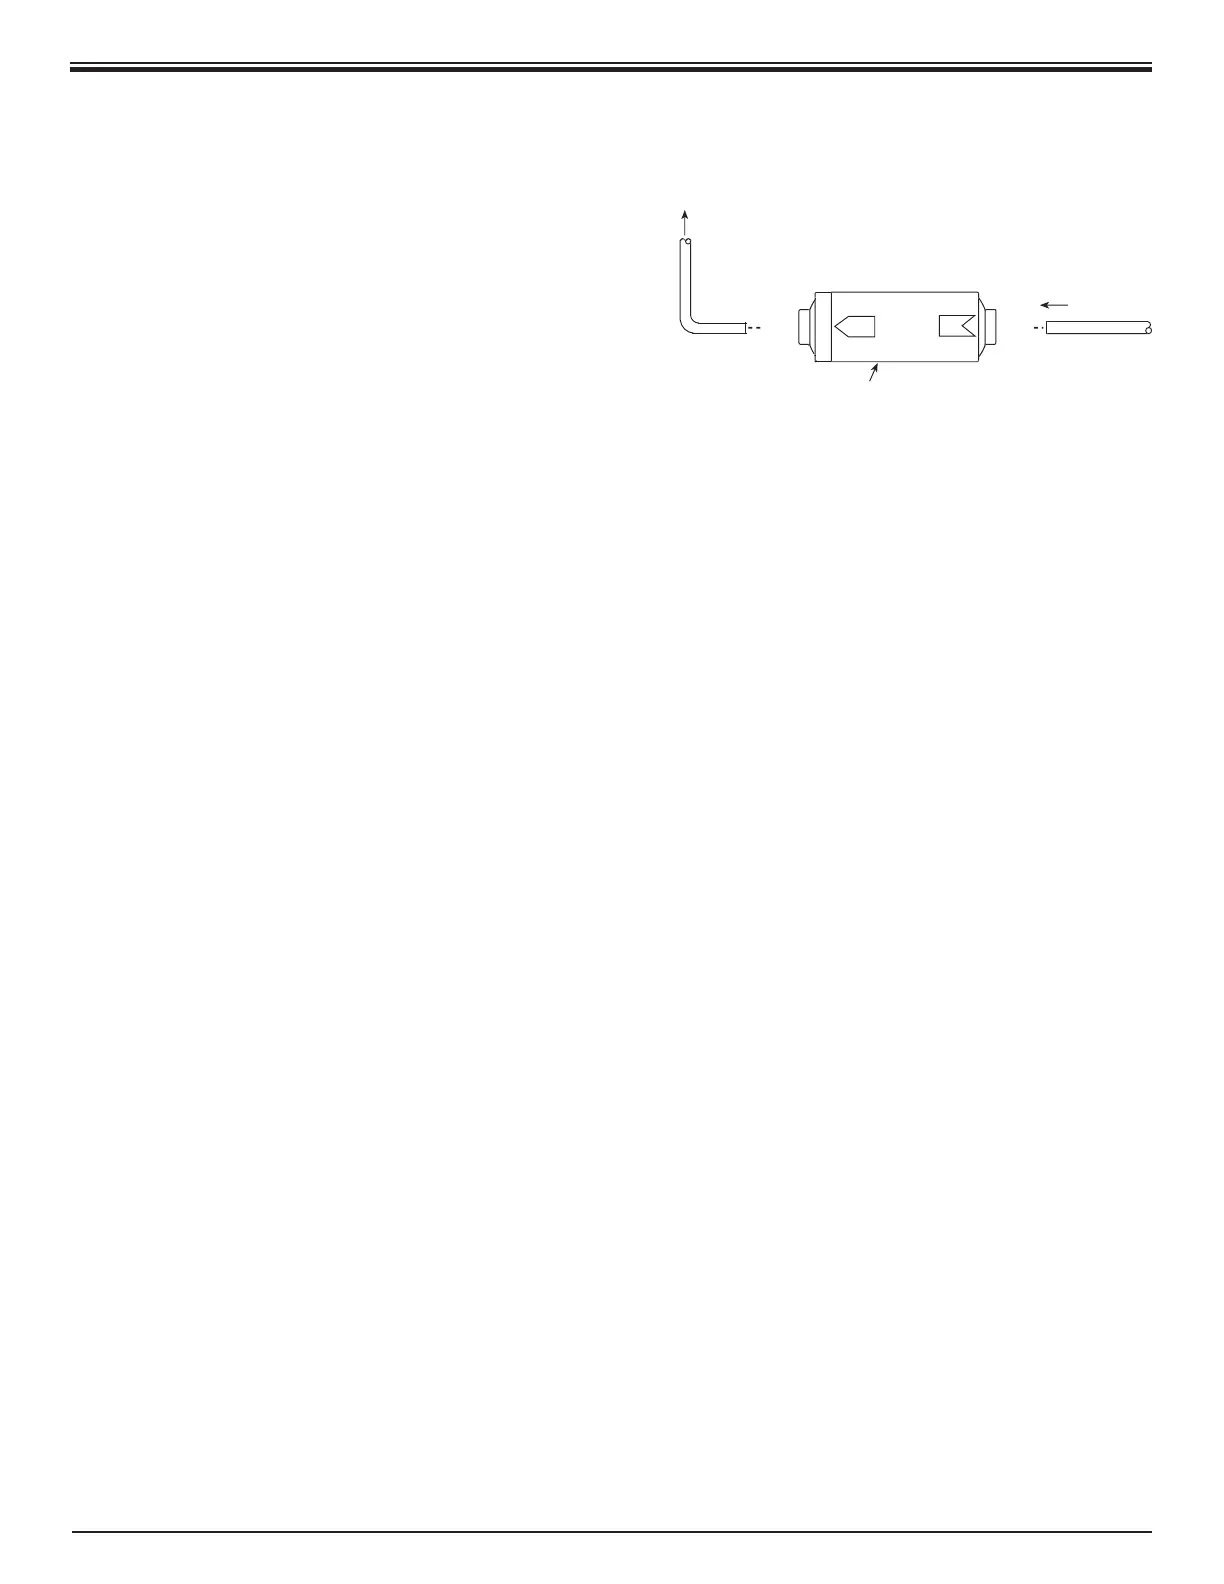
IN–LINE ACTIVATED CARBON
POST FILTER ASSEMBLY
Figure 5
C. Changing the In–Line Activated Carbon Post
Filter
1. Close the Feed Water Saddle Valve by
turning fully clockwise.
2. Close the Holding Tank Valve and then
open the Dispensing Faucet to release the
pressure.
3. Remove the In–Line Activated Carbon Post
Filter. Disconnect the used Post Filter by
pressing in the connector’s collar and at the
same time pulling the tube out of the tting.
4. Firmly reconnect the polytubes to the new
Post Filter. (Refer to Fig. 5)
5. Slowly open the Feed Water Saddle Valve.
6. When water begins dripping out of the
Faucet, in the following order, close the
Faucet and open the Holding Tank Valve.
When the Faucet is rst opened, expect air
and carbon nes (very ne black powder),
from the new Post Filter to be rinsed out. This
is normal for the rst tank of water.