EasyManua.ls Logo

Million Dollar Baby Emily Crib M4791 User Manual

Million Dollar Baby Emily Crib M4791
8 pages
To Next Page IconTo Next Page
Page #1 background imageLoading...
Page #1 background image
Emily Crib (M4791)- Assembly and Operation Manual
Congratulations on purchasing a Million Dollar Baby Product. This crib will provide many years of service
if you adhere to the following guidelines for assembly, maintenance, and operation. This crib is for
residential use only. Any institutional use is strictly prohibited.
Please be sure to follow the instructions for proper assembly. Use a Phillips head screwdriver for
assembling the crib in addition to the Allen wrench included in the hardware box. Do not use power
screwdrivers. All of our cribs are made from natural woods. Please understand that natural woods have
color variations which are the result of nature and not defects in workmanship.
DO NOT SUBSTITUTE PARTS. ALL MODELS HAVE THE SAME QUANTITY OF PARTS AND HARDWARE.
YOUR MODEL MAY LOOK DIFFERENT FROM THE ONE ILLUSTRATED DUE TO STYLISTIC VARIATIONS.
revised 04-2007 page 1
Question and Answer IconNeed help?

Do you have a question about the Million Dollar Baby Emily Crib M4791 and is the answer not in the manual?
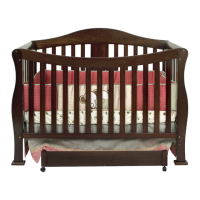
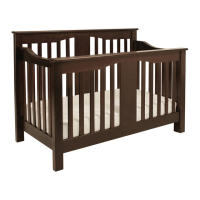
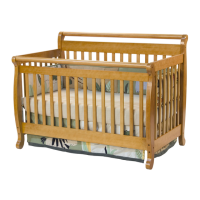
Million Dollar Baby Emily Crib M4791 Specifications

General IconGeneral
Product NameMillion Dollar Baby Emily Crib M4791
Product TypeCrib
CategoryBaby & Toddler Furniture
MaterialNew Zealand Pine Wood
ColorWhite
Number of Mattress Height Positions4
ConvertibleYes
Lead and Phthalate FreeYes
FinishNon-toxic finish
Mattress SizeStandard crib size
Mattress SupportMetal Mattress Support
Convertible OptionsConverts to toddler bed, daybed, and full-size bed
Safety StandardsMeets ASTM and CPSC Safety Standards

Summary

Assembly: Steps 1-3

Step 1: Attach Post Brackets

Attaches post brackets to the four legs using wood screws.

Step 2: Assemble Headboard and Rear Legs

Connects cross bar to headboard and attaches rear legs with bolts/nuts.

Step 3: Attach Side Panels and Front Legs

Connects side panels and front legs using bolts and barrel nuts.

Assembly: Steps 4-6

Step 4: Attach Side Panels to Headboard

Connects side panel assemblies to the headboard assembly with bolts.

Step 5: Install Spring Frame

Attaches the spring frame to the rear posts at the desired mattress level.

Step 6: Attach Front Cross Bar

Inserts dowels into cross bar and attaches it between side panels with bolts.

Assembly: Step 7 and Final Checks

Safety, Warranty, and Care

Critical Safety Warnings

Provides essential warnings regarding strangulation, climbing, and safe usage.

Related product manuals