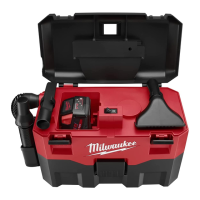
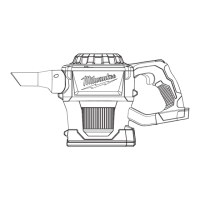
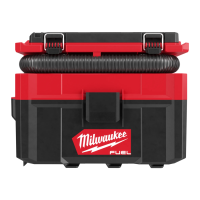
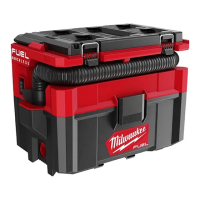
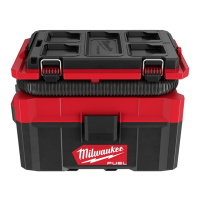
FUNCTIONAL
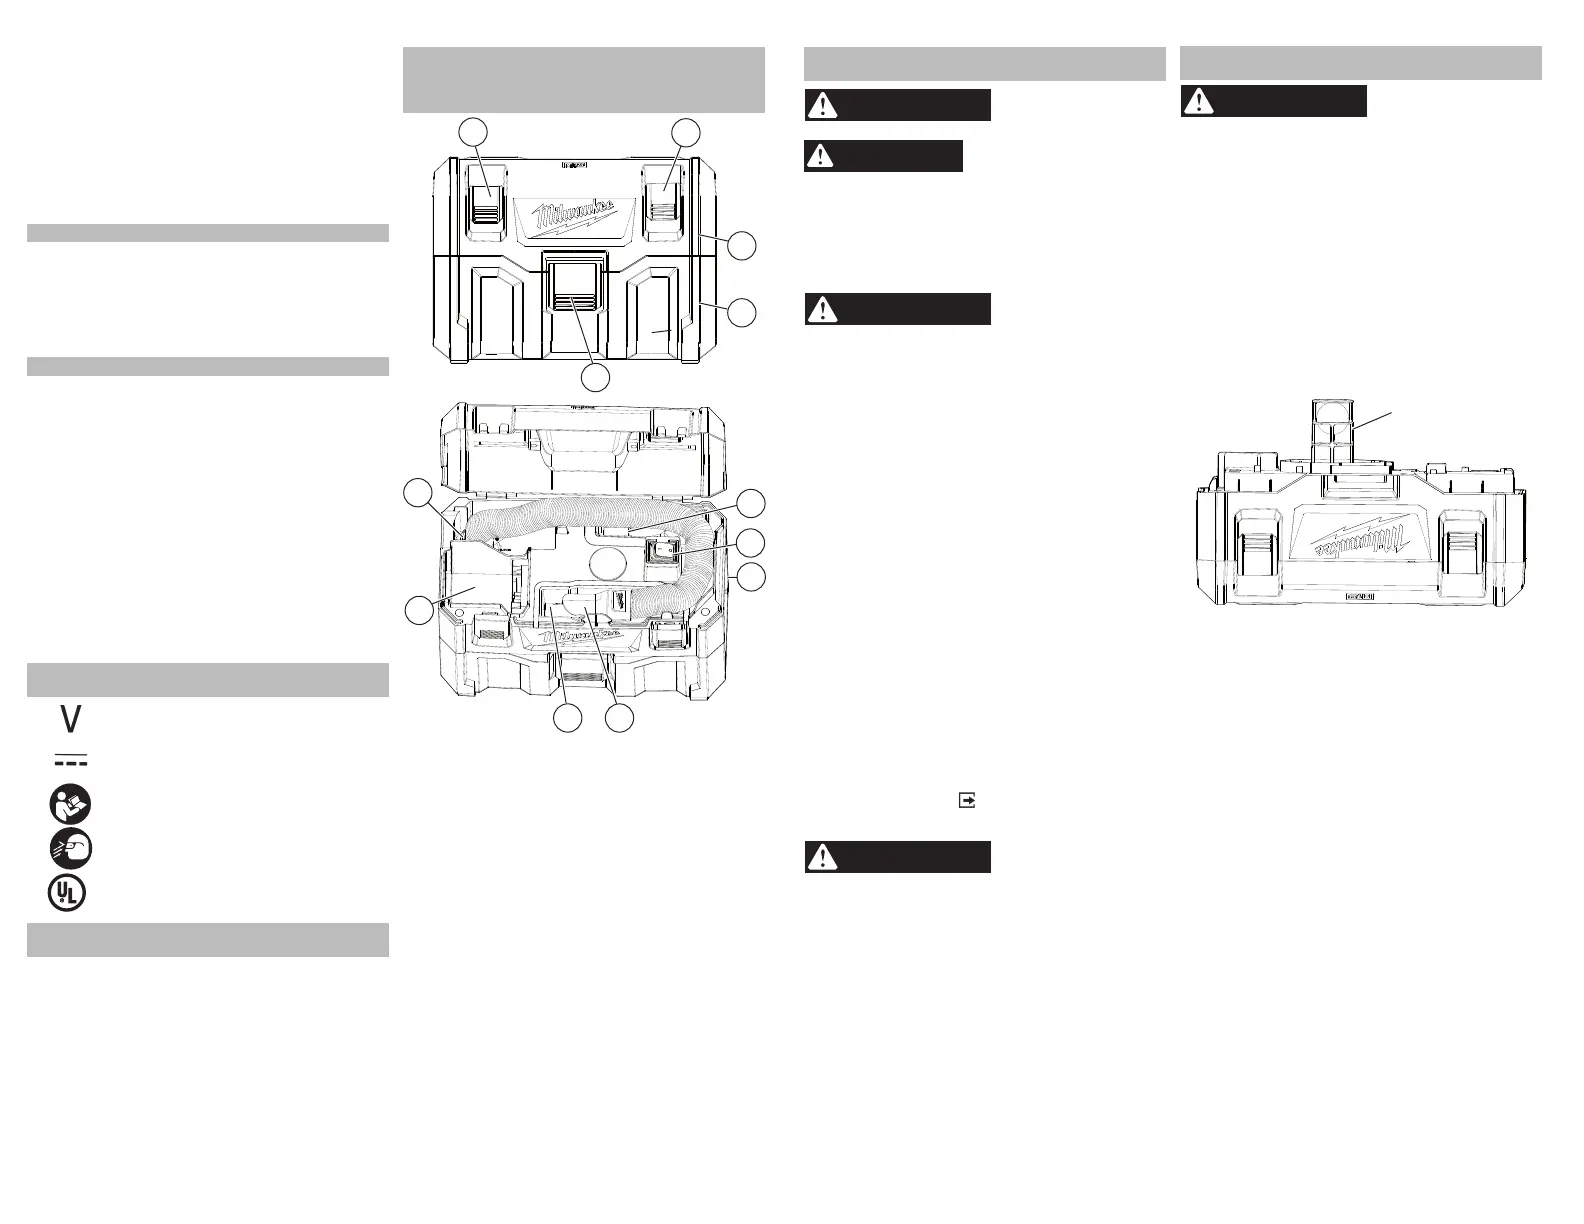
DESCRIPTION
3
1
1
2
4
6
7
8
5
9
10
5
1. Battery compartment latches
2. Motor housing
3. Tank
4. Tank latches (front and back)
5. Accessory storage areas
6. Switch
7. Blower port
8. Vacuum inlet
9. Battery bay
10. Intake port
• When battery pack is not in use, keep it away
from other metal objects like paper clips, coins,
keys, nails, screws, or other small metal objects
that can make a connection from one terminal
to another. Shorting the battery terminals together
may cause burns or a re.
• Do not use damaged battery pack or vacuum.
If battery pack or vacuum are not working as
they should, have been dropped, damaged, left
outdoors,or dropped into water, return them to a
service center.
SERVICE
• Have your power tool serviced by a qualied
repair person using only identical replacement
parts. This will ensure that the safety of the power
tool is maintained.
• Never service damaged battery packs. Service
of battery packs should only be performed by the
manufacturer or authorized service providers.
SPECIFIC SAFETY RULES
•Before using the vacuum, read this operator’s
manual, your battery pack and charger opera-
tor’s manuals, and all labels on the vacuum,
battery pack, and charger.
• Never use vacuum without tank and lter properly
installed.
•
•
Never use water to clean lter. Tap clean or blow
dirt o with compressed air.
Wear ear protectors. Exposure to noise can cause
hearing loss.
READ AND SAVE
ALL INSTRUCTIONS
FOR FUTURE USE
SYMBOLOGY
Volts
Direct Current
Read operator's manual
Wear eye protection
C
US
UL Listing for Canada and U.S.
SPECIFICATIONS
Cat. No. ..................................................... 0880-20
Volts.............................................................. 18 DC
Battery Type .................................................M18™
Charger Type................................................M18™
Air Flow .......................................................45 CFM
Suction..................................................... 32 inH2O
Capacity..............................................2 Gal. (7.5 L)
Recommended Ambient
Operating Temperature ......................0°F to 125°F
and injury, do not use
OPERATION
WARNING
To reduce the risk of re
to pick up ammable or combustible materials.
To reduce the risk of injury, wear safety goggles
or glasses with side shields. Empty tank before
use.
Before use, ensure the lter and oat cage are
properly installed. Remove lter before all wet
pick-up operations.
Starting and Stopping Vacuum
To turn on the vacuum, push the switch to the ON
(I) position.
To turn o the vacuum, push the switch to the OFF
(O) position.
Wet Pick-Up Operation
1. Remove ALL dirt and debris found in the tank.
2. Remove the filter. Ensure that the float cage
remains in place.
Float cage
3. Turn on the vacuum and begin pick-up.
4. Turn o the vacuum immediately upon completing
a wet pick-up job or when tank is full and ready to
be emptied.
NOTE: If suction shuts o, turn o the vacuum im-
mediately and empty the tank.
5. Remove the battery pack.
6. Raise the hose to drain any excess liquid into the
tank.
7. Remove motor housing and pour liquid waste into
a suitable drain.
8. Clean the interior of the tank and pick-up acces-
sories periodically, more often when used to pick
up wet, sticky materials. Use warm, soapy water.
Automatic Suction Shut-O
When picking up liquids, an internal oat rises until it
seats itself against a seal at the intake of the motor,
shutting o suction. When this happens, the motor
will develop a higher than normal pitch noise and the
suction is drastically reduced. If this occurs, turn o
the vacuum immediately. Failure to turn o unit after
oat rises and shuts o suction will result in extensive
damage to the motor. To continue use, empty the
liquid waste from the tank.
NOTE: If the vacuum is accidentally tipped over, it
could lose suction. Turn o the vacuum and return
it to an upright position. The oat will return to its
normal position.
Storage
Before storing your vacuum, empty and clean the
tank, lter, and accessories. Remove the battery
pack.
ASSEMBLY
WARNING
To reduce the risk of
injury, always remove
the battery pack before removing the tank.
CAUTION
Keep
of the va
lter
c
clean.
uum is la
Eciency
rgely
dependent on the lter. A dirty lter will reduce
the air ow and overall eciency of the system.
Do not clean with water. Remove from tank and
tap clean or blow o with compressed air.
Removing/Inserting the Battery
To remove the battery, push in the release buttons
and pull the battery pack away from the tool.
WARNING
Always remove battery
pack before changing
or removing accessories.
To insert the battery, slide the pack into the body
of the tool. Make sure it latches securely into place.
Removing/Installing the Filter
Use the lter for dry pickup only.
1. Remove the battery pack. Close and latch the
battery compartment.
2. Release the tank latches and lift o the motor
housing. Place it upside down on a at surface.
3. To remove the lter, turn it 1/2" counter clockwise
and pull it o of the motor housing/oat cage.
4. Empty all debris from the tank.
5. To clean the lter, tap clean or blow dirt o with
compressed air.
NOTE: Never use water to clean lter.
6. To install the lter, slide it over the oat cage. Line
up the lter tabs with the motor housing notches
and turn it 1/2" clockwise to lock in place.
7. Replace the motor housing and secure both
latches.
Pick-Up/Blower
The vacuum can be used for debris pick-up or as a
blower, depending on the port used.
1. For the debris pick-up, insert the large end of the
hose into the intake port of the motor housing,
lining up the tabs on the hose with the notches in
the port. Twist to secure and form a tight t.
2. To use as a blower, insert the large end of hose
into the blower port of the motor housing, lining
up the tabs on the hose with the notches in the
port. Twist to secure and form a tight t.
WARNING
Only use accessories
specifically recom-
mended for this tool. Others may be hazardous.
Installing/Removing the Accessories
To install the nozzles, hoses or extensions, push
the accessory onto the vacuum inlet.


 To Next Page
 Loading...