Do you have a question about the Milwaukee M18 FORCE LOGIC 2673-20L and is the answer not in the manual?
Keep work area clean, well-lit, and free of hazards.
Proper grounding, avoiding wet conditions, and cord care.
Stay alert, use PPE, prevent unintentional starting, and maintain balance.
Use correct tool, maintain it, and store properly.
Recharge with correct charger; avoid shorting terminals.
Use tool as directed, with crimping head and finger guard.
Inspect workpieces, handle chemicals carefully, and reduce dust exposure.
Have tool serviced by qualified personnel with identical replacement parts.
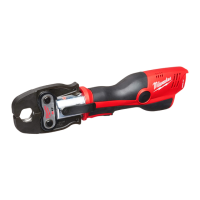
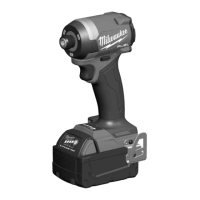
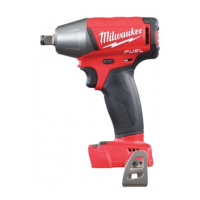
Details on Cat. No., Volts, Watts, Force, and Compression Range.
Steps for inserting/removing battery and crimping head.
Instructions for pressing, including safety checks and LED indicators.
Shorten automatic press cycle for efficiency, but use full stroke for Ring Jaw 2.
Solutions for LED indicators related to battery, temperature, and device faults.
Regular cleaning, lubrication, and mechanical/electrical inspections.
Information on using recommended accessories and obtaining a catalog.
| Voltage | 18V |
|---|---|
| Crimping Force | 12 tons |
| Battery Compatibility | M18 |
| Battery System | M18 |
| Width | 5.5 in |
| Battery Type | Lithium-Ion |
| Tool Type | Hydraulic Crimping Tool |
| Tool Warranty | 5 Year Tool |