SECTION 1:
PRE-INSTALL CHECKLIST
USE A BATTERY CHARGER
ALWAYS, ensure that you car is connected to a battery charger before flashing your PCM. DO NOT proceed if you don't
have a battery charged.
ALLOW TIME FOR INITIAL SETUP
Make sure you allow up to 30 minutes to complete the initial setup and installation process.
SECTION 2: UPDATING THE MINI MAXX
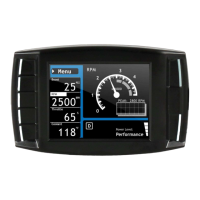
1 Wait for the main screen to load.
2 Scroll up and select "Change Vehicle".
3 Select the vehicle make.
4 Select the vehicle year and model.
5 Confirm the selection by pressing YES (press the
top right button).
6 The Mini Maxx will load files and reboot to USB mode.
SECTION 3: MINI MAXX INSTALLATION
A) Connect the adapter
plug to the vehicle
diagnostic port (OBDII)
located under the dash on
the driver’s side.
B) To power on the Mini
Maxx, slide the power switch
on the adapter plug to BAT
position
C) Using the HDMI cable,
connect the Mini Maxx to the
adapter plug.
NOTE: Complete physical installation is not required to install the tune to
the vehicle. To use features like automatic (ignition-controlled) power
on/off and the Driving Coach, complete installation is recommended.
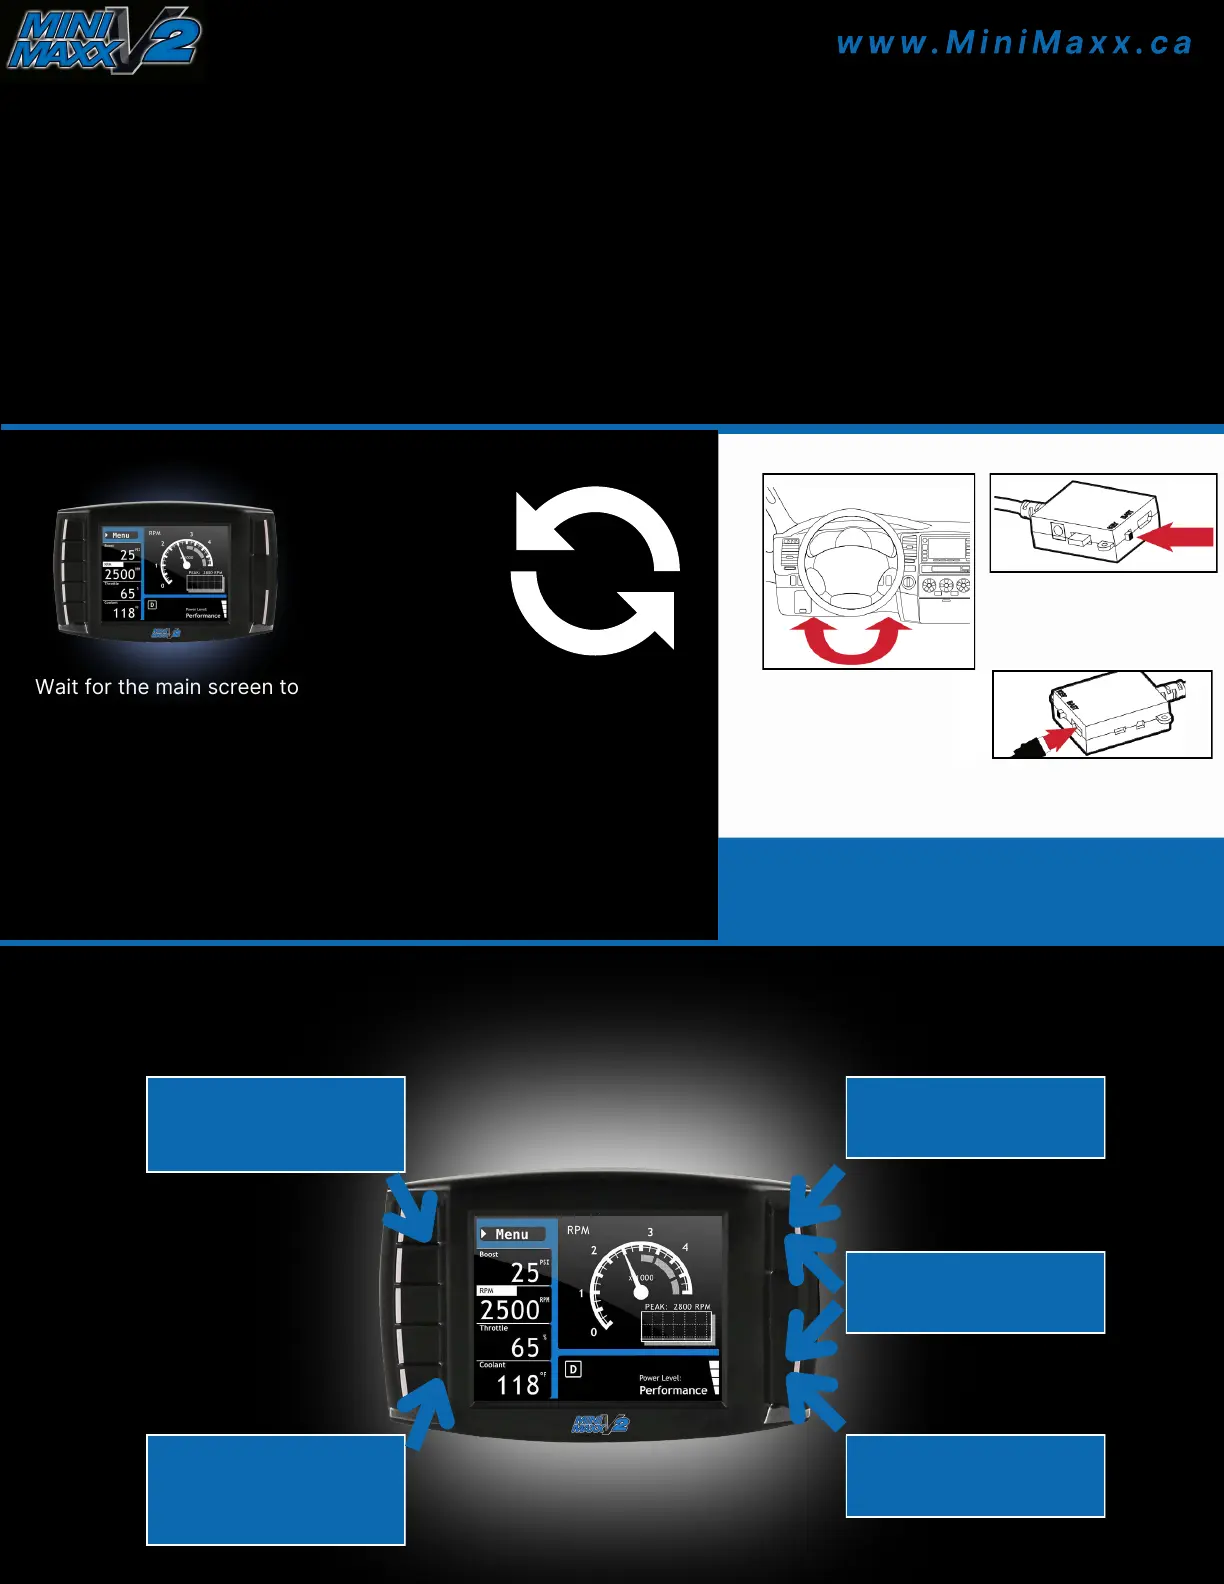
SECTION 4: MINI MAXX MAIN MENU
Touch to select the menu
item highlighted on the
screen
Touch to enter or to
return to the previous
menu
Press and hold to switch
to daytime mode
Use these buttons to
scroll though menus
Press and hold to switch
to nighttime mode
 Loading...