16
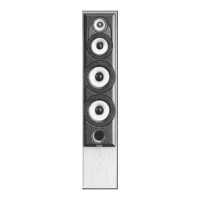
Loudspeaker Installation
These speakers are hand-finished with a varnish coating. As with
all real wood furniture finishes; exposure to direct sunlight, heat,
the speaker cabinet. We advise protecting the speaker from
extreme variances in temperature and environmental conditions.
We advise that you do not place anything on the surface of the
cabinets, to protect from damage. Treated with care, the veneer
finish will last a lifetime. They will age naturally and subtly,
retaining the properties of the beautiful high gloss wood finish.
Your Mission loudspeakers use an especially hardwearing sealed
finish. They should not be waxed or treated with spray polishes
which will smear and dim their lustrous finish. Polish them with a
dry or barely moist cloth to remove dust and finger marks, etc.
Occasionally, remove the loudspeaker grilles and brush them
gently with a soft brush before replacing them carefully.
Avoid getting any liquid behind the grille. If you accidentally spill
liquid on your loudspeakers, take them to your dealer for
attention before using them again.
Looking After
Your
Loudspeaker
Standard
Connection
Choose a suitable length of twin core speaker cable for each
channel and prepare the ends. Unscrew each terminal a few
turns. Connect the red, positive (+) terminal of the Left
loudspeaker to the corresponding red, positive (+) amplifier
terminal.
Connect the black, negative (-) terminals similarly. Tighten the
terminal securely. Repeat this procedure for the Right Channel.
Important
Safety Instruction
Music Leads,
Technology Follows
Warranty Coverage
Technical Data
ContentsDesigner's Notes
Loudspeaker Installation
 Loading...