6
NOTE: Cooking times will vary depending
on the food you wish to cook and the
individual’s personal preference. Cooking
times stated in this Instruction Manual
should only be used as a guide.
Before rst use
1. Remove all packaging materials including any
within the basket.
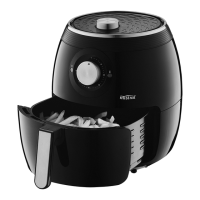
2. Slide out the basket, place on a flat surface
and take out the rack within the basket.
Clean both basket and rack with non-
abrasive sponge and warm water, rinse
thoroughly and dry completely.
3. Wipe clean the inside and outside of the
appliance with a slightly dampened cloth.
Preparing for use
1. Place the appliance on a stable, horizontal
and even surface.
Do not place the appliance on non heat
resistant surface.
2. Slide the basket back into the appliance.
3. Connect the mains plug into an earthed wall
socket. Touch the power On/O key, One
beeping sound indicates that appliance is
ready for use. The default seing time is 15
minutes &180 °C.
4. Preheat the appliance for 5 minutes when it
is cold. The seing time is 5 minutes 80°C.
you can increase or decrease both Cooking
Time at 1 Minute intervals and Temperature
at 5°C interval by continues touching the +/-
keys at either side of the respective Time and
Temperature icons or fast scroll by holding
keys down to set your desired cooking Time/
Temperatures.
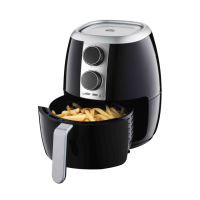
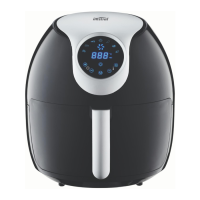
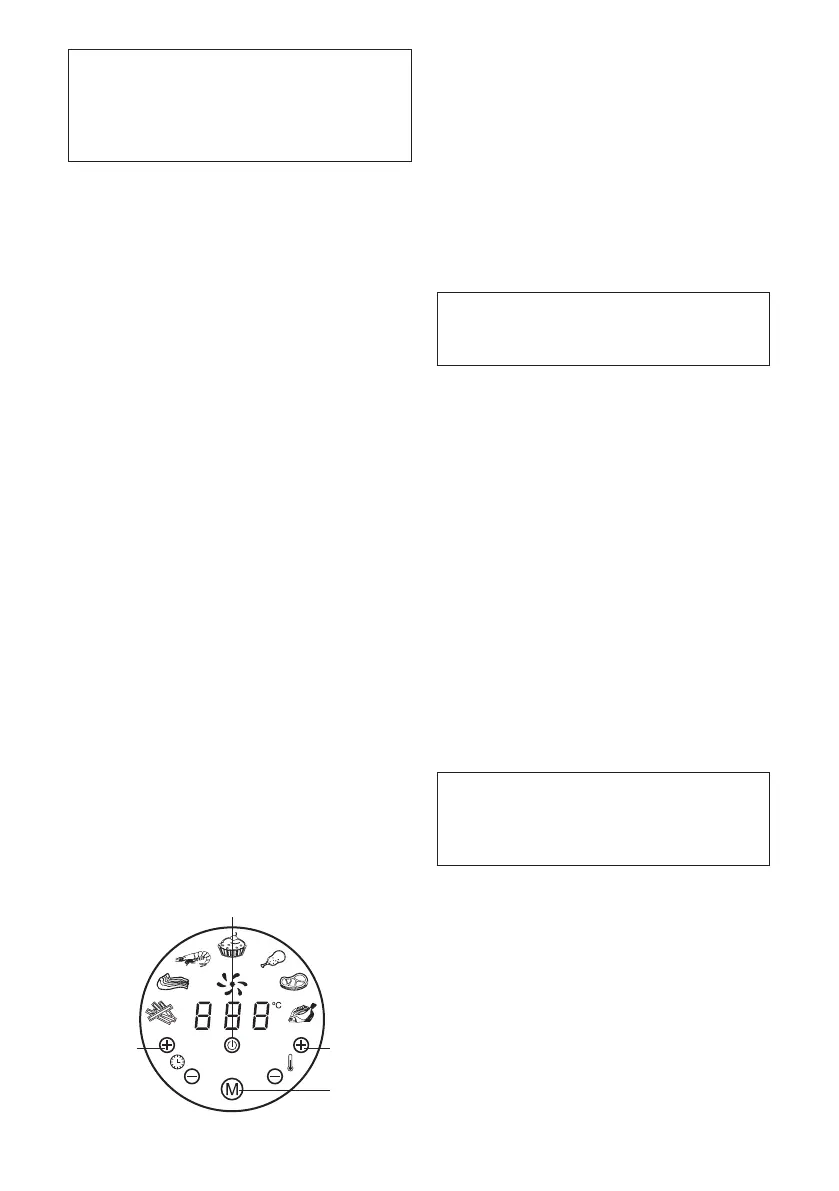
Power On / O Key
Temperature
Control Keys
(‘+’ & ‘-’)
Timer Control
Keys (‘+’ & ‘-’)
Menu Key
Using the Appliance
This appliance is able to cook a variety of dishes,
refer to page 9 & 10 of this booklet for selection
and respective cooking times.
1. Connect the mains plug into an earthed wall
socket.
2. Place the rack into the basket and put it to
the boom and then put ingredients into the
basket and slide the basket into the appliance.
Note: Do not ll beyond the basket (see
section ‘seings’ in this chapter), as it
may eect the quality of the fried food.
Caution: Do not touch the external surface
of the basket during use or when removed
from appliance directly after cooking, as
it gets very hot. Only hold the basket by
the handle protruding from the front of the
appliance.
3. Touch the Power on/O key to switch on the
unit. The appliance is now in Standby mode.
4. The appliance has manual cooking and 7
dedicated cooking functions. You can select
the desired cooking function for ingredients to
be cooked (refer to the table on page 9 & 10 of
this manual for guidance).
In Standby mode, you can touch Timer control
keys and Temperature control keys to set the
desired cooking time/temperature in Manual
cooking function directly.
Note: The preset seing is 15 minutes and
180 degree Celsius. The adjustment time
range is 1-60 minutes and the adjustment
temperature is 80-200 degree Celsius.
In Standby mode, you can also touch the
Menu (“M”) key repeatedly to select the
desired dedicated preset cooking functions.
There are 7 dedicated cooking functions to
choose from CHIPS, MEAT, SHRIMP, CAKE,
CHICKEN, STEAK and FISH and each have their
own preset cooking Temperatures/Times. The
corresponding indicator will be displayed once
it is selected.
 Loading...