EasyManua.ls Logo

Mitsubishi Electric MJ-E21BG-S1-IT User Manual

Mitsubishi Electric MJ-E21BG-S1-IT
39 pages
To Next Page IconTo Next Page
Page #1 background imageLoading...
Page #1 background image
2013
DEHUMIDIFIER
SERVICE MANUAL
Model MJ-E21BG-S1-IT
No.MJW-E-1207A
Sold from 2013
CONTENTS
1. Precautions 2
2. Names and Functions of Parts 3
3. Specifications 5
4. Outer Dimensions 5
5. Wiring Diagram 6
6. Function 8
7. Technical Points 9
8. Precautions for failure diagnosis 10
9. Troubleshooting Procedure 11
10. Troubleshooting 18
11. Maintenance 19
12. Service Checklist 21
13. Precautions for Disassembly and Reassembly 22
14. Disassembly and Reassembly Hints 24
15. Parts Catalog 32
Question and Answer IconNeed help?

Do you have a question about the Mitsubishi Electric MJ-E21BG-S1-IT and is the answer not in the manual?

Mitsubishi Electric MJ-E21BG-S1-IT Specifications

General IconGeneral
ModelMJ-E21BG-S1-IT
TypeDehumidifier
Dehumidifying Capacity21 liters/day
Operating Temperature5°C to 35°C
RefrigerantR290

Summary

Precautions

General Safety Warnings and Cautions

Details warnings and cautions for safe operation, covering potential hazards and precautions.

Names and Functions of Parts

Front and Rear Panel Components

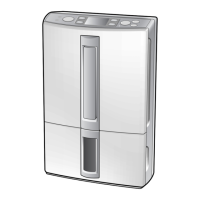
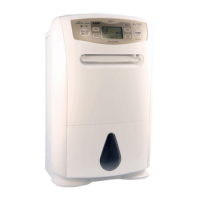
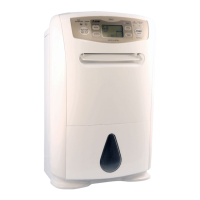
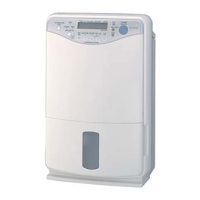
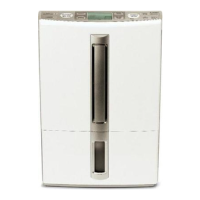
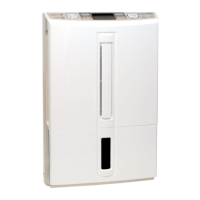
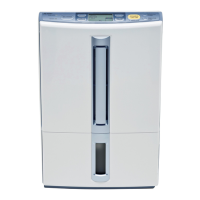
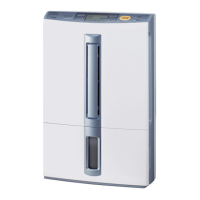
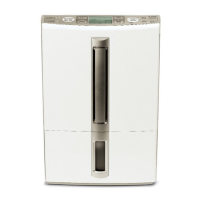
Identifies and describes components located on the front and rear of the unit.

Control Panel and LCD Display

Control Panel and LCD Display Explanation

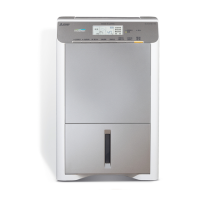
Explains the control panel buttons, modes, and LCD indicators for operation.

Specifications

Outer Dimensions

Wiring Diagram

Electrical Circuit and Safety Devices

Details the wiring diagram and lists safety devices incorporated in the unit.

Board Diagrams

Control Board Diagrams

Presents detailed diagrams of the power and operation control boards.

Function

Function List by Operation Mode

Lists the functions and operational status of components for each operating mode.

Technical Points

Coolant Circuit and Performance Insights

Explains the coolant circuit and provides insights on performance, including FAQs.

Precautions for failure diagnosis

Safe Troubleshooting Practices

Outlines critical safety precautions to follow during failure diagnosis and troubleshooting.

Troubleshooting procedure

Failure Diagnosis Flowchart

Provides a step-by-step flowchart for diagnosing unit malfunctions and failures.

Simple Check Table for Main Parts

Component Testing Procedures

Details testing procedures and resistance values for key internal components.

Error Indications and Corrective Actions

Self-Test Program and Execution Procedure

Deactivating Restart Lock and Basic Functions

Explains how to deactivate the restart lock and the functions activated during the self-test.

Self-Test Modes

LED, LCD, and Fan Test Modes

Describes modes for testing the unit's LED indicators, LCD panel, fan, operation history, and demo program.

Troubleshooting

Common Symptoms and Remedies

Addresses common unit symptoms with their likely causes and recommended remedies.

Digital Display Error Messages

Explains error codes displayed on the digital panel and how to resolve them.

Maintenance

Cleaning and Filter Care

Provides instructions for cleaning the unit, water tank, pre-filter, and air filter.

Replacement Parts and Storage

Air Filter Replacement and Unit Storage

Guides on air filter replacement, unit storage, and disposal procedures.

Service Checklist

Post-Repair Inspection and Customer Explanation

Lists essential checks after repair and guidance for customer explanation.

Precautions for Disassembly and Reassembly

Critical Disassembly and Reassembly Safety

Highlights essential safety precautions for disassembling and reassembling the unit.

Service and Inspection Safety Guidelines

Disassembly and Reassembly Hints

Removing Key Components (Tank, Panel, Filter)

Step-by-step guides for removing the water tank, front panel, and air filter.

Disassembly: Casing and Control Boards

Front Casing Assembly and Control Board Removal

Details on removing the front casing assembly and control boards.

Disassembly: Power Board, Condenser, Rear Casing

Power Board, Condenser, and Rear Casing Removal

Instructions for removing power control board, condenser, and rear casing.

Disassembly: Motor, Sensors, Valve, Plug Cord

Motor, Sensors, Valve, and Plug Cord Removal

Guides on removing stepping motor, sensors, solenoid valve, and plug cord.

Disassembly: Blower Fan and Assembly

Blower Fan, Motor, and Assembly Removal

Instructions for removing the blower fan, motor, and the entire fan assembly.

Disassembly: Float Switch and Drainpan

Float Switch and Drainpan Removal

Details on removing the float switch and the drainpan assembly.

Disassembly: Compressor/Heat Exchanger

Compressor and Heat Exchanger Assembly Removal

Guides on removing the compressor and heat exchanger assembly.

Parts Catalog

Casing and Structure Exploded View

Exploded view diagram illustrating the casing and structural parts of the unit.

Parts List: Casing and Structure

Casing and Structure Parts List

List of casing and structural parts with part numbers and compatibility information.

Parts List: Casing and Structure (Continued)

Casing and Structure Parts List (Continued)

Continuation of the parts list for casing and structural components.

Parts List: Electrical Components

Electrical Parts List

List of electrical parts including part numbers and compatibility.

Parts List: Compressor Components

Compressor Parts List

List of compressor-related parts with part numbers and compatibility.

Related product manuals