-
184
-
'20 • PAC-SM-351
1. To remove the service panel
(1) Remove 5 service panel fixing screws and remove it.
2. To remove the fan motor (FM)
(1) Remove the service panel.(See No.1)
(2) Disconnect the motor connector(FMxx) on PCB in control box.
(3)
Remove 4 fan guard
ews and remove it.(
mark)
(4)
Remove the propeller fan fixing nut and remove it.(
mark)
(5)
Remove 4 fan motor fixing nuts and remove it.(
mark)
3. To remove the 4-way valve (20S)
(1) Remove the service panel.(See No.1)
(2) Disconnect the coil of 4-way valve connector
(CNS,CNNx) on PCB in control box.
(3) Remove the coil of 4-way valve fixing screws
(
mark) and remove it.
(4) Remove welded part of 4-way valve by
welding. (
mark)
4. To remove the high pressure sensor (PSH)
(1) Remove the service panel.(See No.1)
(2) Disconnect the PSH connector(CNLx) on PCB in control box.
(3) Turn PSH to the le
and remove it.
(Double spanners are needed.)
5. To remove the electronic expansion valve (EEV)
(1) Remove the service panel.(See No.1)
(2) Disconnect the EEV connector(CNEEVx) on PCB in control box.
(3) Remove the coil of EEV by pull out on the top.
(4)
Remove welded part of EEV by welding. (
mark)
6. To remove the high pressure switch (63H)
(1) Remove the service panel.(See No.1)
(2) Disconnect the 63H connector(CNH or CNQx) on PCB
in control box.
(3) Remove the met
fixing screws and remove it.
(
mark)
(4) Remove welded part of high pressure switch by
welding. (
mark)
7. To remove bypass valve (SV)
(1) Remove the service panel.(See No.1)
(2) Disconnect the SV connector(CNNxx) 8. To remove the temperature sensors
(example"Tho-D1")
on PCB in control box.
(1) Remove the service panel.(See No.1)
(3) Remove the coil of SV
ews.
(2) Disconnect the Tho-D1 connector(CNTH) on PCB
(
mark)
in control box.
(4) Remove 2 coil of SV fixing screws
(4) Pull out the temperature sensor "Tho-D1 , THxx"
and remove it.(
mark)
from the sensor holder.
(5) Remove welded part of SV by welding.
(
mark)
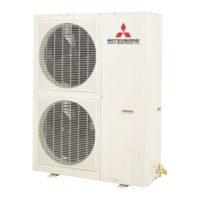
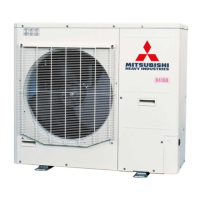
(2) Outdoor units
PCA012D087
 Loading...
