Maintenance techniques, tools
and working facilities
o- 1-i
safely be applied to it. The figures listed here are approximate for Grade
2 and Grade 3 fasteners. Higher grades can tolerate higher torque values.
Fasteners laid out in a pattern, such as cylinder head bolts, oil pan
bolts, differential cover bolts, etc., must be loosened or tightened in se-
quence to avoid warping the component. This sequence will normally be
shown in the appropriate Chapter. If a specific pattern is not given, the fol-
lowing procedures can be used to prevent warping.
Initially, the bolts or nuts should be assembled finger-tight only. Next,
they should be tightened one full turn each, in a criss-cross or diagonal
pattern. After each one has been tightened one full turn, return to the first
one and tighten them all one-half turn, following the same pattern. Finally,
tighten each of them one-quarter turn at a time until each fastener has
been tightened to the proper torque. To loosen and remove the fasteners,
the procedure would be reversed.
Component disassembly
Component disassembly should be done with care and purpose to
help ensure that the parts go back together properly. Always keep track
of the sequence in which parts are removed. Make note of special charac-
teristics or marks on parts that can be installed more than one way, such
as a grooved thrust washer on a shaft. It is a good idea to lay the disas-
sembled parts out on a clean surface in the order that they were removed.
It may also be helpful to make sketches or take instant photos of compo-
nents before removal.
When removing fasteners from a component, keep track of their loca-
tions. Sometimes threading a bolt back in a part, or putting fhe washers
and nut back on a stud, can prevent mix-ups later. If nuts and bolts cannot
be returned to their original locations, they should be kept in a compar-
tmented box or a series of small boxes. A cupcake or muffin tin is ideal for
this purpose, since each cavity can hold the bolts and nuts from a particu-
lar area (i.e. oil pan bolts, valve cover bolts, engine mount bolts, etc.). A
pan of thistypeisespecially helpful when working on assemblies with very
small parts, such as the carburetor, alternator, valve train or interior dash
\
and trim pieces. The cavities can be marked with paint or tape to identify
the contents.
Whenever wiring looms, harnesses or connectors are separated, it is
a good idea to identify the two halves with numbered pieces of masking
tape so they can be easily reconnected.
Gasket sealing surfaces
Throughout any vehicle, gaskets are used to seal the mating surfaces
between two parts and keep lubricants, fluids, vacuum or pressure con-
tained in an assembly.
Manytimesthese:gasketsarecoatedwithaliquidorpaste-typegasket
sealing compound before assembly. Age, heat and pressure can some-
timescausethetwo parts to sticktogetherso tightlythatthey are verydiffi-
cult to separate. Often, the assembly can be loosened by striking it with
a soft-face hammer near the mating surfaces. A regular hammer can be
used if a block of wood is placed between the hammer and the pat-t. Do
not hammer on cast parts or parts that could be easily damaged. With any
particularly stubborn part, always recheck to make sure that every fasten-
er has been removed.
Avoid using a screwdriver or bar to pry apart an assembly, as they can
easily mar the gasket sealing surfaces of the parts, which must remain
, smooth. If prying is absolutely necessary, use an old broom handle, but
keep in mind that extra clean up will be necessary if the wood splinters.
After the parts are separated, the old gasket must be carefully scraped
off and the gasket surfaces cleaned. Stubborn gasket material can be
soaked with rust penetrant or treated with a special chemical to soften it
so it can be easily scraped off. A scraper can be fashioned from a piece
of copper tubing by flattening and sharpening one end. Copper is recom-
mended because it is usuallysofterthan the surfaces to be scraped, which
reduces the chance of gouging the part. Some gaskets can be removed
with awire brush, but regardless of the method used, the mating surfaces
must be left clean and smooth. If for some reason the gasket surface is
gouged, then a gasket sealer thick enough to fill scratches will have to be
used during reassembly of the components. For most applications, a
non-drying (or semi-drying) gasket sealer should be used.
Hose removal tips
Warning:
If the vehicle is equipped with air conditioning, do not discon-
nectanyoftheA/C hoses withoutfirsthaving thesystemdepressurizedby
a dealer service department or a service station.
Hose removal precautions clbsely parallel gasket removal precau-
tions. Avoid scratching or gouging the surface that the hose mates against
or the connection may leak. This is especially true for radiator hoses. Be-
cause of various chemical reactions, the rubber in hoses can bond itself
to the metal spigot that the hose fits over. To remove a hose, first loosen
the hose clamps that secure it to the spigot. Then, with slip-joint pliers,
grab the hose at the clamp and rotate it around the spigot. Work it back
and forth until it is completely free, then pull it off. Silicone or other lubri-
cants will ease removal if they can be applied between the hose and the
outside of the spigot. Apply the same lubricant to the inside of the hose
and the outside of the spigot to simplify installation.
As a last resort (and if the hose is to be replaced with a new one any-
way), the rubber can be slit with a knife and the hose peeled from the spig-
ot. If this must be done, be careful that the metal connection is not
damaged.
If a hose clamp is broken or damaged, do not reuse it. Wire-type
clamps usually weaken with age, so it is a good idea to replace them with
screw-type clamps whenever a hose is removed.
Tools
A selection of good tools is a basic requirement for anyone who plans
to maintain and repair his or her own vehicle. For the owner who has few
tools, the initial investment might seem high,, but when compared to the
spiraling costs of professional auto maintenance and repair, it is a wise
one.
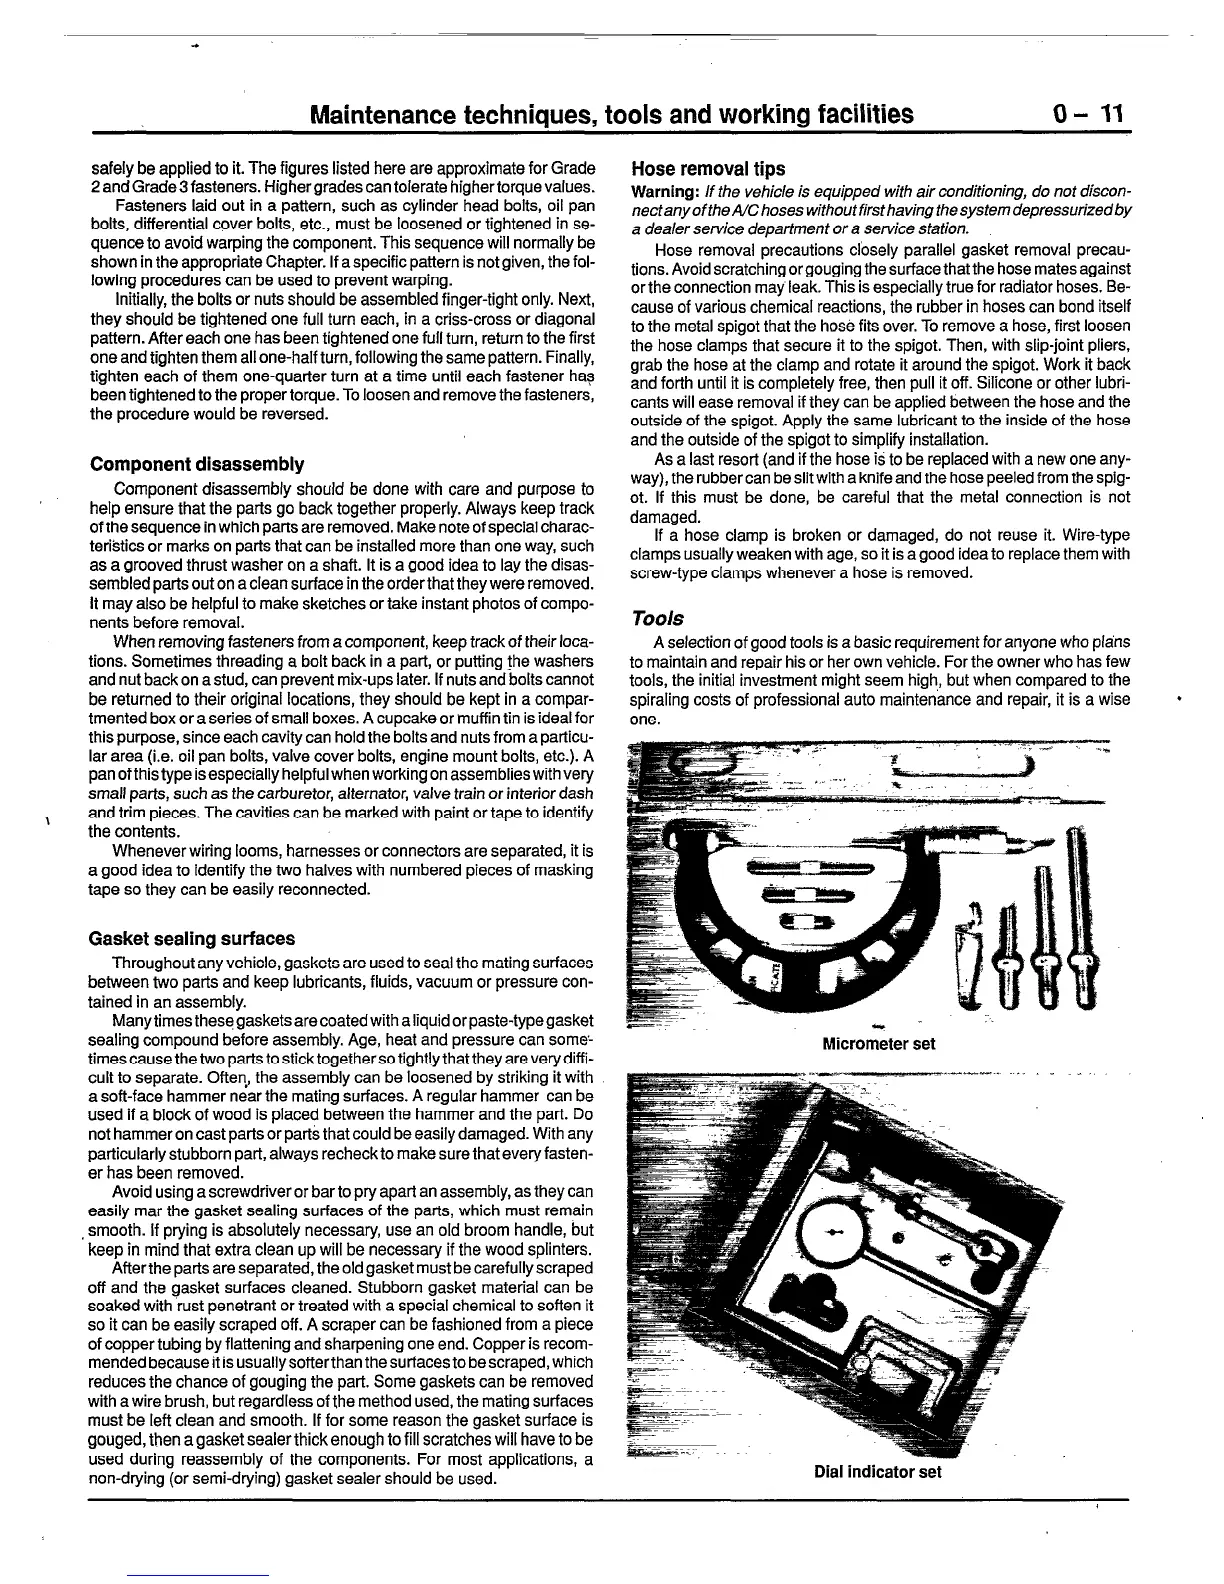
Micrometer set
Dial indicator set
 Loading...


