EasyManua.ls Logo

Mobius 2 User Manual

Mobius 2
11 pages
To Next Page IconTo Next Page
Page #1 background imageLoading...
Page #1 background image
User Guide for the Mobius2 ActionCam
Description
The above picture shows the arrangement of the user operating features.
On the bottom of the case there are 4 screw holes which can be used to attach a
copper base for a tripod mount. These screw holes are part of the heatsink and can
become very hot during usage. Likewise, the copper base will become hot. This is
normal. You should never leave the camera turned on in extreme heat without proper
cooling - for example in a car parked in the baking sun. If you wish to use the camera
in very hot conditions you should ensure the camera is adequately cooled, for
example by directing cool air onto the camera or using a ventilator to dissipate the
heat away from the camera. High temperatures will also damage the internal LiPo
battery. If you use your camera in very hot conditions with external power, for
example as a dashcam, you should consider replacing the battery with a Super
Capacitor.
This manual does not cover replacing the internal battery or lens.
This manual assumes the camera is loaded with the latest firmware available at the
time of writing. Functionality may vary with earlier or later firmware versions.
Cards
You should always use micro SDHC or Micro SDXC cards with a class rating of 10 or
above. The cards must be formatted as FAT32 (see below). Currently, all cards with
a capacity up to 200GB are supported
Question and Answer IconNeed help?

Do you have a question about the Mobius 2 and is the answer not in the manual?

Mobius 2 Specifications

General IconGeneral
CategoryAction Cameras
Video Resolution1080p
SensorCMOS
Video Format.MOV
StorageMicroSD
Battery820mAh
ConnectivityUSB

Summary

Formatting

Operational Indicators and Connectivity

Charging Process

Details how to charge the camera and notes on chargers.

Camera Operation Modes

Start/Stop Video Recording

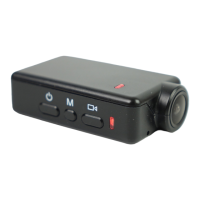
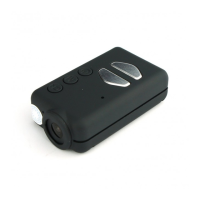
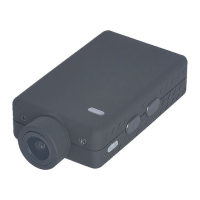
Explains how to start and stop video recording.

Advanced Features and Configuration

GUI Configuration (mSetup)

Recommends using mSetup for camera configuration.

Software and Firmware Management

mSetup Configuration Tool

Details using mSetup for camera settings and clock sync.

Firmware Update Process

Explains the importance of updating firmware.

Automatic Firmware Update

Recommends mSetup for easy firmware updates.

Manual Firmware Update (Method 1)

Details manual firmware update without button presses.

Manual Firmware Update (Method 2)

Method 2 (Press Power Button)

Details manual firmware update using the power button.

External Power Supply Usage

Advanced Settings and Features

Troubleshooting Common Issues

Power Button Not Working

Addresses issues with the power button.

LED Blinking Errors

Explains LED blinking patterns indicating errors.

Recording Issues (LED Blinking)

Troubleshoots problems with red LED blinking during recording.

Short Clips / Auto Turn Off

Addresses issues with short recordings or unexpected power off.

Camera Unresponsive

Provides steps for when the camera does not react.

Further Troubleshooting

Not Recognized as Disk

Addresses issues with PC recognizing the camera as a disk drive.

Related product manuals