Do you have a question about the Mobius Mini ActionCam and is the answer not in the manual?
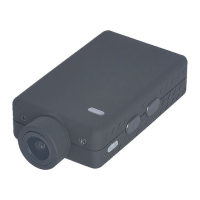
Overview of camera operating features and manual assumptions regarding battery, lens, and firmware.
Details on recommended micro SDHC/SDXC card classes and formatting options for reliable operation.
Information about the 10-pin Mini USB connector and its compatibility with standard cables.
Specifies standard 5-pin USB cables for data/charging and a special 10-pin for A/V out.
Ensures the internal battery is fully charged before the first use of the camera.
How to use the reset button located near the USB socket to restart the processor.
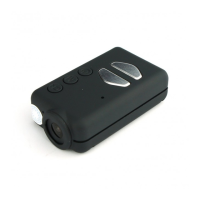
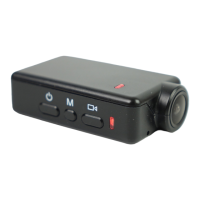
Instructions for turning the camera on and off using the power button.
Details on cycling through Video Mode 1, Video Mode 2, Photo Mode, and Playback Mode.
How to use the shutter button to start/stop recording or take pictures.
Explanation of LED states for standby, recording, photo capture, and charging.
Describes the rear LED's function as a recording indicator synchronized with the main LED.
Steps for connecting the camera to a PC as an external drive for setup or data access.
Procedure for charging the camera using a USB cable and power source.
How the camera automatically powers off in standby mode and how to disable it.
Detailed instructions on turning the camera on and off.
Explanation of how to change camera modes using the Mode button.
How to start and stop video recording in Mode 1 or Mode 2.
Instructions for taking still pictures using the shutter button.
Connecting the camera to PC as a disk drive for file access.
Two methods to connect the camera to the PC in Webcam mode.
Use mSetup.exe to configure camera settings and synchronize the internal clock.
Configure settings using the On Screen Display (OSD) connected to an external monitor.
How to navigate and use the On Screen Display (OSD) menu for settings and playback.
Instructions for updating the camera's firmware using software or manual file transfer.
Alternative method for manual firmware update by pressing the power button.
Using an external USB 5V DC power supply for simultaneous charging and recording.
Enabling or disabling loop recording for continuous recording by overwriting old clips.
Solutions for camera not powering on or rapid LED blinking indicating card issues.
Troubleshooting short clips, camera turning off, or card compatibility problems.
Steps to resolve a camera that does not react, including reset and battery checks.
Troubleshooting when the camera is not recognized as a removable disk or by software.
Addressing situations where files appear corrupt or the camera fails to charge/record.
Resolving erratic playback, stutters, color issues, or corrupted blocks during playback.
Ensuring video is not black by checking if the lens cap is removed.
Addressing buzzing or clicking noise during playback by using quality SD cards.
| Photo Format | JPEG |
|---|---|
| Video Resolution | 1920x1080 (Full HD) |
| Frame Rate | 60 fps |
| Field of View | 120 degrees |
| Battery Life | Approx. 80 minutes |
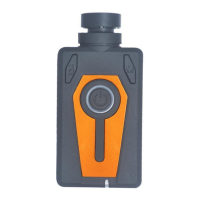
| Water Resistance | No (requires housing) |
| Video Format | .MOV |
| Lens | Wide-angle |
| Storage | MicroSD |
| Battery | Li-ion |
| Sensor | 1/3" CMOS |
| Dimensions | 60mm x 30mm x 30mm |
| Connectivity | Wi-Fi |
| Operating Temperature | 0°C to 40°C |