EasyManua.ls Logo

Moen 84763 User Manual

Moen 84763
12 pages
To Next Page IconTo Next Page
Page #1 background imageLoading...
Page #1 background image
Please Contact Moen First
For Installation Help, Missing or
Replacement Parts
(USA)
1-800-BUY-MOEN (1-800-289-6636)
WWW.MOEN.COM
(Canada)
1-800-465-6130
WWW.MOEN.CA
Por favor, contáctese primero
con Moen
Para obtener ayuda de instalación, piezas
faltantes o de recambio
011 52 (800) 718-4345
WWW.MOEN.MX
Veuillez d’abord contacter Moen
en cas de problèmes avec l’installation, ou pour obte-
nir toute pièce manquante ou de rechange
1-800-465-6130
WWW.MOEN.CA
HELPFUL TOOLS
For safety and ease of
faucet replacement, Moen
recommends the use of
these helpful tools.
HERRAMIENTAS ÚTILES
Para que el cambio de la
llave sea fácil y seguro,
Moen le recomienda usar
estas útiles herramientas.
OUTILS UTILES
Par mesure de sécurité et
pour faciliter l’installation,
Moen suggère l’utilisation
des outils suivants.
Register Online:
Regístrese en línea:
S’enregistrer en ligne :
www.moen.com/product-registration
Record Purchased Model Number:
Registro del número de modelo comprado:
Consigner ici le numéro du modèle acheté :
_______________________
(Save instruction sheet for future reference)
(Guarde la hoja de instrucciones para futura referencia)
(Garder ces directives pour référence ultérieure)
Image is for reference only
(Style varies by model)
La imagen es sólo como referencia
(El estilo varía por el modelo)
Cette image n'est oerte qu'à titre indicatif seulement
(Le style varie selon le modèle)
INS10626A - 10/18
TWO HANDLE LAVATORY FAUCET
MEZCLADORA PARA LAVABO
DE DOS MANERALES
ROBINET DE LAVABO À
DEUX POIGNÉES
Sealant
Sellador
Mastic
M EO N
P N/ 99 519
Lubricant
Lubricante
Lubriant
Question and Answer IconNeed help?

Do you have a question about the Moen 84763 and is the answer not in the manual?

Moen 84763 Specifications

General IconGeneral
Model Number84763
BrandMoen
FinishChrome
Handle StyleLever
Flow Rate1.2 GPM
Drain Assembly IncludedYes
Drain TypePop-up
ADA CompliantYes
Handle TypeLever
Product TypeFaucet
Compatibility3-hole sink
WarrantyLimited Lifetime Warranty
Faucet TypeBathroom Faucet
Mounting TypeDeck Mount

Summary

Contact and Registration Information

Moen Customer Support Contacts

Provides phone numbers and websites for installation assistance and replacement parts in USA, Canada, and Mexico.

Product Registration

Instructions for recording the model number and registering the product online for future reference.

Faucet Components and Safety

Parts Identification Lists

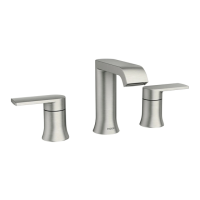
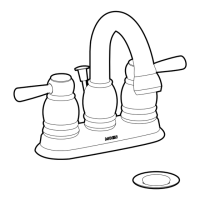
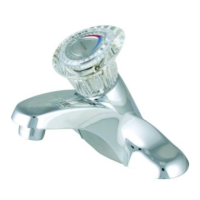
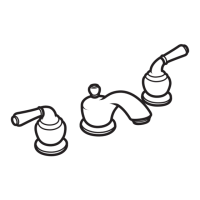
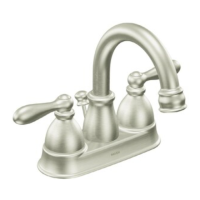
Lists and labels all faucet parts in English, Spanish, and French for easy identification.

Safety and Handling Precautions

Key safety warnings for removing old faucets and general handling instructions.

Icon Legend

Explains the meaning of icons used throughout the installation diagrams.

Faucet Parts and Cleaning

Additional Parts Identification

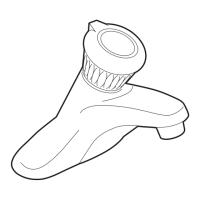
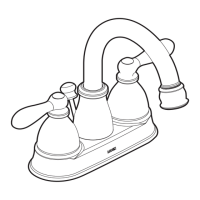
Lists additional faucet components in English, Spanish, and French.

Spot Resist™ Finish Cleaning Instructions

Detailed cleaning guidelines for maintaining the faucet's finish and warranty.

Faucet Installation - Part 1

Spout, Mounting Bracket, and Nut Installation

Steps for installing the spout assembly, mounting bracket, and securing the mounting nut.

Faucet Installation - Part 2

Sealant and Valve Body Mounting

Instructions for applying sealant and threading lower mounting nuts onto valve bodies.

Faucet Installation - Part 3

Clip Attachment and Hose Connection

Steps for attaching clips to valve bodies and connecting the hose assembly.

Faucet Installation - Part 4

Stem Rotation and Handle Assembly

Guidance on rotating stem extensions and attaching the handle assembly.

Faucet Installation - Part 5

Lift Rod and Pivot Rod Installation

Instructions for installing the lift rod, drain nut, and pivot rod components.

Faucet Installation - Part 6

Pivot Rod Clamp and Supply Lines

Steps for securing the pivot rod clamp and connecting the water supply lines.

Post-Installation Procedures

Final Checks and Product Flushing

Includes placing the ID label, checking for leaks, and flushing the faucet.

Filter Maintenance and Flushing

Filter Removal, Cleaning, and Reassembly

Detailed steps for removing, flushing, lubricating, and reinstalling the screen filter.

Warranty and Final Connections

Hose Connection Test and Warranty Information

Final hose connection test and details of Moen's limited lifetime warranty in multiple languages.

Related product manuals