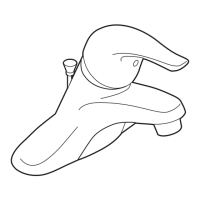
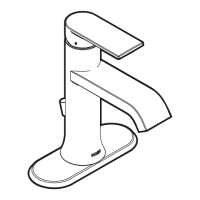
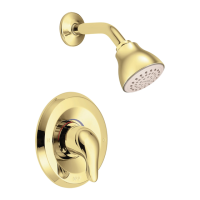
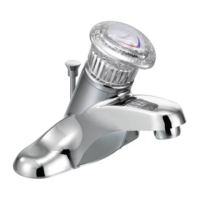
INSTALLATION INSTRUCTIONS (LEVER AND KNOB)
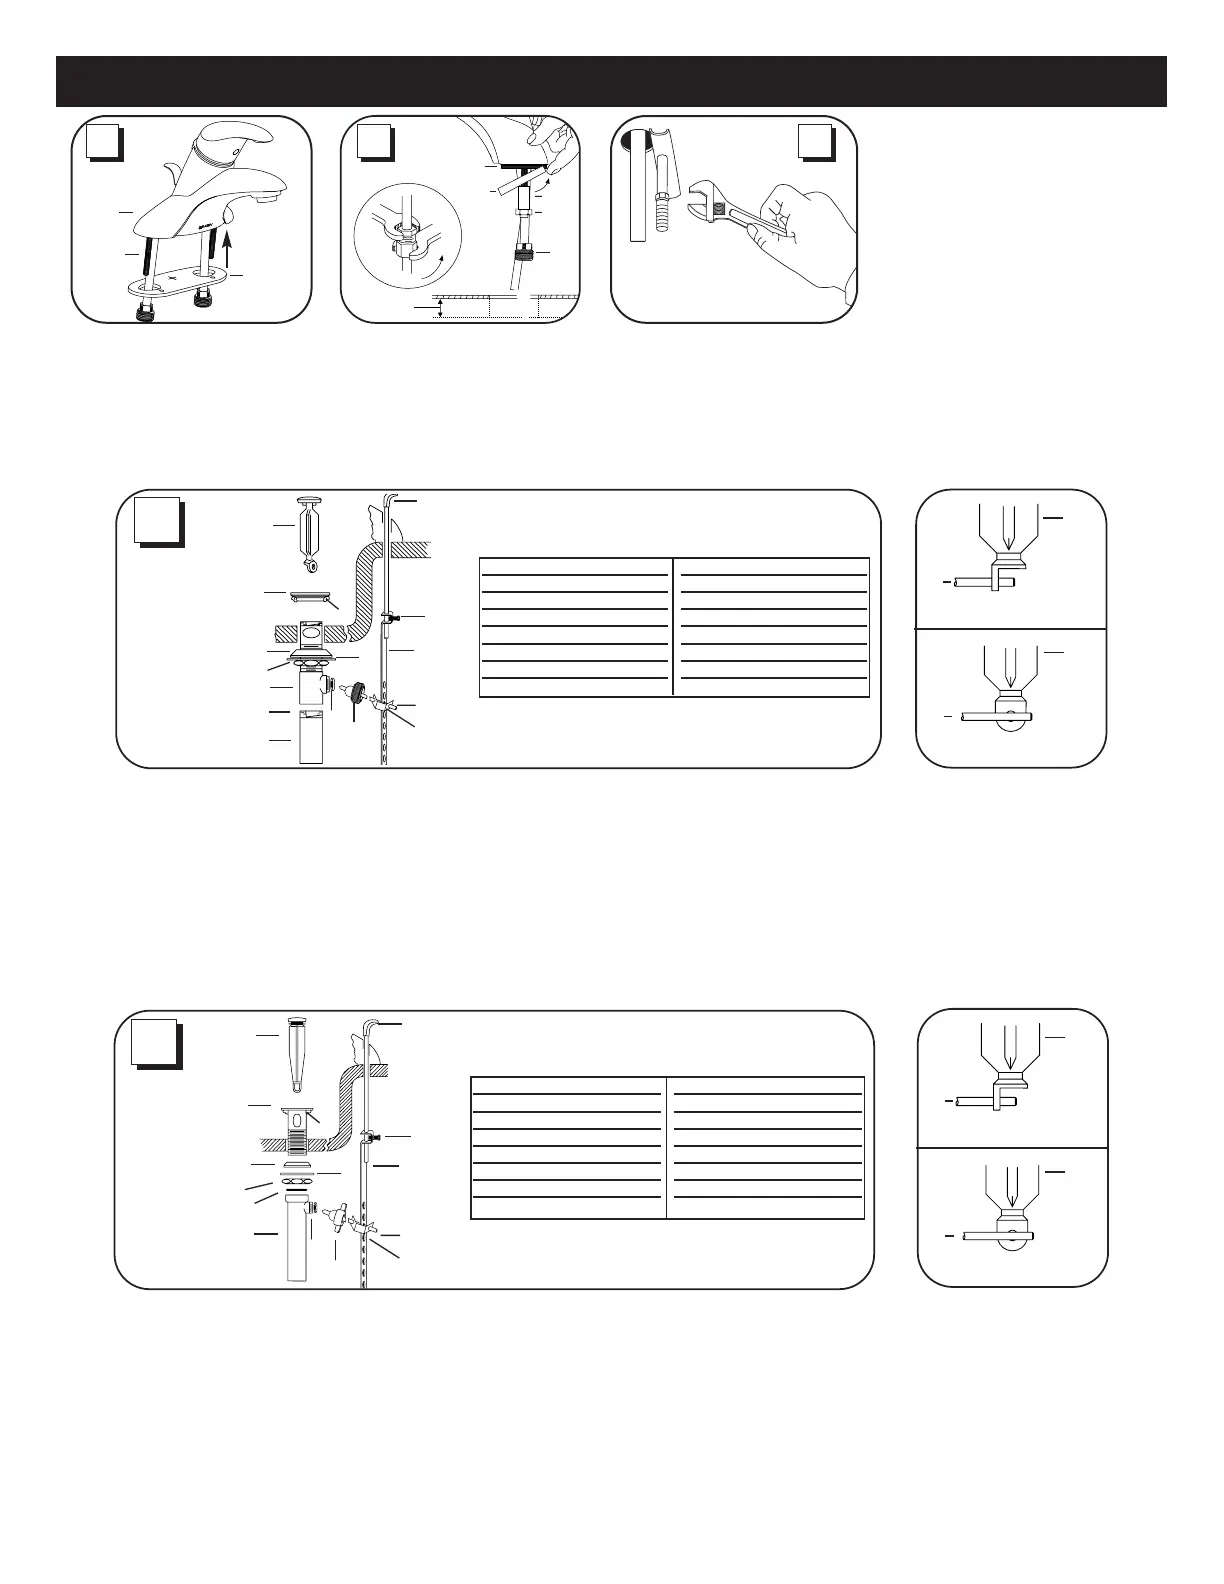
1. Be sure mounting surface is
clean and dry. Orient deck
gasket (20) as shown, then
assemble the deck gasket (20) to
the lav assembly, pushing the
gasket around the mounting
studs (17) until it is seated inside
the bottom lip of the escutcheon.
CAUTION: Severe bends of the supply lines may cause crimping and restricted
water flow could result. If using flexible supply lines (not included) thread supply
line nuts onto tailpiece adapter (19) finger-tight, then holding tailpiece adapter
with wrench, tighten nut with another wrench, rotating one half turn.
2. Install clamp bars (21) (channel facing up), spacers (22) and mounting nuts
(23). Tilt clamp bar back as shown, then drop faucet with supplies attached
down through deck.
(Note: on decks thicker than 3/4" (19mm) do not use spacer).
20
17
15
1. Place plumber's putty (14) under seat (3).
2. Drop seat into drain opening in sink.
3. From underneath the sink, slide the bottom gasket (4), mounting washer (5)
and mounting nut (6) onto drain seat and hand tighten.
4. Fit seal (13) inside the drain tailpiece (7).
5. Install the tailpiece and hand tighten. Align the entire assembly so that the pivot
rod opening is facing the rear of the sink, hand tighten the mounting nut (6) until
snug.
6. Drop in drain plug (1) and install pivot rod in one of the following ways:
(A) VANDALPROOF: Prevents unauthorized removal of drain plug. Place pivot
rod seat (8) into opening of tailpiece as shown. Place the pivot rod (15) into the
opening and position the pivot rod through the drain plug hole as shown in
illustration (A) above. Slide the pivot nut (9) onto the pivot rod and thread it snugly
onto the drain body, be careful not to overtighten.
(B) EASY REMOVAL: For quick removal of drain plug for cleaning, follow
instructions above except position parts as shown in illustration (B) above.
7. With lift rod (2) in position on the faucet, insert the end into the lift rod strap (10)
and secure with lift rod strap screw (11).
8. Connect the pivot rod (15) to the lift rod strap using the spring clip (12) as
shown above.
9. Place the drain plug in the full open position, loosen lift rod strap screw and
adjust lift rod height so that the knob clears the faucet. Tighten the lift rod strap
screw. Installation is now complete.
14
11
10
15
12
1
3
8
9
4
6
7
13
5
2
B
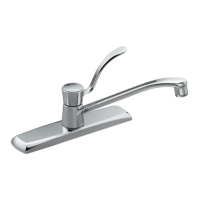
3. Check faucet and gasket position and
tighten mounting nuts (23) from below.
Connect flexible supply lines to your
existing hot and cold water supply lines.
IF YOU ARE NOT INSTALLING A WASTE
ASSEMBLY, faucet installation is now
complete. Faucet flushing is required. See
faucet flushing instructions under
maintenance section on page 3.
IF YOU ARE INSTALLING A MOEN
CHROME METAL WASTE ASSEMBLY, go
to installation instructions A below.
IF YOU ARE INSTALLING A MOEN GRAY
NON-METAL WASTE ASSEMBLY, go to
installation instructions B below.
1. Place plumber's putty (14) under seat (3).
2. Thread mounting nut (6), washer (5) and bottom gasket (4) onto drain body (7).
Wrap top threaded end of drain body with Teflon tape (16).
3. Position drain body up through drain opening and screw seat onto drain body.
4. Align the drain body so that the pivot rod opening faces the rear of the sink and
tighten the mounting nut snug.
5. Apply Teflon tape to the threaded end of tailpiece (13) and screw into the drain
body. Tighten firmly by hand.
6. Drop in drain plug (1) and install pivot rod in one of the following ways:
(A) VANDALPROOF: Prevents unauthorized removal of drain plug. Place pivot
rod seat (8) into opening of drain body as shown. Place the pivot rod (15) into the
opening and position the pivot rod through the drain plug hole as shown in
illustration (A) above. Slide the pivot nut (9) onto the pivot rod and thread it snugly
onto the drain body, be careful not to overtighten.
(B) EASY REMOVAL: For quick removal of drain plug for cleaning, follow
instructions above except position parts as shown in illustration (B) above.
7. With lift rod (2) in position on the faucet, insert the end into the lift rod strap (10)
and secure with lift rod strap screw (11).
8. Connect the pivot rod (15) to lift rod strap using spring clip (12) as shown
above.
9. Place the drain plug in the full open position, loosen lift rod strap screw and
adjust the lift rod height so that the knob clears the faucet. Tighten the lift rod
strap screw. Installation is now complete.
14
11
10
15
12
1
3
8
9
4
6
7
16
13
5
2
1
15
1
15
(A)
(B)
1
15
1
15
(A)
(B)
A
1 2 3
1 Drain Plug
2 Lift Rod & Knob
3 Seat
4 Bottom Gasket
5 Mounting Washer
6 Mounting Nut
7 Drain Body
8 Pivot Rod Seat
9 Pivot Nut
10 Lift Rod Strap
11 Lift Rod Strap Screw
12 Spring Clip
13 Tailpiece
14 Plumber’s Putty
15 Pivot Rod
16 Teflon Tape
1 Drain Plug
2 Lift Rod & Knob
3 Seat
4 Bottom Gasket
5 Mounting Washer
6 Mounting Nut
7 Tailpiece
8 Pivot Rod Seat
9 Pivot Nut
10 Lift Rod Strap
11 Lift Rod Strap Screw
12 Spring Clip
13 Seal
14 Plumber’s Putty
15 Pivot Rod
2
 Loading...