Do you have a question about the Moen Genta LX 6702BN and is the answer not in the manual?
Provides US customer service phone number and website for installation help and parts.
Provides Canadian customer service phone number and website for installation help and parts.
Provides Mexican customer service phone number and website for installation help and parts.
Lists recommended tools for safe and easy faucet replacement.
Essential safety step to turn off water before removing the old faucet.
Open faucet handle to relieve water pressure after shut-off.
Lists faucet body, mounting bracket, nut, deck plate, tool, gasket, lift rod, and strap.
Lists drain plug, seat, clip, gasket, washer, nut, body, and pivot rod components.
Explains icons for 'Above sink' and 'Below sink' placement.
Instructions for installing faucet body into a single sink opening with gasket.
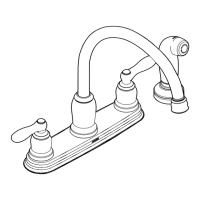
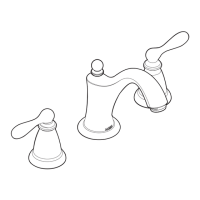
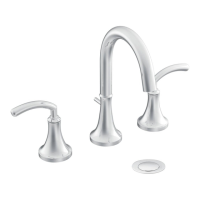
Instructions for installing faucet body with escutcheon into a 3-hole sink opening.
Slide mounting bracket onto the threaded shank from below the sink.
Use mounting tool and screwdriver to tighten the mounting nut and secure the bracket.
Clean sink drain area and apply sealant to the underside of the drain seat.
Assemble drain gasket, washer, and nut onto the drain body and hand tighten.
Use wrench to tighten drain nut and ensure drain body opening faces the back.
Apply thread seal tape, install tail piece, and insert drain plug into opening.
Insert lift rod into faucet body opening and slide pivot rod strap onto it.
Finger tighten the hex bolt head for the pivot rod strap.
Ensure the plastic pivot rod seat is in place with the beveled side facing out.
Install pivot rod in either EASY CLEAN or VANDAL PROOF position.
Insert pivot rod and finger tighten the pivot rod nut.
Slide clip onto rod, position strap, pass rod through clip/strap, squeeze clip to adjust.
Loosen the strap bolt to allow lift rod movement.
Position knob and plug at specific heights and tighten bolt.
Remove and discard protective caps from supply stops.
Connect supply lines to shut-off stops and tighten with a wrench.
Instructions for cleaning Spot Resist finishes using mild soap and water.
Warning against using abrasive cleaners or chemicals that may damage the finish.
Steps to turn off water and disconnect supply lines for troubleshooting.
Immerse filter hoses in water and agitate to remove debris.
Connect supply lines, ensuring the labeled line connects to the hot supply stop.
Tighten connections with a wrench and turn on water to check for leaks.
Covers leak-free operation and defects in material/workmanship for original consumer owners.
Covers industrial, commercial, and business use for 5 years from purchase.
Excludes damage from installation errors, abuse, misuse, or certain cleaners; excludes labor charges.
Instructions on how to claim warranty by contacting Moen with proof of purchase.
| Brand | Moen |
|---|---|
| Model | Genta LX 6702BN |
| Category | Plumbing Product |
| Language | English |