12
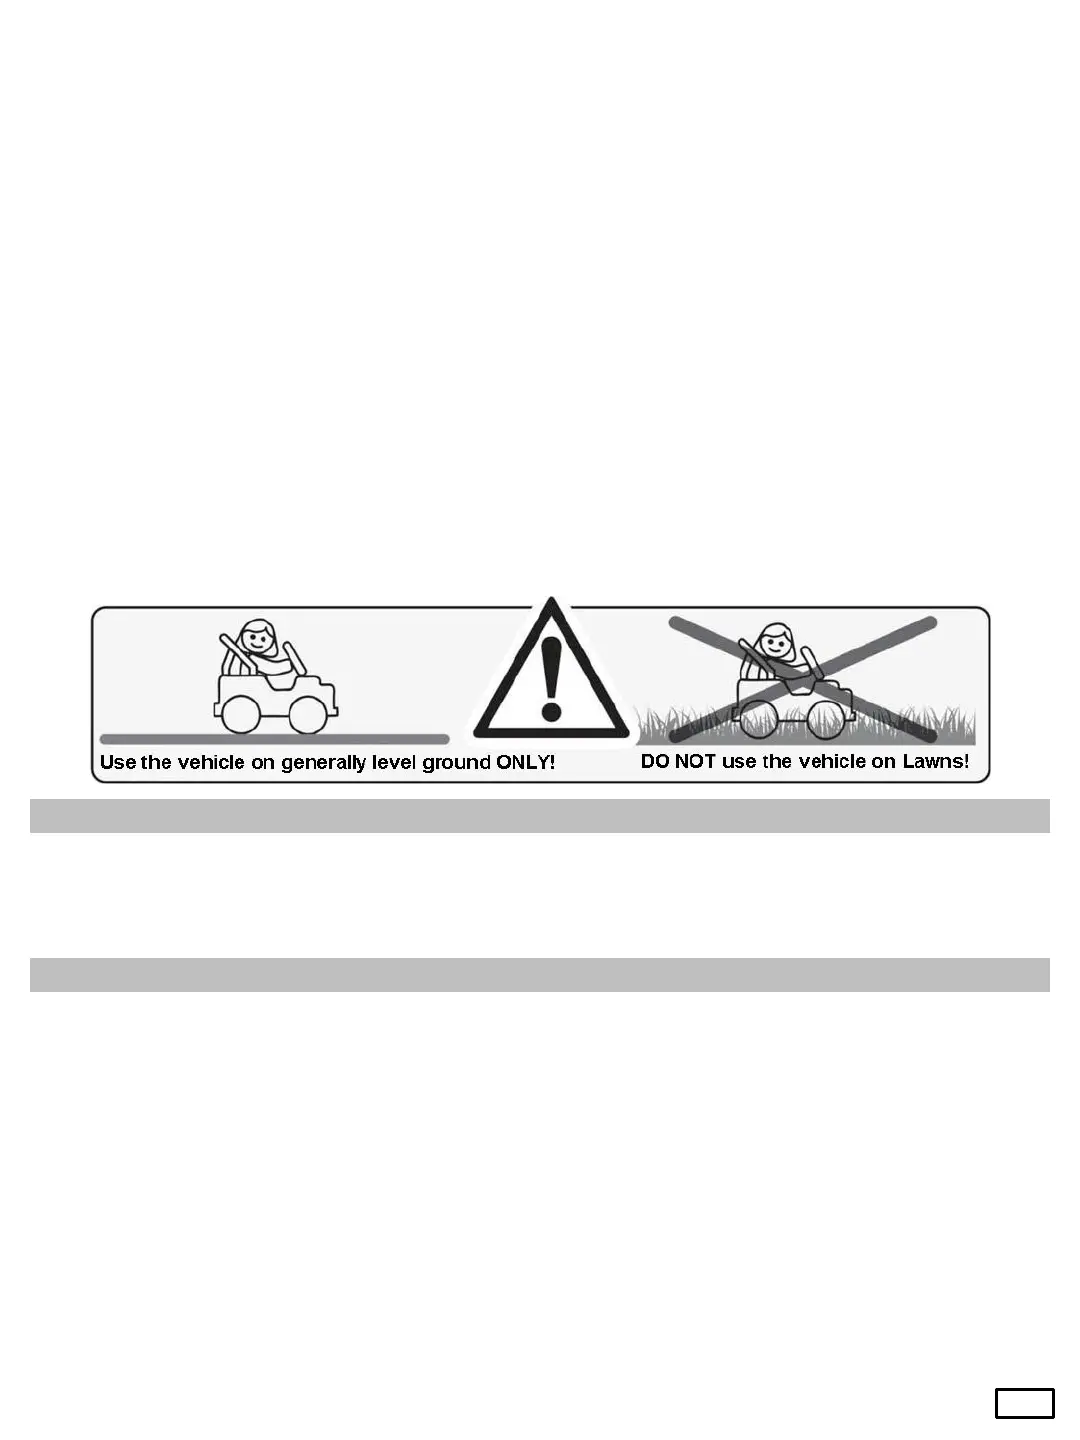
•Never use on lawns or other grass areas, on or near steep slopes.
•Avoid sandy or other hard and rough surfaces. Do not use in poor weather (snow, rain, strong wind), or at places that are
poorly lit, or places with poor visibility or with obstacles.
•Never use in the dark.Your child may encounter unexpected obstacles resulting in an accident. Use only during the day or
at places that are well lit.
It is forbidden to shorten the terminals of the electric cables or to add other electric parts.
Periodically check the wires, bushings and connectors.
Do not allow children to touch the wheels or be close to them, when the battery operated car is in motion.
The product has adjustable safety belts. Instruct the children to fasten their seat belts before use in order to guarantee
their safety.
Some accessories of the car may get damaged during improper driving, be careful.
DO not use suddenly the forwards/backwards switch, while the car is in motion. It can be used only while the toy is
stopped in place.
When restarting the motor there may be some sparks. It is forbidden to start the car in highly flammable and explosive
environments such as petrol stations.
An adult must read this instruction carefully and give correct guidelines to children before playing with this product. Show
them how to start and release the pedal, how to stop the car and how to act in case of malfunctions.
When you stop using the toy, turn off the power.
Do not change anything in the body and parts of the product. This may lead to destabilization of the toy and injury to your
child.
The following must be confirmed before using the product:
•Important! Before use of the product for the first time, the battery must be charged from 12 to 14 hours, but no more than
30 hours. Only an adult can charge and recharge the battery.
•Check regularly all screws, nuts and safety coverings and tighten them if necessary!
•Before each use check the seat. Whether it is correctly placed and mounted (installed) with the help of a screw.
•In order to avoid incidents, make sure that the battery operated car is entirely safe before use.
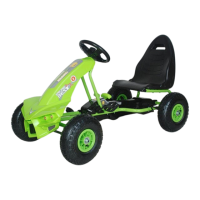
On figures PD and PD-1 on page 1 are shown the different parts of the battery operated vehicle Before you start to
assemble the battery operated car, take the parts out of the packaging and check whether all parts indicated in the list below
are present. Keep the packaging until you have completely finished the assembly.
A. Front wheels – 2 pcs; B. Rear wheels – 2 pcs; C. Gearbox – 2 pcs; D. Rearview mirrors – 2 pcs; E - Steering wheel – 1
pc; F. Car Body – 1 pc; G. Windshield - 1 pc; H. Seat – 1pc;
PARTS DIAGRAM
ASSEMBLY STEPS
The assembly must be performed by an adult, which takes about 30 minutes. Notice: Some parts may be pre-assembled at
the factory.
1.Installation of the wheels – See Figure 1:
•Turn the body of the car backwards in order to install the front wheels. Afterwards put the wheel on the axle. Attach a nut
and fix it using a wrench. Finally, put the wheel hub. Repeat on the other side.
• Place the rear wheel on the rear axle and align the ribbing on the wheel with the ribbing on the gearbox. Attach a nut and
fix it using a wrench. Finally, put the wheel hub. Repeat on the other side.
2.Attaching the seat – See Figure 2:
•The rechargeable battery is situated in a compartment bellow the seat. Before attaching the seat, connect the cables with
the battery terminals. Red plug must be connected to the red terminal. Never connect red plug with black terminal and vice
versa!
•Put the seat on the car body. Fix the seat using the screw and the screwdriver, shown on Figure 2.
3.Attaching the steering wheel – See Figure 3:
Remove the screw and nut of the top of the steering column. Connect the plugs of the cables, coming out of the car with the
ones of the cables of the steering wheel as shown in the figure. Put the steering wheel on top of the steering wheel and align
the openings for the fixing screw and use a screwdriver and nut to tighten it in place.
4. Attaching the windshield – See Figure 4:
Place the windshield in the opening in the body of the car, intended for it and press firmly down.
 Loading...