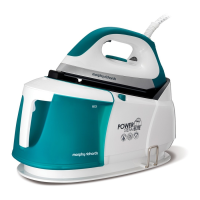
7
Disconnect the iron from the mains
supply outlet.
8
Hold the iron horizontally over a sink.
9
Press and hold down the
S
elf-Cleaning button Â.
10 Steam and boiling hot water will
d
rain from the holes in the soleplate,
washing away the scale and minerals
t
hat have built up inside the Steam
Chamber.
11 Gently move the iron back and forth
until the water tank is empty.
12 When cleaning is complete, release
the Self-Cleaning button Â.
13 Rest your steam iron back on it’s
heel and allow to fully cool down.
14 Wipe the soleplate with a cold, damp
cloth.
After this cleaning operation,
empty out any remaining water.
WARNING: Keep hands and body
away from the hot water.
WARNING: Do not attempt to
descale the soleplate with
descaling products.
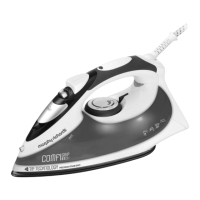
To clean a stainless steel
soleplate
(certain models only)
To keep the soleplate of your iron
clean and free of limescale, we
recommend that you use one of the
gentle chrome, silver or stainless
steel cleaners that are generally
available. Always follow the
manufacturers instructions. To clean
off melted man-made fibres set the
iron at 3 dot position and pass it
over a clean piece of cotton which
will draw the deposit off the surface.
To clean a coated
soleplate
(certain models only)
In the unlikely event of any man-
made fibre fusing to the soleplate,
set the iron at the 3 dot position and
pass it over a clean piece of cotton
which will draw the deposit off the
surface.
Do not use scouring powder or
solution as this could damage the
coating.
To clean the exterior
Allow the iron to cool and wipe over
with a damp cloth and mild
d
etergent, then wipe with a dry
cloth.
Helpline
I
f you have any difficulty with your
appliance, do not hesitate to call us.
We are more likely able to help than
t
he store from where you bought it.
Please have the following
information ready to enable our staff
to deal with your query quickly.
• Name of the product
• Model number as shown on the
underside of the appliance.
Your two year guarantee
It is important to retain the retailers
receipt as proof of purchase. Staple
your receipt to this back cover for
future reference.
Please quote the following
information if the product develops
a fault. These numbers can be
found on the base of the product.
Model no. Serial no.
All Morphy Richards products are
individually tested before leaving the
factory. In the unlikely event of any
appliance proving to be faulty within
28 days of purchase it should be
returned to the place of purchase
for it to be replaced.
If the fault develops after 28 days
and within 24 months of original
purchase, you should contact the
Helpline number quoting Model
number and Serial number on the
product, or write to Morphy
Richards at the address shown. You
may be asked to return a copy of
proof of purchase.
Subject to the exclusions set out
below (see Exclusions) the faulty
appliance will then be repaired or
replaced and dispatched usually
within 7 working days of receipt.
If for any reason this item is
replaced during the 2 year
guarantee period, the guarantee on
g
V
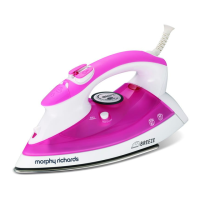
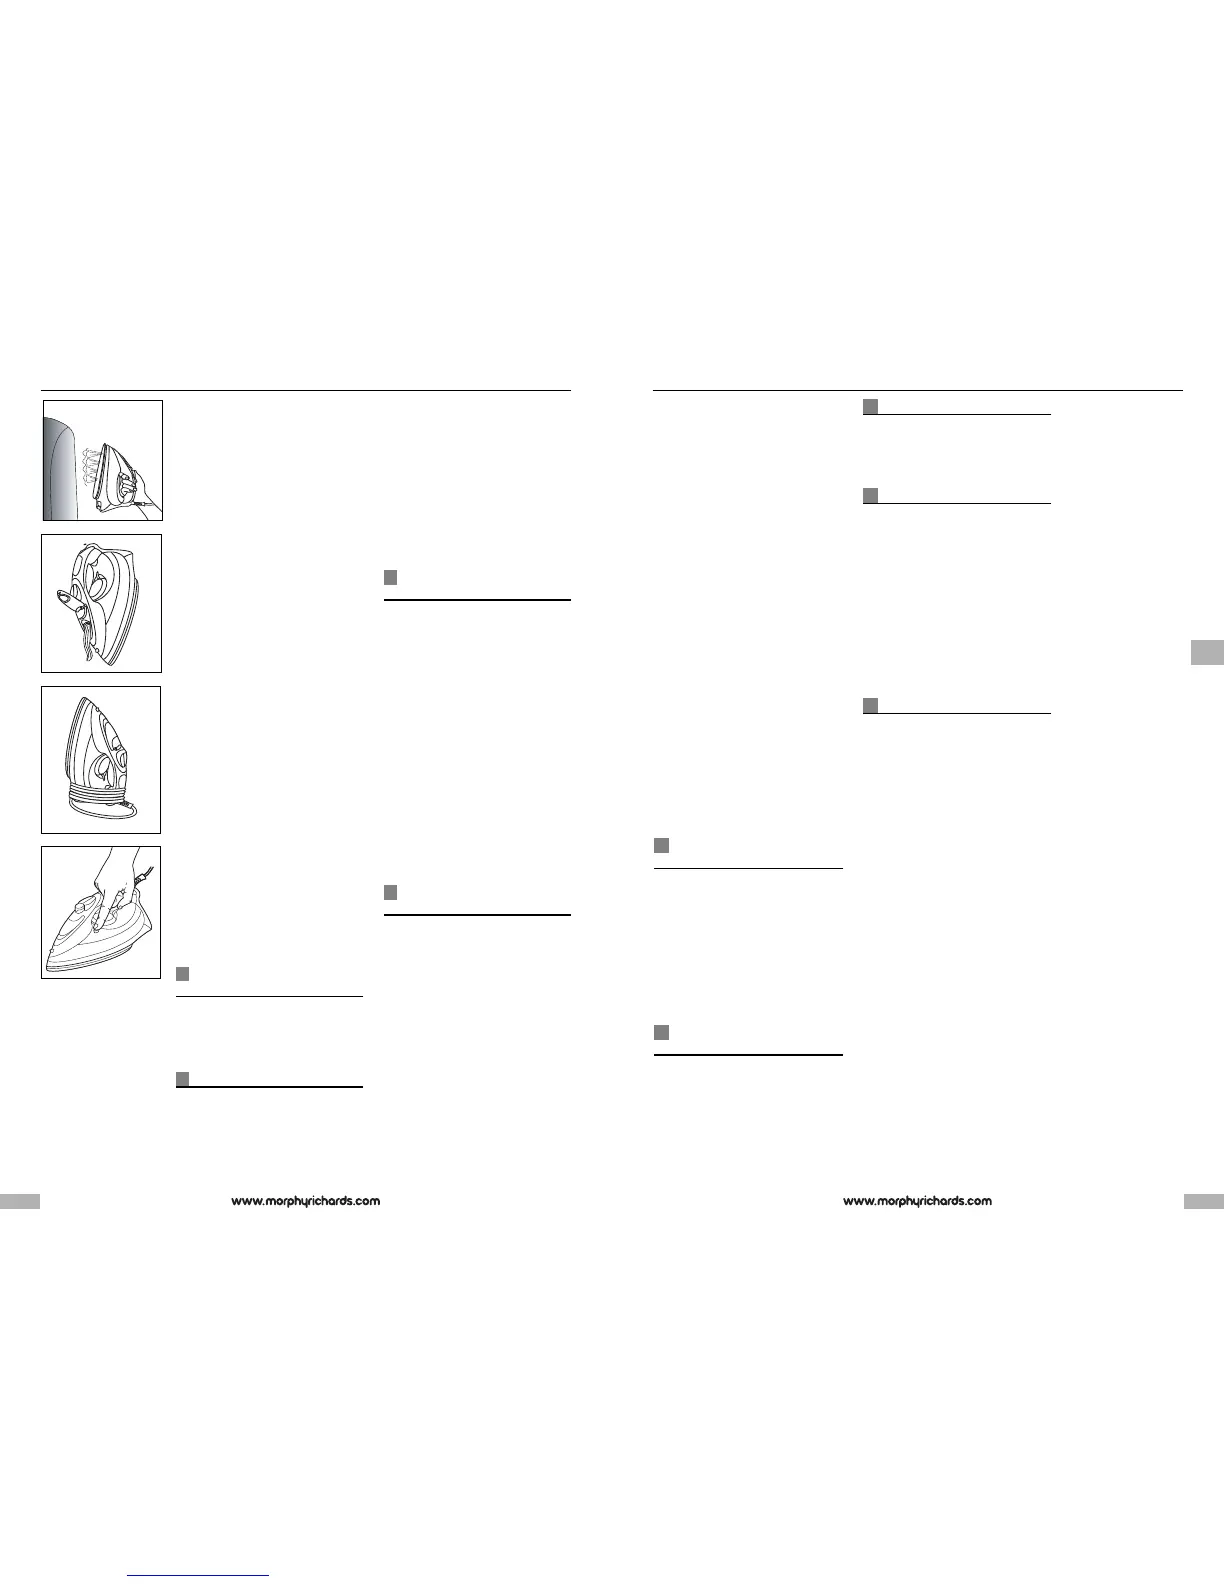
ertical steam
Hold the iron in a vertical position
between 1cm and 2cm away from the
i
tem D. Press the shot of steam
button ¤, this will create vertical
s
team. This feature is especially useful
f
or removing creases from hanging
clothes, curtains, wall hangings, etc.
N
ote; For optimum steam quality, do
not operate the shot more than three
t
imes in succession.
N
o drip system
Your iron is fitted with a no drip
system which is designed to prevent
water escaping from the soleplate
when the iron is too cold.
During use, the no drip system may
emit a loud click, particularly during
heat-up or whilst cooling down. This
is perfectly normal and indicates that
the system is functioning correctly.
Auto shut-off
(certain models only)
If your iron is fitted with the auto shut-
off function it will automatically shut
down after a set period.
If the iron is left unattended in the
horizontal position it will shut down
after 1 minute.
If it is left in the vertical position it will
shut down after 8 minutes.
Flashing tank lights indicate the
product is on shut down mode.
To reactivate the iron gently shake it,
the temperature indicator light will
come on indicating the iron is
warming up and wait for the iron to
heat-up as normal.
Life long anti-scale
system
(certain models only)
The life long anti-scale system
reduces scale deposits and helps
prolong the life of the iron.
Emptying and storing
EF
When you have finished ironing,
unplug your iron. Ensure that the
variable steam control is set at the
‘0’ position, lift up the fill cap and
empty any remaining water out of
the filling hole E.
D
o not store in the box, but in an
upright position, so that any drops of
water remaining cannot leak out and
d
iscolour the soleplate.
I
mportant: The flex can be damaged
i
f wound too tightly around the iron
after use. Make a loose loop with the
flex and wrap it around the iron F.
T
he iron must be cool before
winding the flex and storing on its
h
eel.
Maintenance
(certain models only)
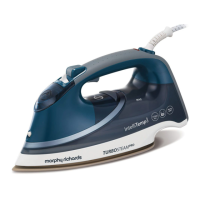
Jet cleaning
Your iron has a built in cleaning
system designed to keep the water
valve, steam chamber and steam
vents clear of lint and loose mineral
deposits. The ‘jet clean’ should be
operated after each period of
ironing.
To operate, ensure that there is little
water in the tank, place the iron on
its heel and turn the temperature
control dial to the maximum setting.
Wait for the temperature indicator
light to go out, then unplug the iron
and hold it about 6’’ (150mm) above
the sink in the ironing position. Press
the shot of steam button about 10
times in succession.
After this cleaning operation, empty
out any remaining water.
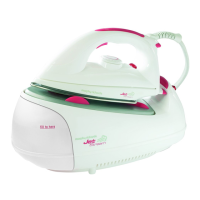
Self cleaning
G
(certain models only)
Your iron has a built in cleaning
system designed to keep the water
valve, steam chamber and steam
vents clear of lint and loose mineral
deposits.
1 Half fill the iron with water.
2 Place the iron on it’s heel.
3 Connect to a mains supply outlet.
4 Set the temperature control to
‘MAX’. See ‘Temperature control’ on
page 5.
5 The indicator light will flash until the
required temperature is reached.
6 The indicator light remains ‘on’ when
the selected temperature is attained.
76
E
F
D
G
 Loading...