Do you have a question about the Morphy Richards TURBO STEAM IRON and is the answer not in the manual?
Handle the hot appliance with caution. Switch off and cool before cleaning or storing.
Perform jet cleaning after each ironing period for best results and longer iron life.
Do not use outdoors. Never allow children to use the appliance; supervise closely when near children.
Be cautious of hot parts, water, and steam. Do not use vertical steam on clothes being worn.
Use only for intended purpose. Do not immerse in water or liquids to prevent electric shock.
Always disconnect before filling/emptying. Do not operate with a damaged cord.
Check temperature, plug, and socket if iron malfunctions. Never leave a hot iron flat on an ironing board.
Follow temperature guides for fabrics. Empty water and allow iron to cool before storing.
Have dropped irons checked. Use initial water for steam functions to prevent dripping.
Verify voltage matches supply and ensure plug compatibility or replacement.
Use correct fuse (13 amp BS1362) and ensure the appliance is earthed.
Use the temperature guide matching textile care labels for fabric-specific ironing.
Details on dry ironing, steam/spray/shot of steam, and jet cleaning based on fabric and water.
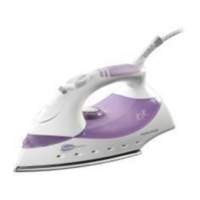
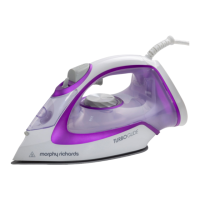
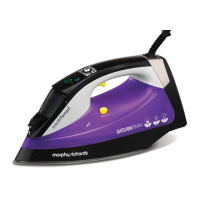
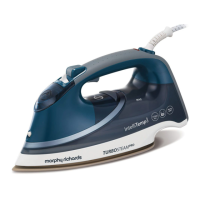
Diagram identifying key parts of the iron, including buttons, controls, and water tank.
Ensure steam suitability for garments, test fabric temperature, and allow temperature stabilization.
Plug in, set temperature, and wait for the iron to stabilize and indicator light to cycle.
Indicates heating status; light goes out when temperature is reached and cycles during use.
Use as dry iron with steam control at '0'. Spray button targets stubborn creases.
Adjust steam output and use shot of steam for creases. Do not exceed three shots consecutively.
Create vertical steam by pressing shot button for hanging items. Do not exceed three shots consecutively.
No drip system prevents cold-iron drips. Auto shut-off activates after periods of inactivity.
Reduces scale deposits to prolong the life of the iron.
Empty water after use, store upright. Wind flex loosely to prevent damage.
Clean steam system by holding iron upright, pressing shot of steam button multiple times.
Clean coated soleplate with cotton, aluminium with mild scouring paste. Do not use harsh cleaners.
Wipe the iron's exterior with a damp cloth and mild detergent, then dry.
Contact helpline for assistance, providing product name and model number.
Retain retailer's receipt for proof of purchase and quote model/serial numbers for faults.
Return faulty items within 28 days to place of purchase, or contact helpline after 28 days.
Excludes damage from misuse, incorrect voltage, unauthorized repairs, or commercial use.
| Soleplate Type | Ceramic |
|---|---|
| Steam Output | 45 g/min |
| Power | 2400 W |
| Vertical Steam | Yes |
| Anti-Scale | Yes |
| Anti-Drip | Yes |
| Auto Shut-off | Yes |
| Self Cleaning | Yes |
| Anti-Calc Function | Yes |
| Cord Length | 2.5 meters |