For more instructional repair guides for other makes or models, view our full catalog of Repair Guides!
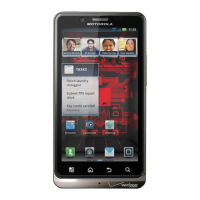
This is the Droid X take apart repair guide. Following this guide will help you take apart the Droid X fairly easily in a step
by step manner giving you a chance to replace faulty parts. Once you have replaced the parts you want, the guide can be
used in reverse to put everything back together again.
This guide should help you replace the following parts:
• Motorola Droid X Touch Screen Digitizer
• Motorola Droid X LCD Screen Replacement
• Motorola Droid X Replacement Battery
Tools:
• Small Phillips Screwdriver
• Safe Open Pry Tool
• Heat Gun/Hair Dryer
Motorola Droid X Take Apart Repair Guide:
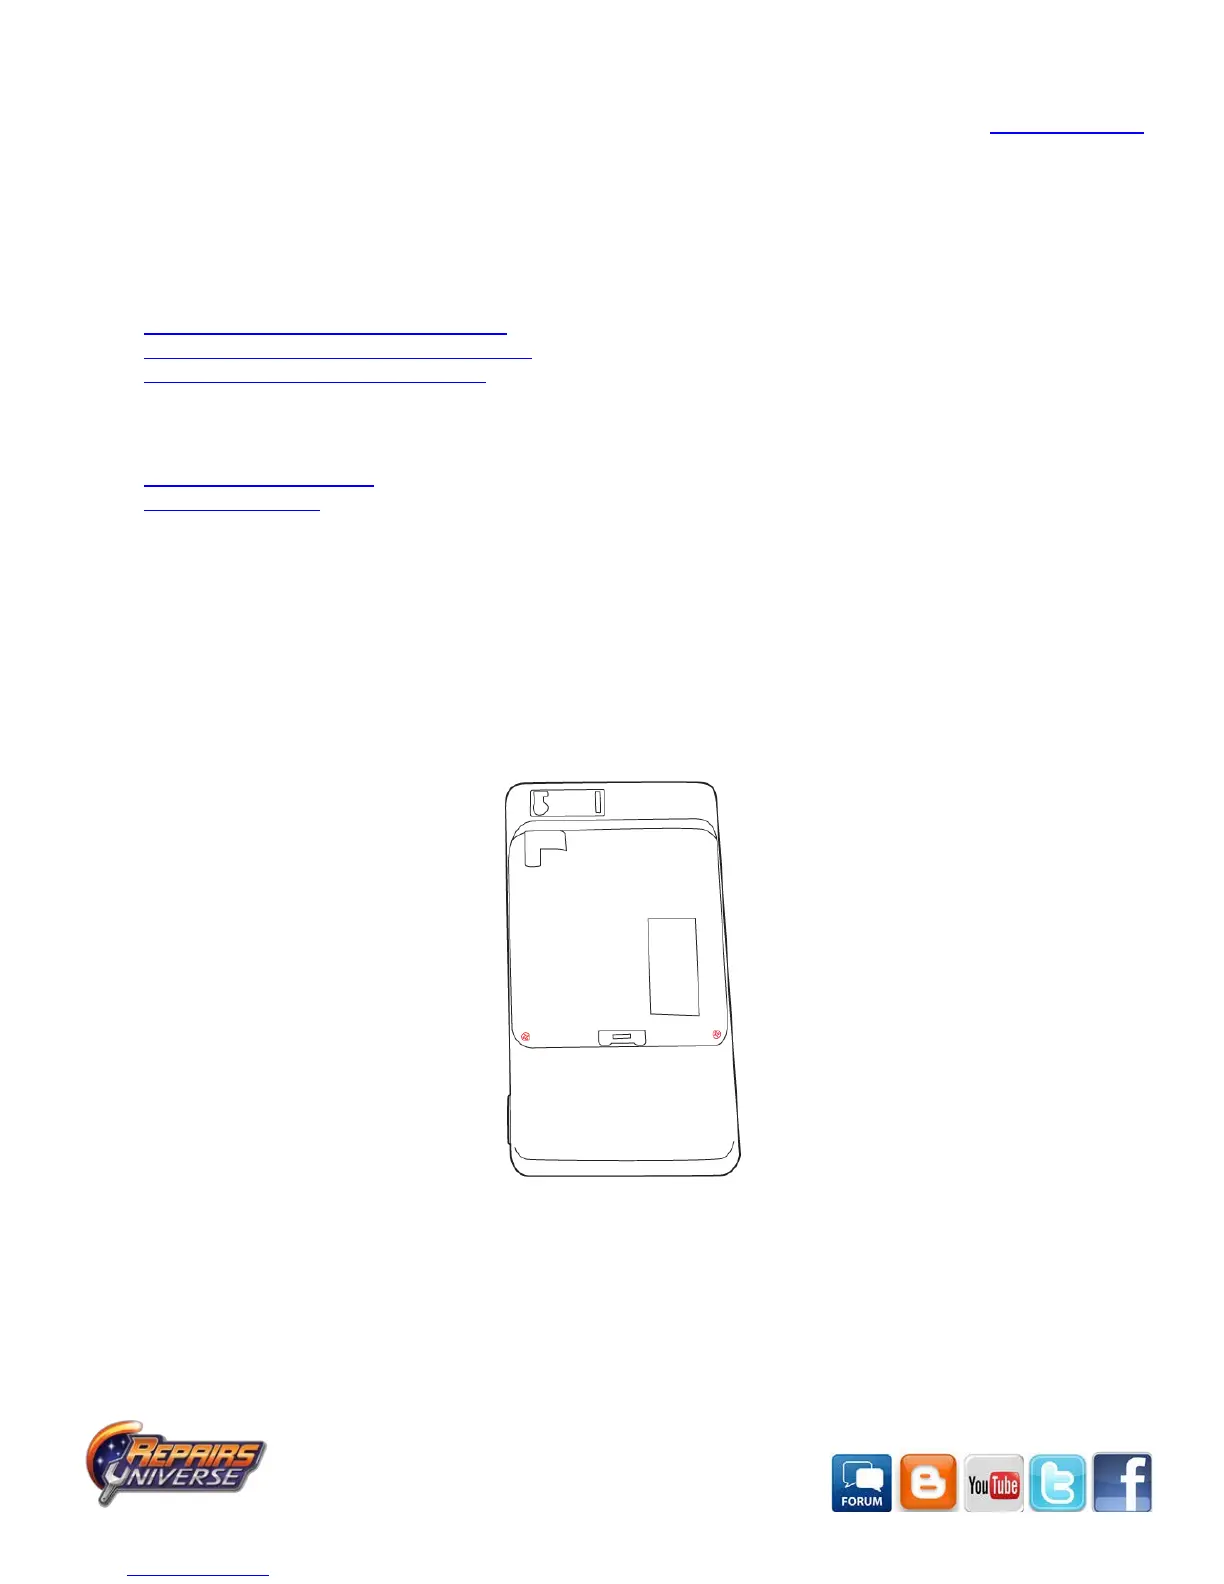
• The first step is to power down the phone and slip open the battery door so that the battery of the Droid X can be
removed.
• Removing the U-cover and the top cover is the first task at hand which can be achieved by unscrewing the two
screws to using the Small Phillips Screwdriver as shown in the figure below.
• This next step involves locating and removing the four screws (2 on the top and 2 on the bottom) on the front end
of the phone. These screws are hidden behind covers which should be removed by inserting the safe open pry
tool into one end of the phone twisting it to one side till you hear a click which signals that the plastic latch has
been unlocked do this for all three sides of each of the two covers. You should also now be able to remove the U-
Cover located on the bottom of the phone using the safe open pry tool.
 Loading...