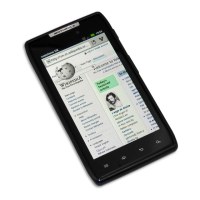
• The next task at hand is to remove the back housing of the Droid X. This can be achieved by inserting the safe
open pry tool into one end of the phone and running it along its edges. However be careful because the digitizer
cable and the flex cable are hidden under the back cover which can easily be damaged if you apply too much
force.
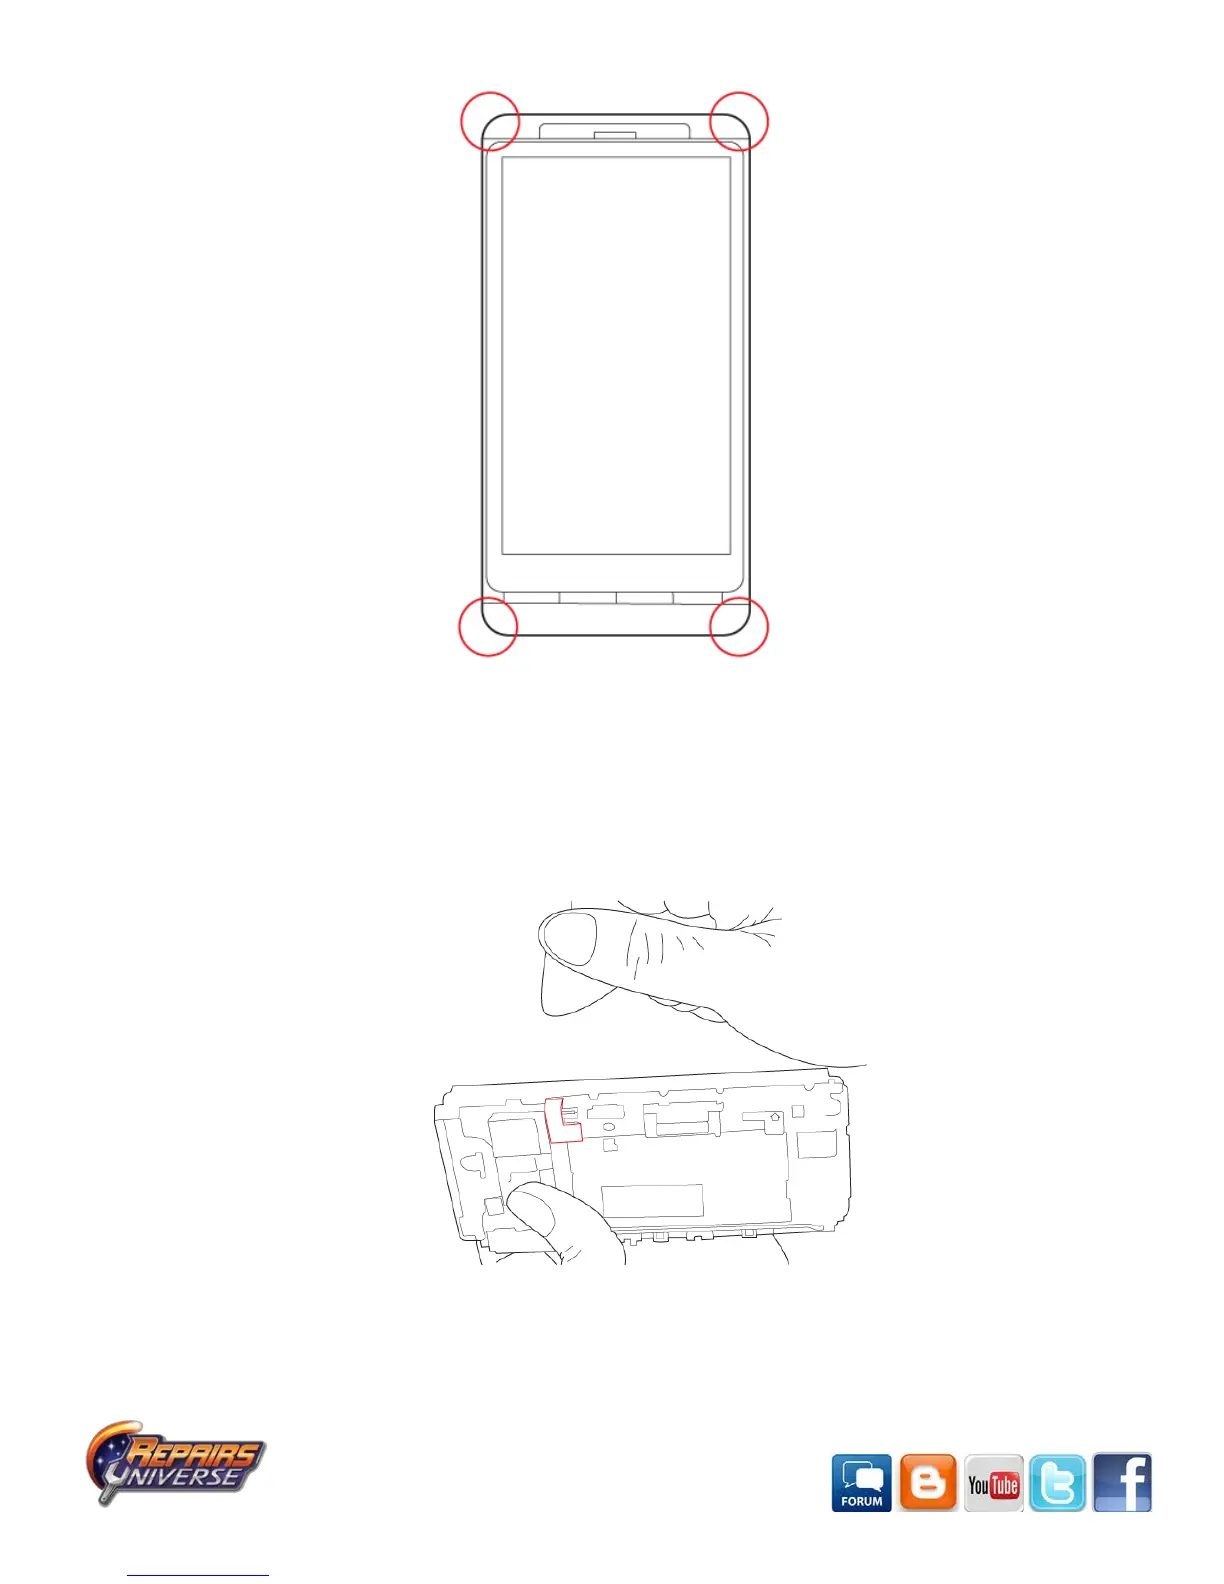
• You will now need to remove the motherboard of the Droid X which begins with disconnecting the flex cable and
digitizer cable (on the right of the phone) from the motherboard using the safe open pry tool. The flex cable can
be pried right off while the digitizer cable will first need to be unhooked and then pulled out.
• The motherboard pops right out, but be careful because there is a cable attached to the other end of the board
which will need to be unfastened prior to being able to completely remove the motherboard. You can use the safe
open pry tool to disconnect that cable as you slightly dangle the motherboard to insert the pry tool through.
• In this next step you will have to take apart the digitizer and LCD assembly which are separated by a middle plate.
There are around thirteen screws securing the middle plate to the digitizer and LCD which need to be removed
 Loading...