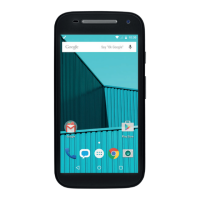
Nexus 6 – Disassemble Guide
Page 2 of 11
hp://www.fixez.com/
Nano-SIM Card Tray
Rear Baery Cover
Display/Motherboard Assembly
& Midframe/Baery Assembly
Insert the SIM card ejection tool into the small hole
located next to the headphone jack. Remove the
Nano-SIM card tray from the Motorola Nexus 6.
1.
Use a heat gun or blow dryer to lightly heat and soften
the adhesive securing the rear battery cover to the
Nexus 6 midframe.
With the plastic opening tool, or a spudger, free the
rear cover from the adhesive and remove it from the
Motorola handset.
Be mindful of the power and volume buttons ribbon
cable located on the left side of the device.
2.
To begin separating the midframe from the display
assembly (LCD and Touch Screen) locate and remove the
twenty-two T4 torx screws.
3.

 Loading...