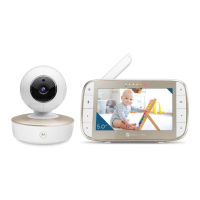
MODELS:
VM34,
VM34-2,
VM34-3,
VM34-4
QUICK START GUIDE
For a full explanation of all features and instructions, please refer to the User’s
Guide.
(available for download from motorolanursery.com).
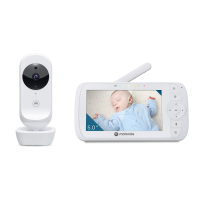
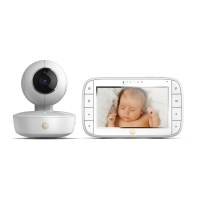
1. Setting up your Digital Video Baby Monitor
A. Connecting the Power Supply for the Baby Unit
rewop eht fo gulp CD eht tresnI •
adapter into the DC socket on the
back of the Baby Unit.
• Connect the other end of the power
adapter to a suitable electrical outlet.
• The baby unit turns on and the power
indicator lights in Blue colour.
Note
Only use the supplied power adapter
(DC5V/1000mA).
WARNING:
Strangulation hazard. Children have STRANGLED in cords. Keep
this cord out of the reach of children (more than 3 feet away).
Never use extension cords with AC Adapters. Only use the AC
Adapters provided.
B. Connecting the Power Supply of the Parent Unit.
A rechargeable battery (Lithium ion battery 1200mAh) inside the Parent Unit allows
you to move it without losing the link and picture from the Baby Unit. We recommend
charging the for at least 16 hours before first use, and when the Parent Unit indicates
the battery is low.
• Connect the small plug of the power
adapter to the parent unit and the
other end to the electrical outlet.
Only use the enclosed adapter
(5VDC/1000mA).
• Press and hold the
0
button to turn
the Parent unit on, the Parent unit and
Baby unit are automatically linked and
ready to use.
NOTE:
When the Baby and Parent Units are both turned on and within range, the Parent
Unit should show a color image from the Baby Unit camera, but if the room is dark,
the image will be in black and white, with an
icon showing, due to the infra-red
illumination by the Baby Unit.
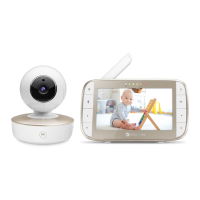
C. Desktop Stand of the Parent Unit
• The parent unit comes with a desktop stand attached to the back of the parent
unit.
• To place the parent unit on a desk, simply pull out the stand, as shown.
NOTE
Place the parent unit on a flat, even surface.
2. Basic operation of the keys
Parent unit
0
ON/OFF button Press and hold to switch the Parent Unit ON/OFF.
+-
UP/DOWN buttons
Press to select brightness level of Parent Unit.
Press to adjust menu setting when menu is active.
<>
LEFT/RIGHT
buttons
Press to adjust volume level.
Press to access menu options when menu is active.
M
MENU button Press to open menu options or exit the menu.
O
OK button Press to confirm a selection.
V
VIDEO button Press to turn the LCD screen ON/OFF.
T
TALK button Press and hold to talk to your baby.
RESET button Press and hold with a small pin to reset the unit.
Baby Unit
PAIR button
Press and hold to pair with the Parent Unit.
UK EN