7
ENGLISH
Confi guration 1 Instructions (continued)
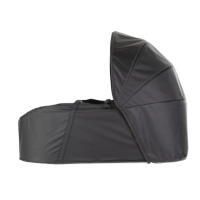
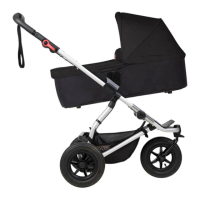
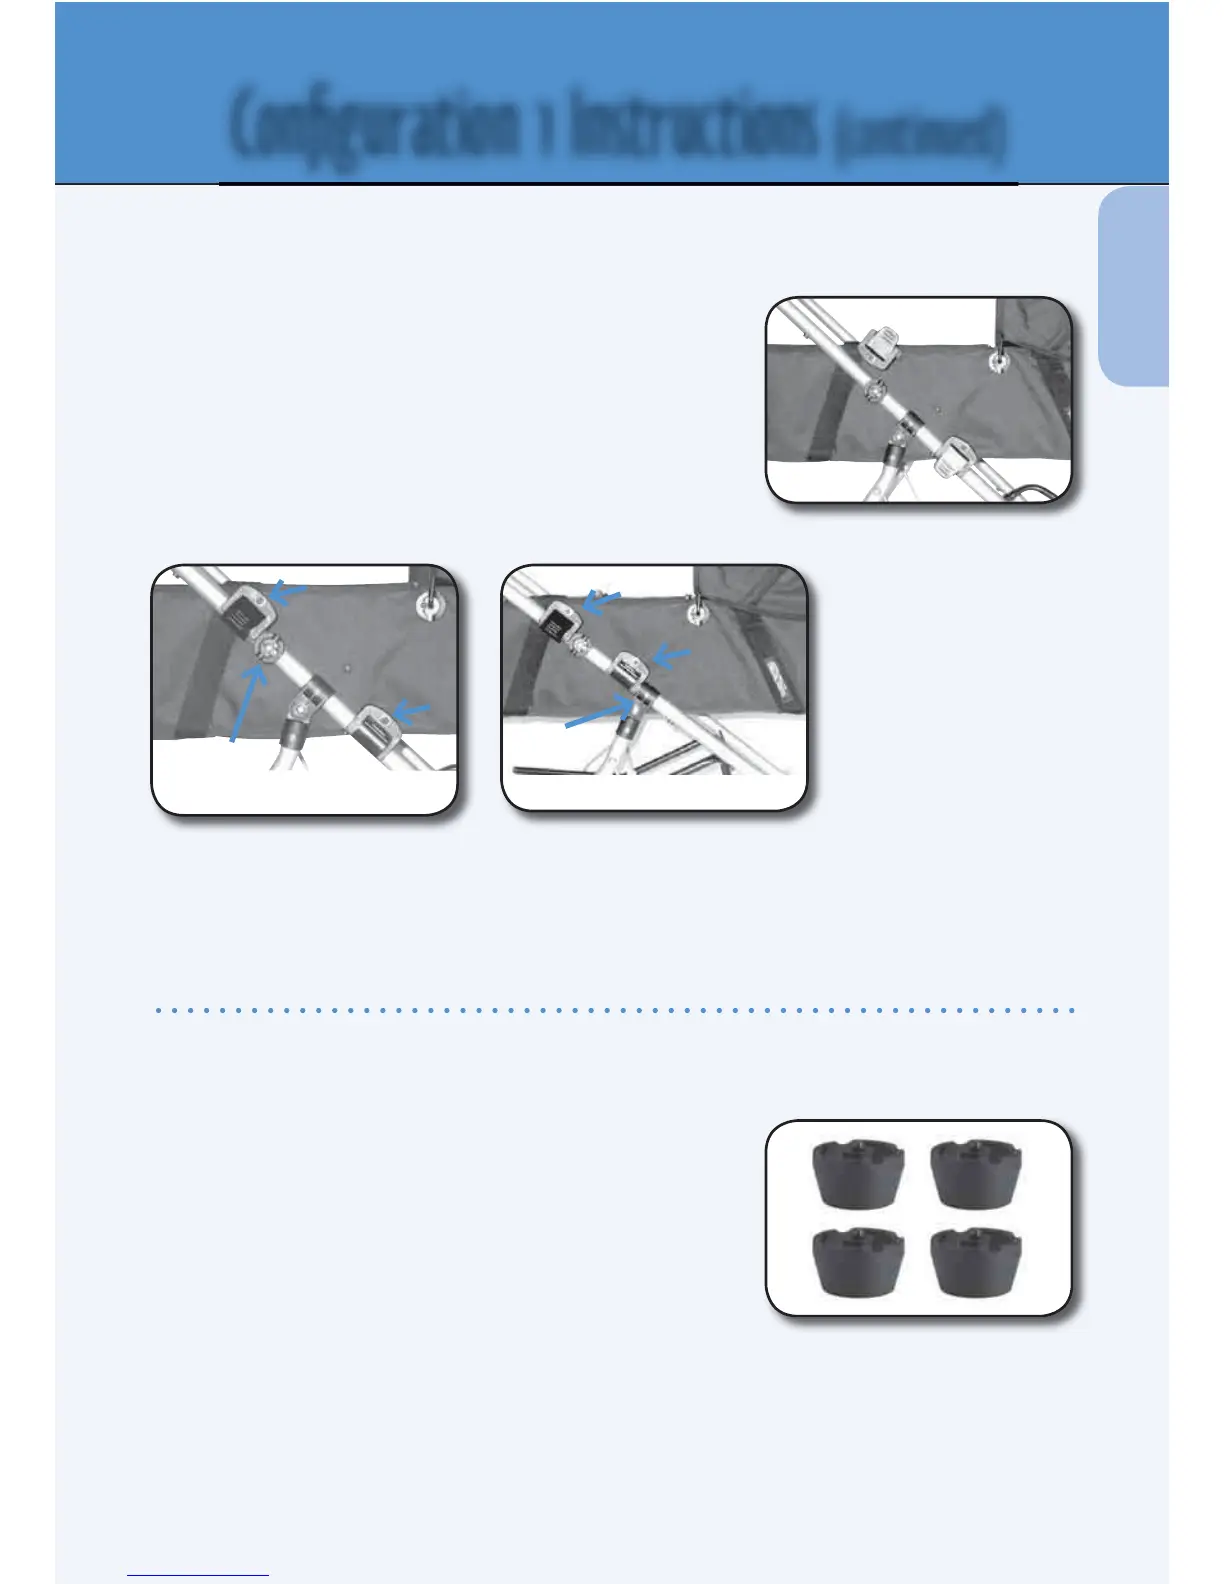
Fitting the Carrycot to the Frame
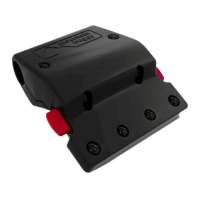
1. Ensure snap locks are rotated so screw holes are
on top.
2. Open snap locks.
3. Place Carrycot onto Buggy frame. Con rm
positioning as pictured below.
4. Push snap locks rmly down at, making sure you hear the lock ‘click’, indicating
they are fully locked.
Fitting the Feet to the Carrycot
1. Take one foot and place provided screw through
hole in narrow end of foot.
2. Screw whole unit into one of the 4 holes located
on bottom of Carrycot.
3. Ensure foot is screwed tightly.
4. Repeat process for all 4 feet.
To remove: unscrew each foot from bottom of Carrycot.
✔
✘
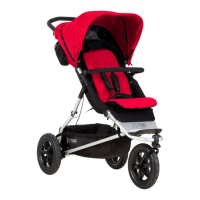
TERRAIN URBAN
X
Y
sunhood joint
Place snap lock X directly above
sunhood joint
X
Y
tube joint
Place snap lock Y directly above tube joint