5
14
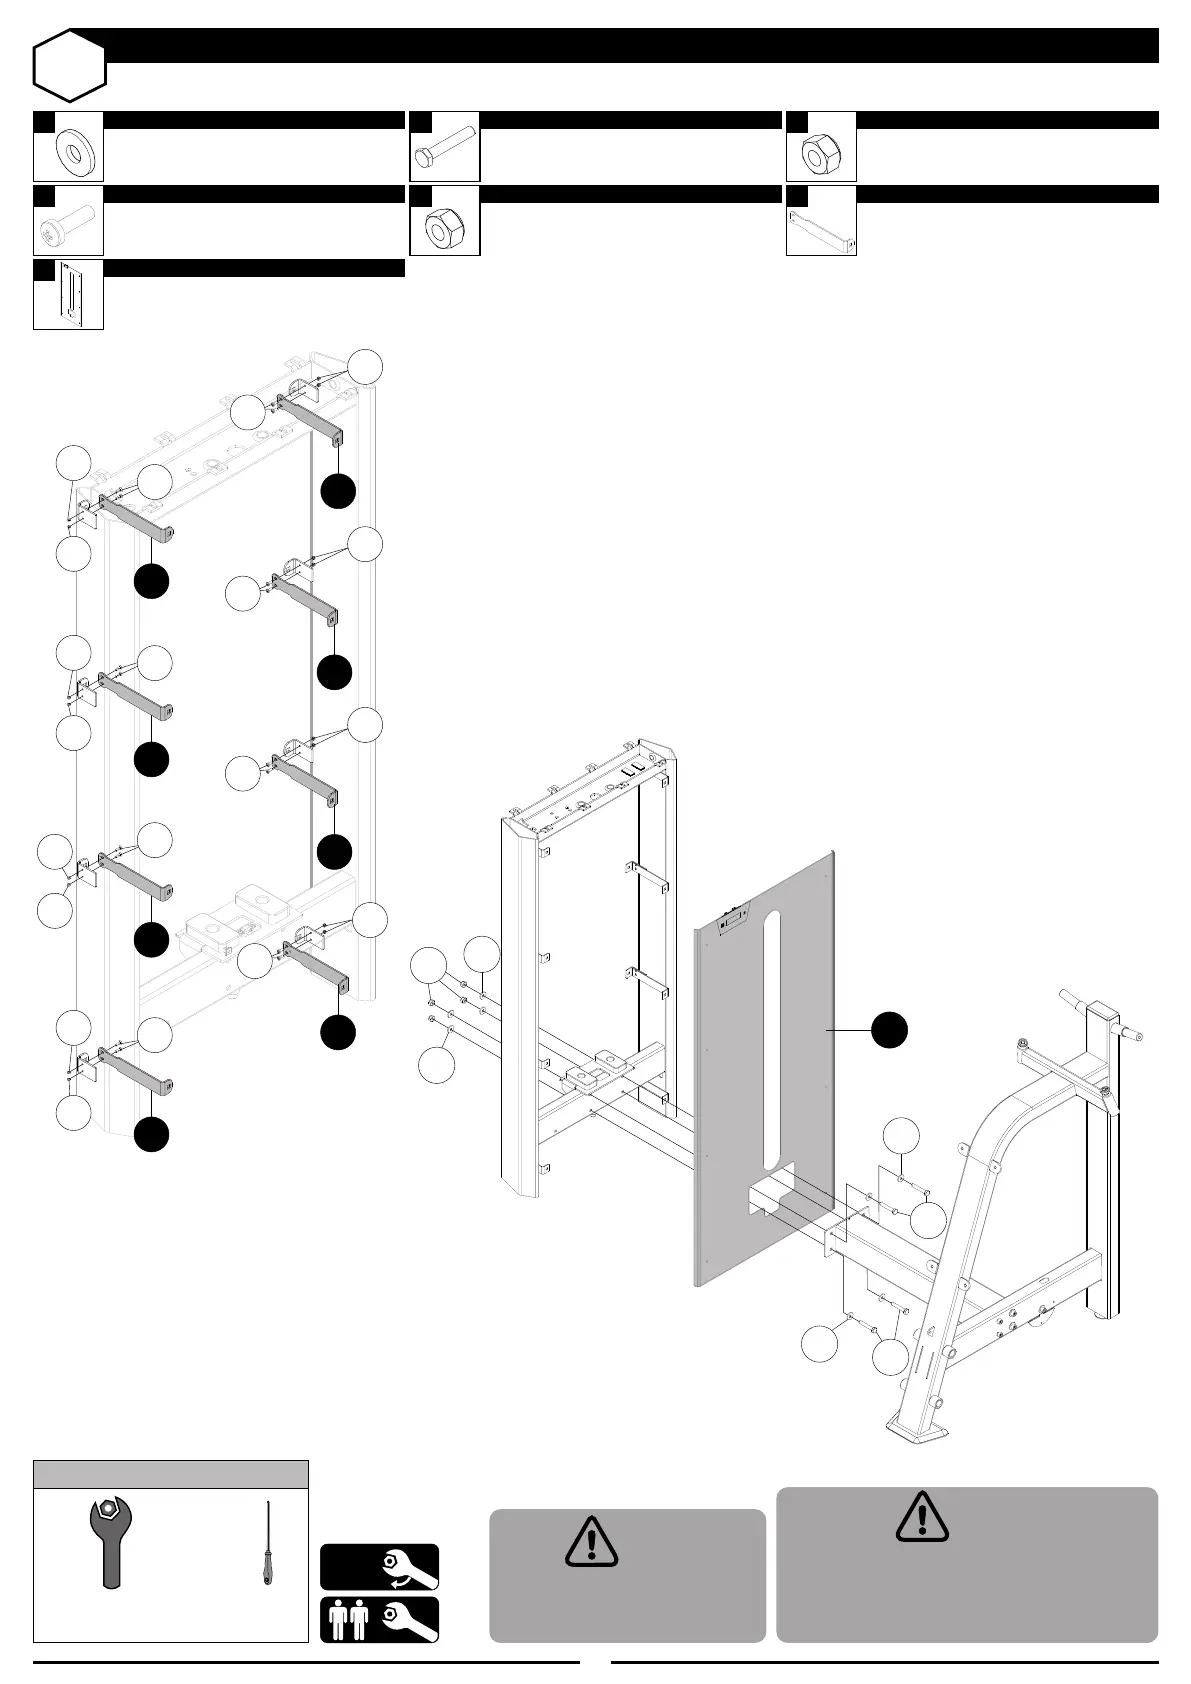
STEP 3
ASSEMBLY - TOWER WITH FRONT SHROUD - PLUS - (OPTIONAL)
4
Hex head screw
M10X65
NAME Qty
4x
2
Flat washer
M10
NAME Qty
8x
5
Hex nut insert
M10
NAME
Qty
4x
7
Hex nut insert
M3
NAME Qty
16x
6
Philips head Screw Pan Slot
M3X10
NAME Qty
16x
G
Front shroud
NAME
F
Shroud support
NAME
TOOLS
50%
Fixed Wrench 5,5 mm
Fixed Wrench 17 mm
Philips
wrench
When passing the front fairing
by the connection bar not to
damaging the shroud
CAREFUL!
The front fairing will be in the
during assembly, care should be taken
to avoid damaging the shroud during
assembly
CAREFUL!
7
7
7
7
7
7
6
6
6
7
7
6
F
F
F
F
F
F
F
F
6
6
6
6
7
7
7
7
5
4
2
2
4
G
2
2