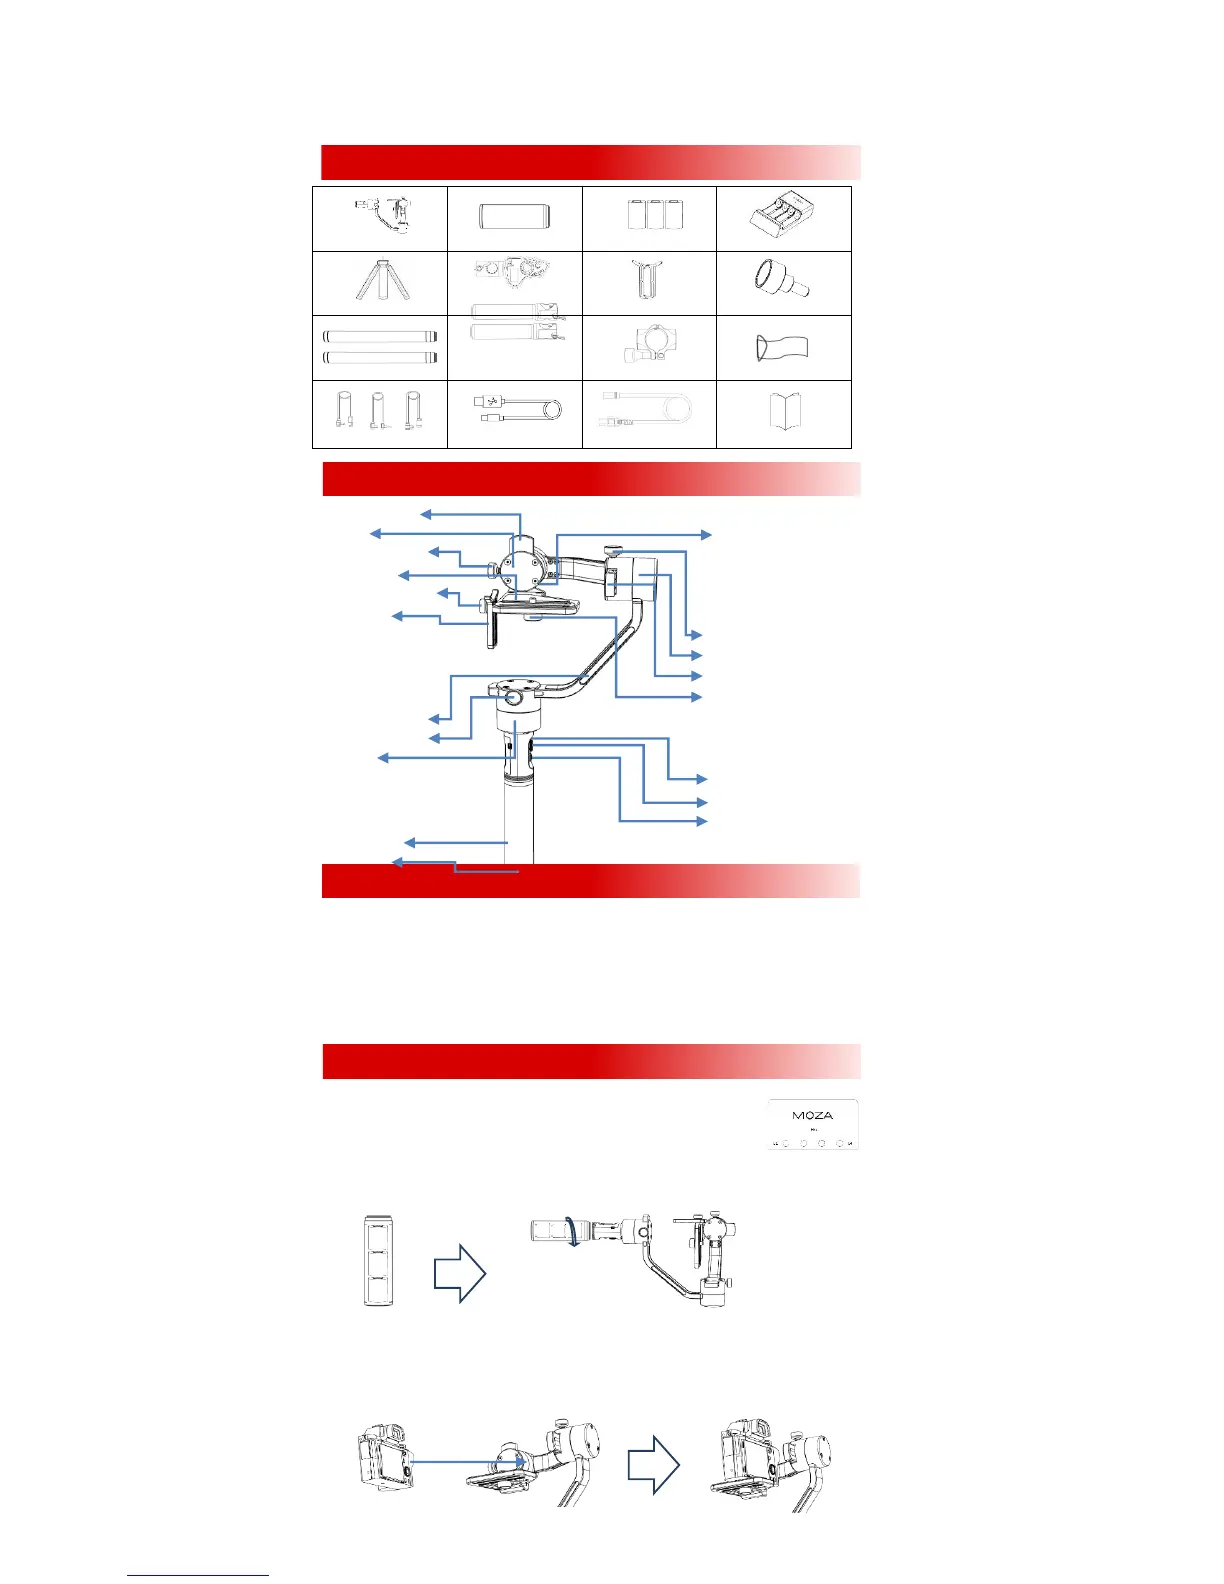
Gimbal x 1 Handgrip x 1 26350Battery X3 Charger X 1
Tripod (Optional)
Wireless Thumb
Controller (Optional) Lens Support X 1 Lens Support Screw X1
Handle Bar X 2
Side Handle X 2
Handle Clamp X 1 Tool Bag
Control Cable X 3 USBCable X 1 AC Cable (Adapter) X 1 User Manual X 1
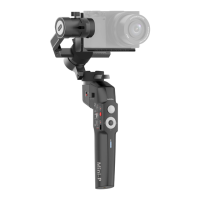
Tilt Adjustment Arm
Tilt Motor USB Output
Tilt Adjustment Screw
Camera Holder
Lens Support Lock-knob
Lens Support
Roll Adjustment Screw
Roll Motor
Roll Adjustment Arm
Camera Lock-knob
Yaw Adjustment Arm
Yaw Adjustment Screw
Yaw Motor
Micro USBPort
Joystick
On/off Button&Indicator
Battery Handgrip
1/4“ Screw
On/Off button: Single Press: Start/Stop recordingDouble Press: Undefined
Triple Press: Re-centerLong Press: Turn on/off
Joystick: Up\Down\Left\Right:Control the gimbal movements
Single Press: Yaw-follow Double Press: Yaw-tilt follow Triple Press:All-locked
Long Press: StandbySingle Press in Standby Mode: Awaken the gimbal
USB Input:Adjust parameters;Upgrade firmwareUSB Output:Control camera recording
1. Charging Batteries.
Battery charger comes with 4 slots, each slot packs one piece of 26350 battery to charge
at the same time. Make sure the positive terminal is facing the charger indicator.
Charging starts when indicator changes to red after installation, the charger indicator
Turn to green when the battery is full of electricity.
2. Install Batteries.
Insert three 26350 batteries into the handgrip. Make sure the positive terminal is facing upwards.
Then screw the handgrip to the gimbal.
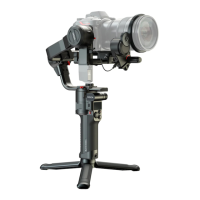
3. Mount the Camera.
Lay the gimbal horizontal, resting on it the roll motor as shown. Place the camera on the camera mount platform.
Align the camera’s ¼ mount by passing the 1/4''camera lock-knob through the camera mount platform.Tighten the
camera lock-knob to secure the camera.
Smaller cameras should choose the closest track to the tilt motor such as A7s. For larger bodied cameras the further
track from the tilt motor, such as Canon 5D.
A Packing List
CButtons&Ports
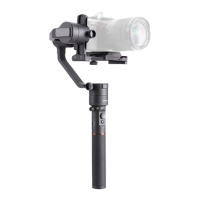
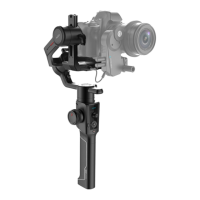
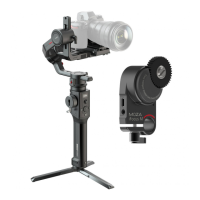
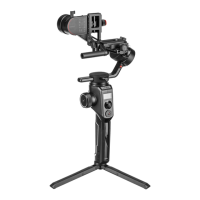
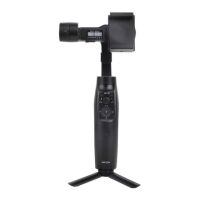
BMOZA Air
DSet up the MOZA Air
+
-
+
-
+
-