Standbehindthe
mowerasifyouwere
goingtooperateit.
Yourrighthandcor-
respondstotheright
sideofthemower;your
lefthandcorresponds
totheleftsideofthe
mower.
I Makesureto route
i cable outside the lower
handle. Do not crimp
cable while liftingthe
handle up.
IMPORTANT
i This unit is shipped
without gasolineor
oil in the engine. Fill
up gasoline and oil
as instructedinthe
accompanyingengine
i manual BEFORE
operatingyour mower.
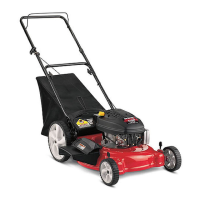
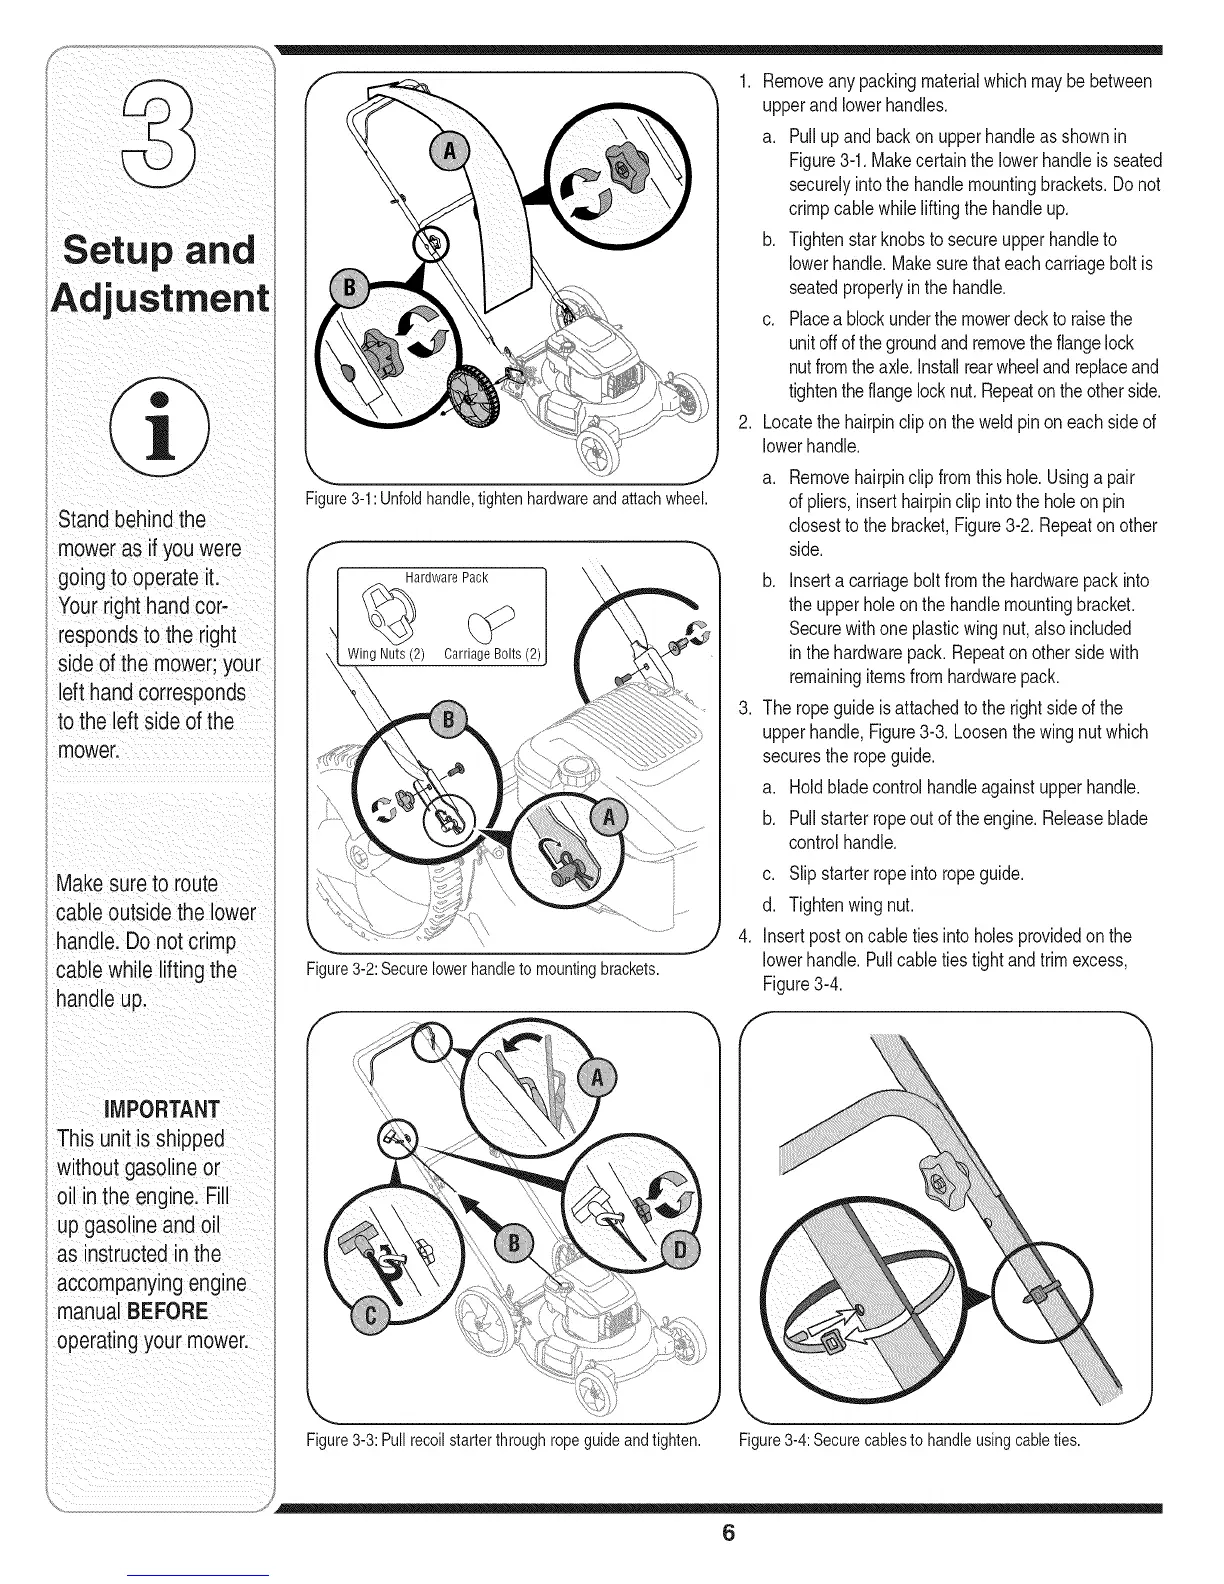
Figure3-1:Unfoldhandle,tightenhardwareandattachwheel.
Hardware Pack
Wing Nuts (2) Carriage Bolts (2)
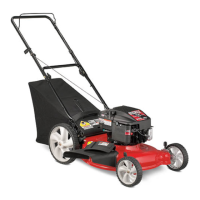
Figure3-2:Securelowerhandleto mountingbrackets.
1. Removeanypackingmaterialwhichmaybebetween
upperandlowerhandles.
a. Pullupand backon upperhandleas shownin
Figure3-1.Makecertainthe lowerhandleisseated
securelyintothe handlemountingbrackets.Donot
crimpcablewhileliftingthe handleup.
b. Tightenstarknobstosecureupperhandleto
lowerhandle.Makesurethateachcarriagebolt is
seatedproperlyin the handle.
c. Placea blockunderthemowerdeckto raisethe
unitoffofthegroundandremovethe flangelock
nutfromtheaxle.Installrearwheelandreplaceand
tightentheflangelocknut.Repeatontheotherside.
2. Locatethehairpinclipon the weldpinon eachsideof
lowerhandle.
a.
Removehairpinclipfromthis hole.Usinga pair
ofpliers,inserthairpinclip intothe holeon pin
closesttothe bracket,Figure3-2. Repeaton other
side.
.
b. Inserta carriagebolt fromthe hardwarepackinto
theupperholeonthe handlemountingbracket.
Securewithone plasticwing nut,also included
inthehardwarepack.Repeatonother sidewith
remainingitemsfromhardwarepack.
Theropeguideis attachedto the right sideof the
upperhandle,Figure3-3. Loosenthe wing nutwhich
securesthe ropeguide.
a. Holdbladecontrolhandleagainstupperhandle.
b. Pullstarterropeoutoftheengine.Releaseblade
controlhandle.
.
c. Slipstarterropeintoropeguide.
d. Tightenwingnut.
Insertpostoncabletiesintoholesprovidedon the
lowerhandle.Pullcabletiestightandtrimexcess,
Figure3-4.
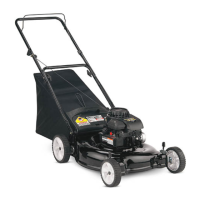
Figure3-3:Pullrecoilstarterthroughropeguide andtighten.
\
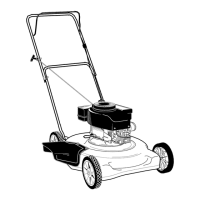
Figure3-4:Securecablestohandleusingcableties.
,J
6
 Loading...