Do you have a question about the MTX 120w RMS RT8PT and is the answer not in the manual?
Input for source units with speaker-level outputs. Connect via provided harness.
Connects the External Bass Control for on-demand bass adjustments.
For source units with RCA or Line level outputs. Minimum 100mV output required.
Matches amplifier input sensitivity to the source unit, adjustable 100mV to 6V.
Selects low-pass crossover frequency, adjustable from 50Hz to 200Hz.
Indicates thermal protection status; turns red when amp is in thermal protection.
Indicates power status; illuminates red when the amp is switched on.
Main power input, connects directly to the vehicle's positive battery terminal.
Turns the powered tube on by applying 12 volts, typically from source unit's remote output.
Requires a proper ground connection to the vehicle's chassis for peak performance.
Protects the amplifier; replace blown fuses with the same rating (20A).
Disconnect the vehicle's negative battery cable before starting installation.
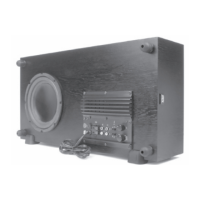
Choose a mounting location for the enclosure, ensuring adequate airflow for cooling.
Route the positive power cable from the battery through the firewall to the amplifier's terminal.
Install a circuit breaker or fuse within 20cm of the battery for safety.
Connect the ground wire to a bare metal chassis point and the amplifier's ground terminal.
Connect the remote turn-on wire from the source unit to the amplifier's remote terminal.
Connect signal cables via RCA or high-level speaker inputs for audio signal transfer.
Double-check all connections, reconnect battery, and turn on power.
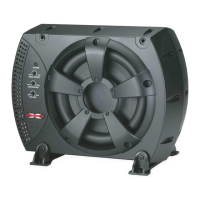
| Power Handling (RMS) | 120W |
|---|---|
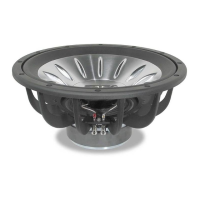
| Subwoofer Size | 8 inches |
| Impedance | 4 Ohms |
| Voice Coil Diameter | 1.5 inches |
| Overall Diameter | 8.5 inches |