2. Begin Your Scanning
1. Make sure your scanner is full charged
2. Long press for power on
3. Set the DPI and format for your scan
4. Put your target(document/photo/receipt/book) on the flat desk
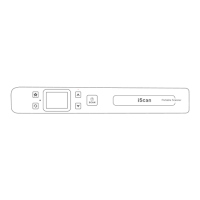
5. Short press on the ‘scan’ to begin scanning
6. Slide the scanner through your target, ensure the LCD screen not displaying ‘ ! ‘ (exclamation mark). ‘ ! ’
means scan too fast.
7. Press ‘scan’ to finish scanning.
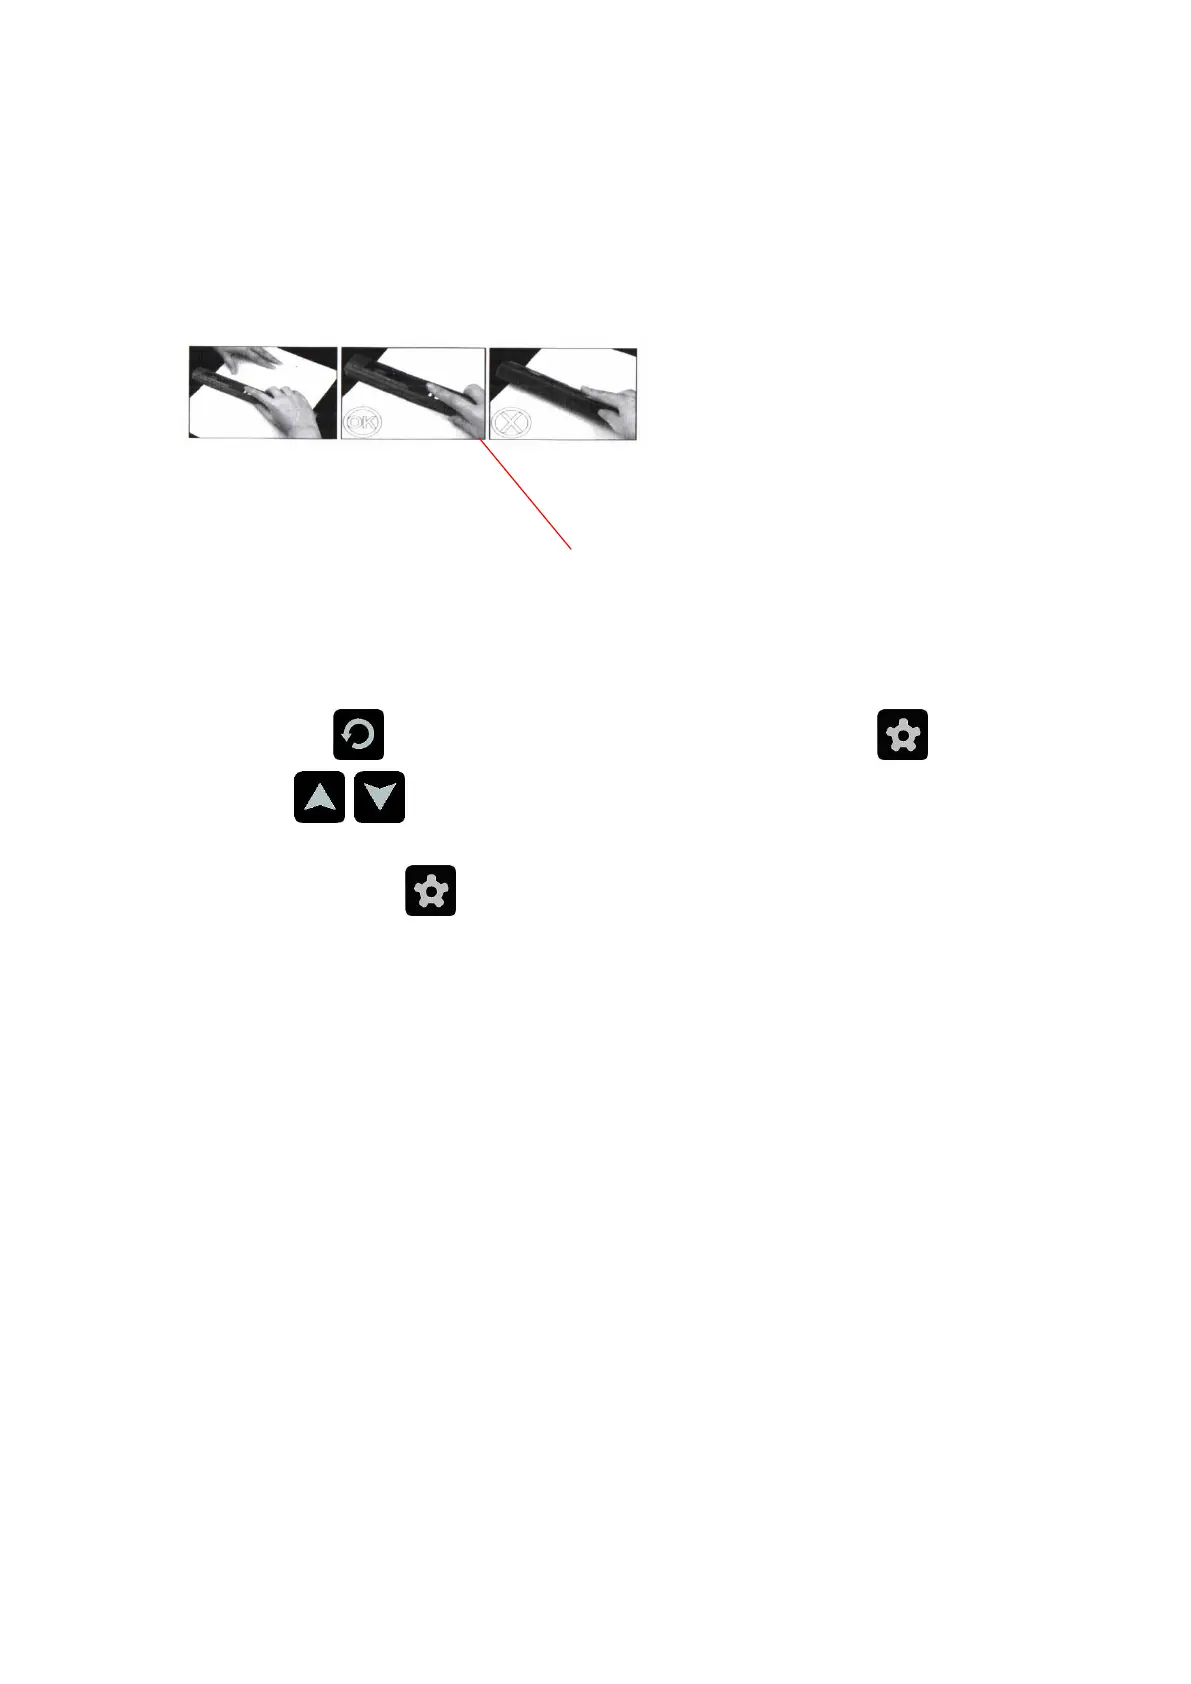
8. (Optional) press to preview your scans, one more press to magnify the scans. Press to delete
the scan. Press to skim the scans.
9. Connect the scanner to your device(Phone or Laptop) in USB Connection/Built-in WIFI. In USB, just plug and
get your scans. In WIFI, press and choose ‘WiFiLink’ and wait until the screen show WIFI. Finally
connect your device to the built-in WIFI named Scanner. Open the browser and enter URL: 192.168.10.1 with
following information;
User Name:admin
Password: admin
10. Finally get your scans.
Instruction video about setting WIFI
http://bit.ly/IDS002-video
 Loading...