3
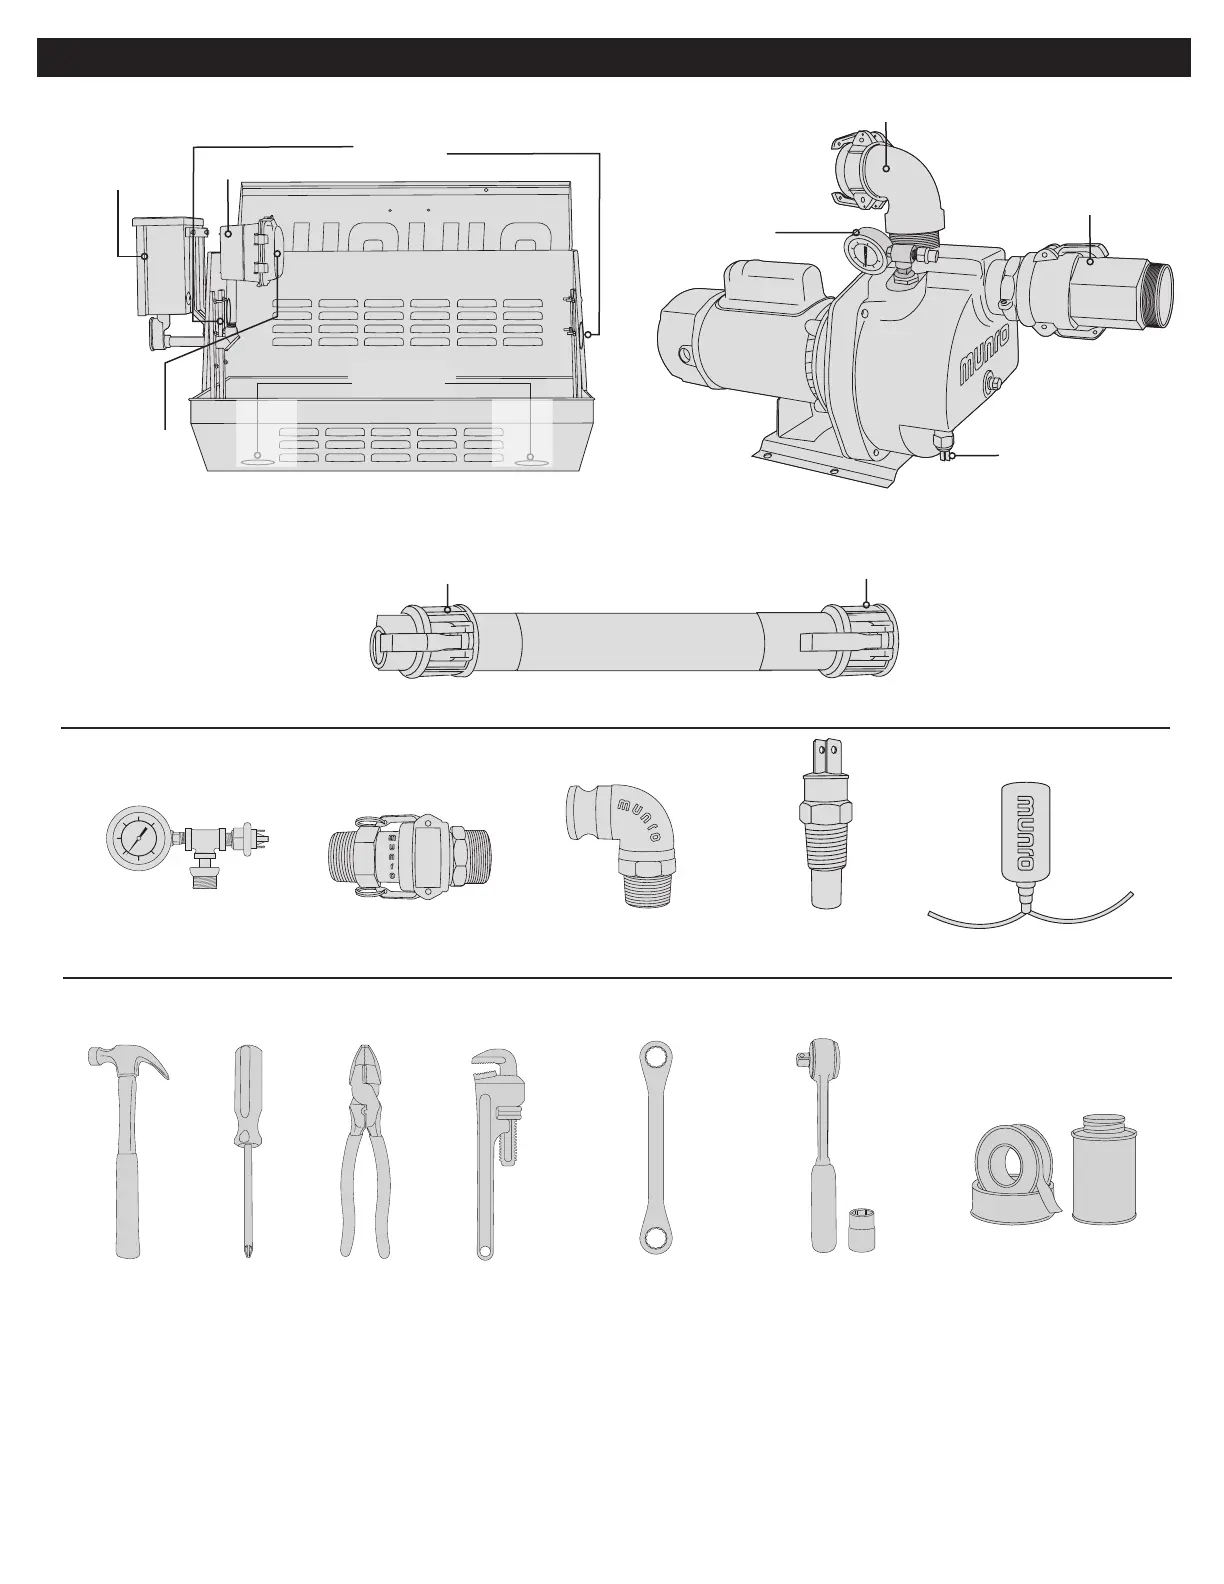
UNIVERSAL PRO ENCLOSURE
Pressure Gauge & Sensor
Assembly
Discharge Assembly
Suction Assembly
1 1/2” DISCHARGE HOSE ASSEMBLY
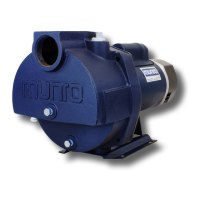
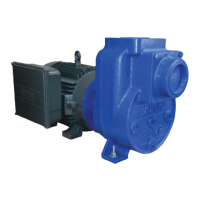
LP PUMP
PARTS
PRE-INSTALLED PARTS
TOOLS RECOMMENDED FOR ASSEMBLY
Phillips Head
Screwdriver
Teon Tape or Pipe Dope
Hammer
Pliers
Pipe Wrench
CONSIDERATIONS BEFORE BEGINNING ASSEMBLY
Before beginning assembly, consider how you will want to congure your pump station. The pump station comes congured for a
right-facing pump installation. If you need to change the direction of the pump, be sure to begin with the “changing the direction of
the pump” instructions (p.4).
Socket Wrench
with 7/16” Socket
(used for changing
conguration)
1” Box Wrench
(used for changing
conguration)
electrical outlet assembly
PSR control box
sensor wire and boot
(stored inside outlet
housing)
1 1/2” aluminum male cam and
PVC female cam x slip tting
discharge assembly
pressure gauge &
sensor assembly
side discharge
knockouts (2)
bottom discharge
knockouts (2)
temp sensor
Temp Sensor
Sensor Wire & Boot
suction assembly
1 1/2” aluminum female cam
Munro Complete PRO ll ASSEMBLY GUIDE