• USER GUIDE •
Copyright © 2006 My Net Fone Ltd. All Rights Reserved.
2
• One button voicemail collection
• Displays received calls, missed called numbers
• Speed dial
• Phone book
• Microsoft Outlook integration (Windows version only)
• Compact display mode
• Configured and optimised for MyNetFone
3.2 Service Features
• Multi-way conference
• Call forward always
• Call hold/resume
• Call mute
• Auto answer
• Do not disturb
• Caller-ID presentation
• RFC2833 out-of-band DTMF generation
4 Registration
TIP: Make sure you have received your service confirmation email before
proceeding with the following steps.
4.1 Register Your Service
Your service confirmation email contains your MyNetFone service
details including your MyNetFone Number and Password. Keep this in
a secure place.
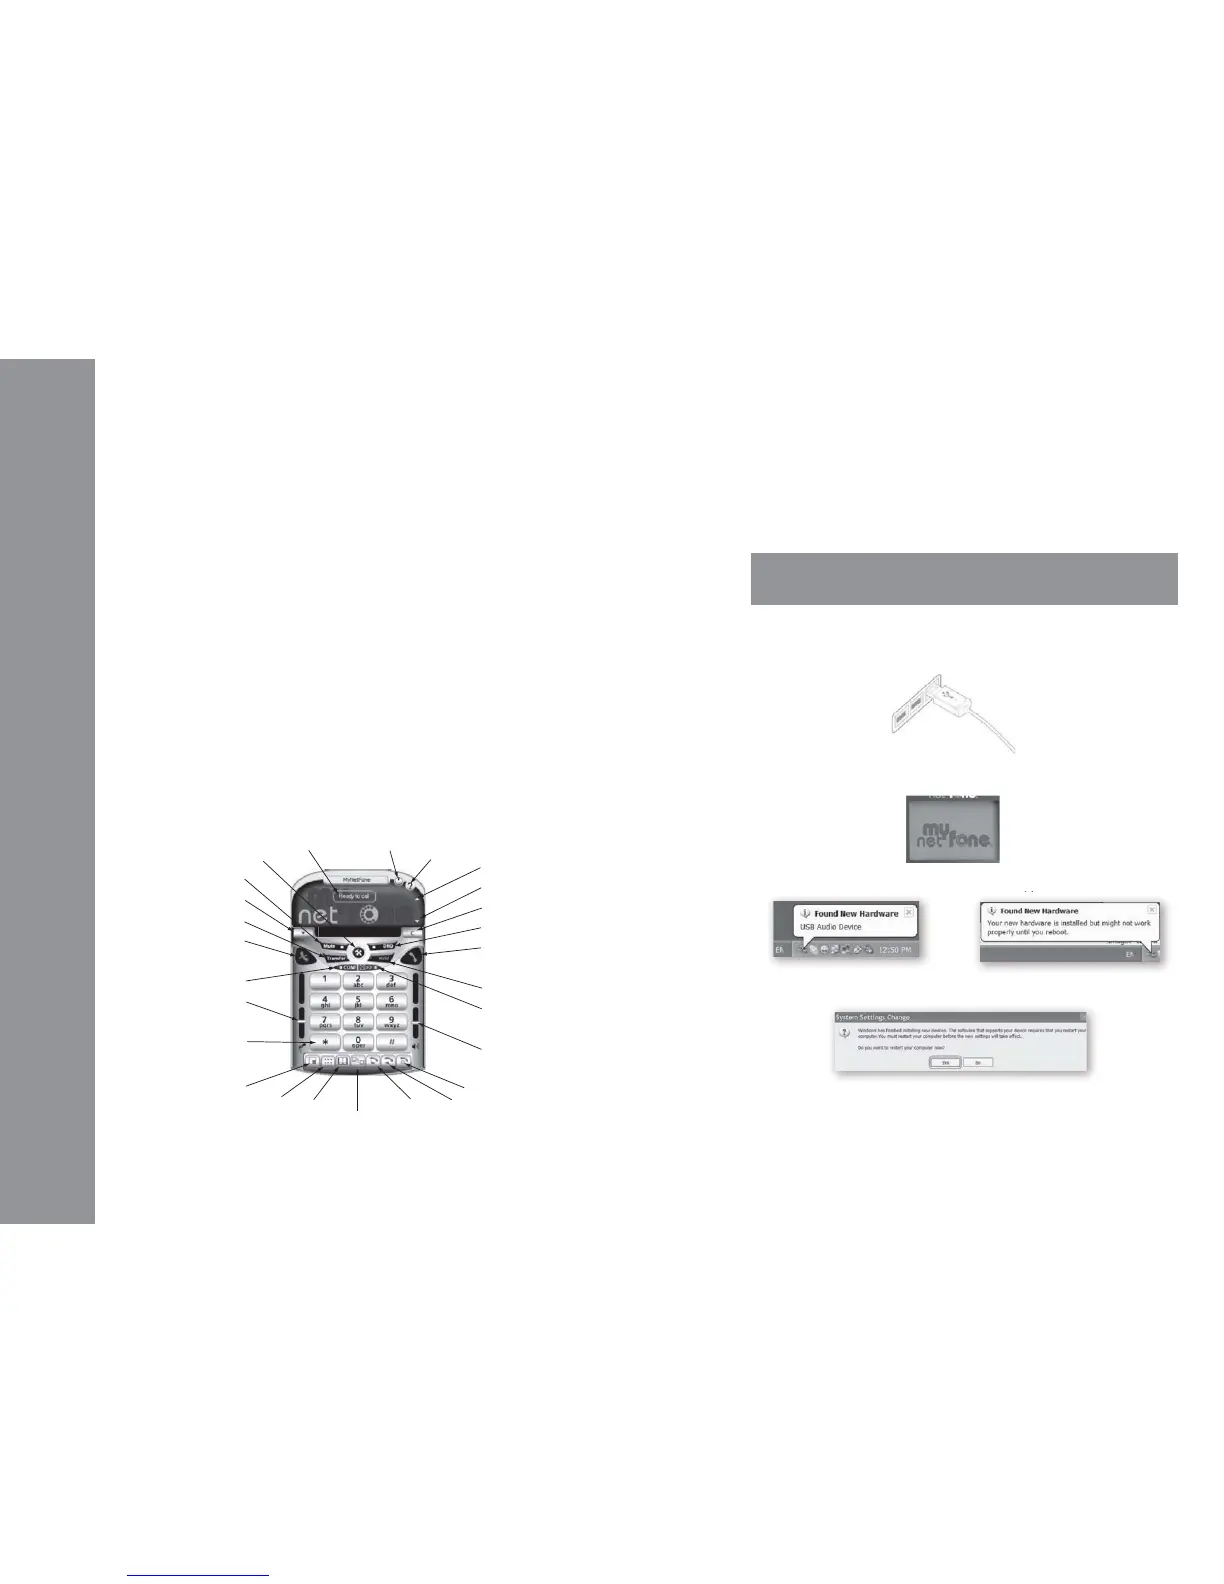
3.3 Main Panel
The MyNetFone Soft Phone provides an easy-to-use panel allowing for
quick access to both basic and advanced calling features.
An illustration of the MyNetFone Soft Phone Main Panel is shown below:
Minimize
Help
Scroll Up
Scroll Down
Clear Button
DND
Do Not Disturb
Dial Button
Hold Button
Voice Mail Button
Speaker Slider
click to start a call
click to listen your
Voicemail
drag up/down to adjust
volume
Missed Number
Received
Number
Dialed
NumberNeighborhood
Phone
Book
Dial
Pad
Compact
Mute Button
Dial History
Transfer Button
Hang-up Button
Conference Button
Microphone Slider
Numeric Keypad
click on digits to enter
phone number
drag up/down to adjust
microphone
click to end a call
Options Button
Call Status
• After a while [in a short moment], a pop up window should appear as below:
• Please click “Yes” to restart your PC to take effect the new settings.
• Connect MyNetFone USB VoIP Phone into the PC’s USB port.
• When the USB VoIP Phone is connected to PC, the LCD shows as following:
• A “Found New Hardware” message box should appear
5 Connect the USB VoIP Phone
 Loading...