Receiver’s functioning
• Receiver is supplied with 2/4 relays outputs with one/two common contacts (Please check wiring diagram); common contact must
be connected to positive or negative pole, according to the polarity of the load connected;
• In order to avoid overload due to short circuit, put in a 3 A fuse.
• When you turn on the receiver, the green led LINE turns on and after 1 sec. the red led for programming turns on as well.
• The red led keeps turned on for about 15 sec., during this time the receiver is enabled to receive a new transmitter’s code and to
memorize it. It is possible to store up to 5 transmitters at the same time; whenever more than 5 transmitters are memorized, the
receiver accepts the latest code cancelling the first code received. When the red led is turned off you cannot make any TX
memorizing procedure;
• The pressure of one button on the transmitter turns on the corresponding yellow led on the receiver and the operating of the
output that is concerned;
Programming Procedure
• After powering the receiver when the red led is turned on steady follow these steps:
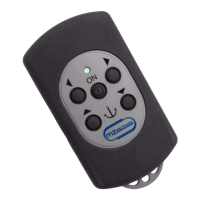
1. Turn the new transmitter on, pressing the button ON;
2. Keep the button UP pressed (it is on the left for the 2 channels version, or at the bottom on the left for the 4
channels version;
3. Press the button PROGR on the receiver;
4. Release the button UP of the transmitter;
5. If the code has been recognized the led blinks in succession four times, then it turns off in order to confirm that the
new transmitter has been memorized;
6. Verify the correct functioning of the new transmitter ;
• In order to add a new transmitter to a device that you already use, turn the receiver on and follow this procedure:
• Press and keep pressed the button PROG on the receiver as long as the red led turns on, then release it.
• Repeat the procedure starting from step 1
Battery replacement
• Unscrew the 6 screws on the transmitter’s back and take the rear part of the box away;
• Replace the batteries employing exclusively 1.5V AAA batteries. Pay attention in respecting polarity; reversing batteries doesn’t
damage the transmitter, but stops its functioning;
• Position the rear cover and screw the 6 closing screws.
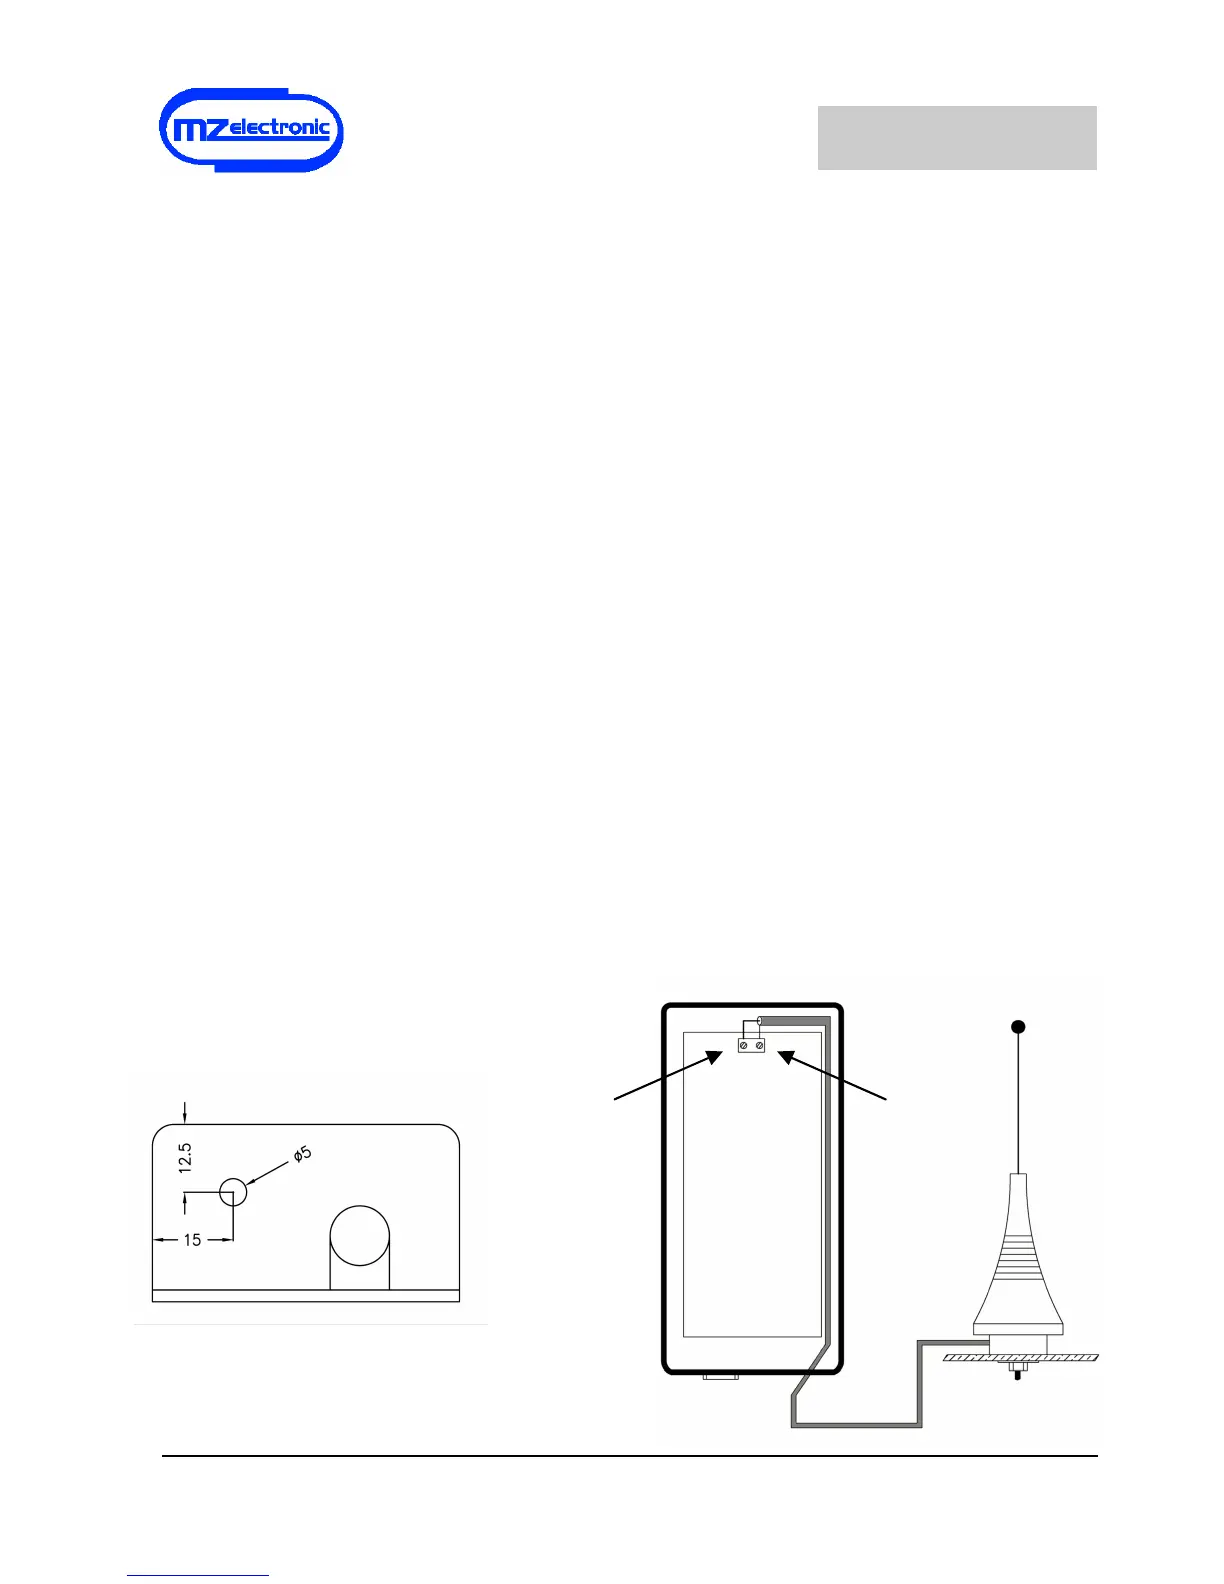
Connecting the optional external antenna
• Make a 5 mm hole in the lower part of the receiver (on the right side of the hole of the connection cable) as shown in the picture 1;
• Open the receiver and remove the internal antenna from the terminal board;
• Run the cable of the external antenna in the hole already made and connect it to the terminal board: the cable shield must be
connected to the right contact, and the radio signal wire to the left contact (Figure 2):
• Close the receiver and fix the antenna to the boat loom employing the flat washer and the nut given in equipment.
 Loading...