Page 3 of 3
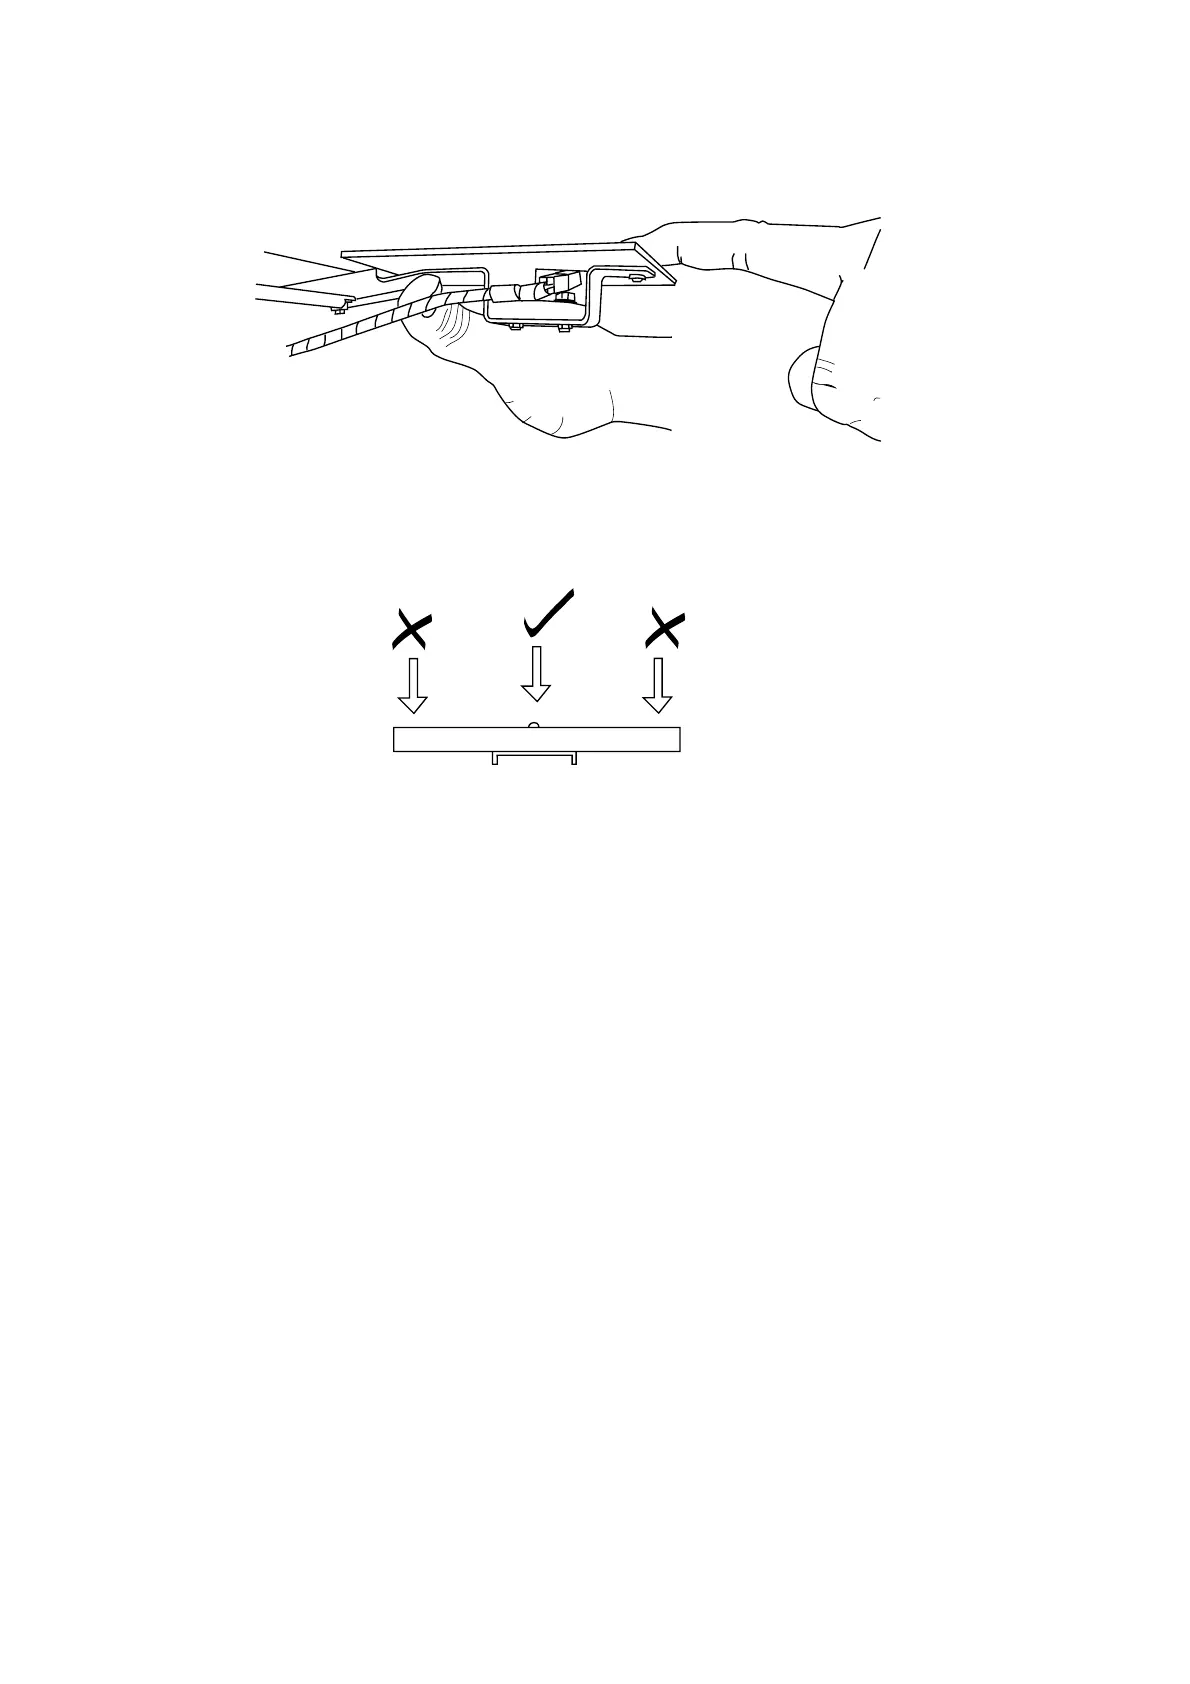
5. If the Target needs adjusting, bend downwards by placing a thumb underneath the
rear of the target and pressing down at the front.
Note:Take care when bending the target not to twist it.
6. Refit the Target Assembly to the cabinet.
7. Operate the Target Solenoid by hand and check that the Photo Sensor is clear of the
Target Cover by 5~10mm.
8. Refit the Upper Rear Door and test the game. (Refer to section 6-3 page 42 of the
Operators Manual)
 Loading...