
I
isaiah42Aug 10, 2025
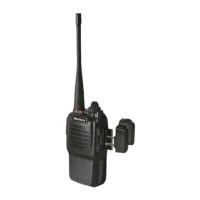
How to fix Nanfone Transceiver when it has no power?
- GgwilliamsAug 10, 2025
If your Nanfone Transceiver has no power, the battery may be exhausted. Recharge or replace the battery pack. Also, check if the battery pack is installed correctly and reinstall it if necessary.