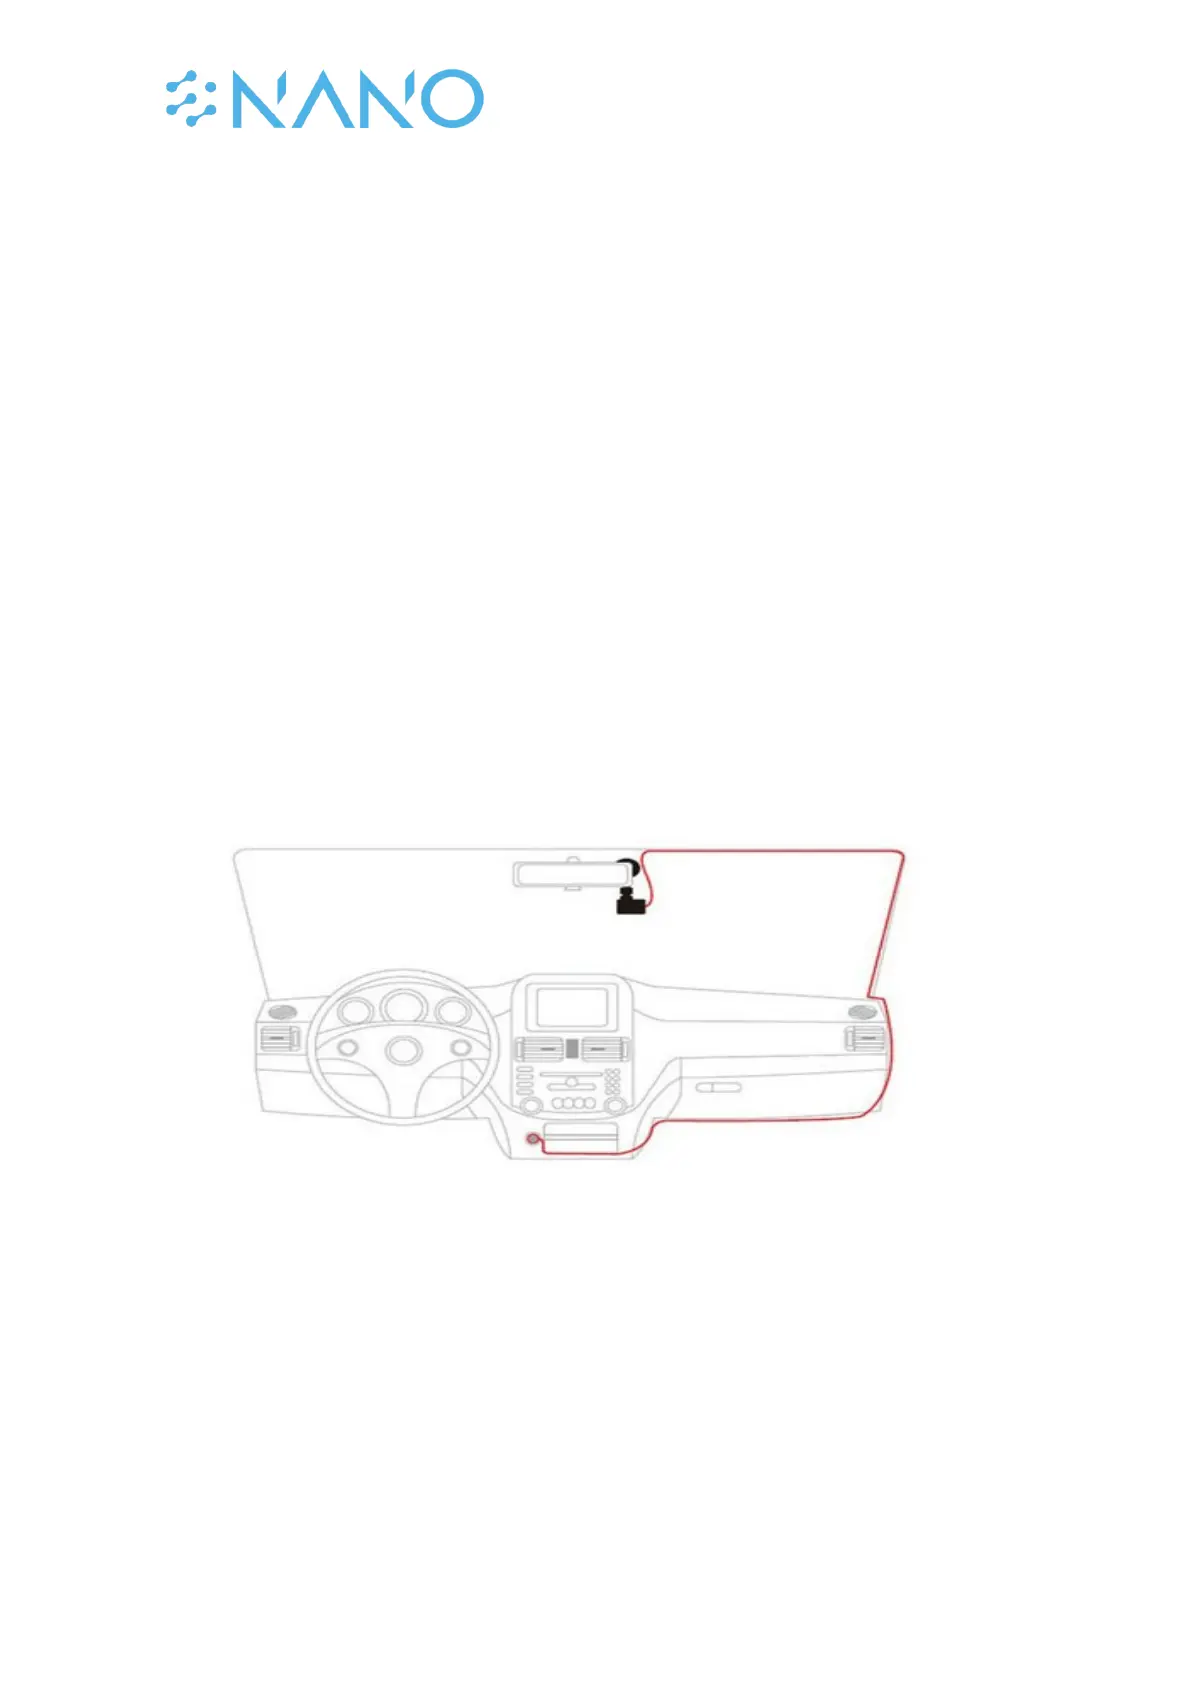
Installation
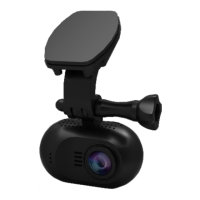
1. Fixing the camera to the window mount
It is compulsory for the window mount to be fixed up before using the device in a car. Make
sure that you place the recorder in an appropriate place, so as not to obstruct the driver’s
view.
2. Connecting charger to the cigarette lighter
The dashcam is fitted with a small 150mAh battery that is mainly used for storage of menu
settings (date, time etc.) while the camera is off. It can also supply power for a short time
(i.e. a video of 30 seconds) when using the Parking mode. The battery is not sufficient to use
the dashcam for extended periods of time. Therefore, the dashcam should always be
connected to the car’s power for usage.
Connect the car charger’s jack to the charging port in your car and then plug the USB port in
the dashcam. For usage outside the car, you may connect the dashcam with a USB cable to
the power grid at home via a USB plug like the one you use to charge a mobile phone.
Note: Some newer car models have built-in USB ports. There are not always suitable to use
for a dashcam. Most USB ports supply only 0.5A power whereas the dashcam requires at
least 1.0A.
3. Hardwire installation
You can also use the advised Mini USB Hardwire kit to power the dashcam via the car’s
battery. This way it’s possible to power the dashcam with the car’s ignition off and this
enable you to use the Parking mode.
4. Inserting a memory card
You have to insert a memory card before you can start recording. The recorder supports
Micro SD cards with up to 64gb capacity. You are advised to use a Class 10 memory card
with at least 16gb capacity. Turn off the device before inserting or removing the SD card, as
not doing so may cause loss of video material or damage of the SD card.