English-7
English
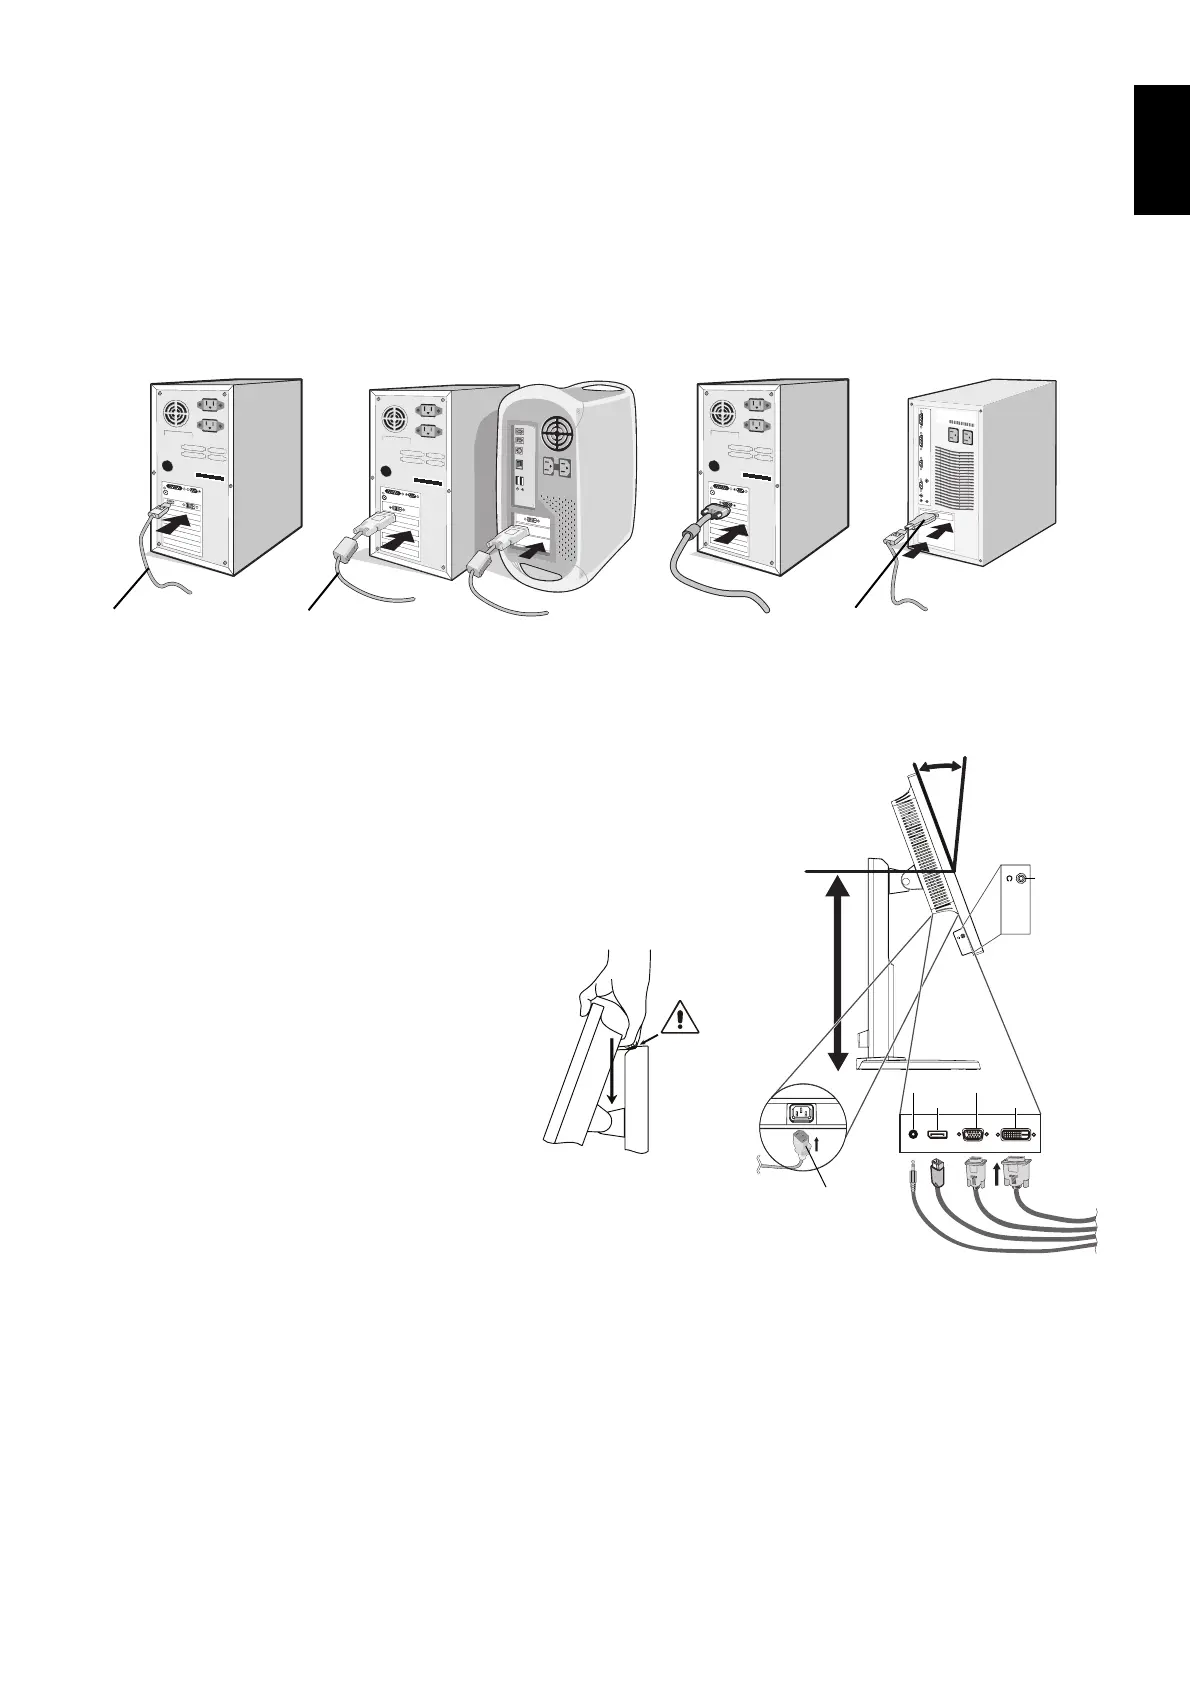
Figure C.1
* E233WM only.
Power cord
20° Tilt
DisplayPort DVI
D-SUB
Highest
Stand
Position
Audio Input*
Headphone*
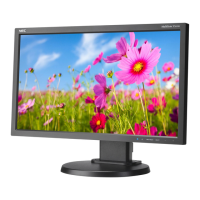
To connect the LCD monitor to your system, follow these instructions:
NOTE: Make sure to read “Recommended Use” (page 4) before installation.
1. Turn off the power of your computer.
2. For a PC with DisplayPort output: Connect the DisplayPort cable to the connector of the display card in your system
(Figure A.1).
For a PC or MAC with DVI digital output: Connect the DVI signal cable to the connector of the display card in your system
(Figure A.2). Tighten all screws.
For a PC with Analog output: Connect a 15-pin mini D-SUB signal cable to the connector of the display card in your
system (Figure A.3).
For a MAC with Thunderbolt output: Connect a Mini DisplayPort to DisplayPort adapter (not included) to the computer,
then attached the included DisplayPort cable to the adapter and to the display (Figure A.4).
Figure A.1
Figure A.3
Figure A.2
Figure A.4
DisplayPort cable DVI cable
Macintosh Cable Adapter (not included)
Macintosh Cable Adapter (not included)
NOTE: 1. When removing the DisplayPort cable, hold down the top button to release the lock.
2. Please use a DisplayPort Certifi ed DisplayPort cable.
3. Place hands on each side of the monitor to tilt the LCD panel 20-degree angle and lift up
to the highest position.
4. Connect all cables to the appropriate connectors (Figure C.1).
NOTE: Incorrect cable connections may cause abnormal operation, damage display
quality/components of LCD module and/or shorten the module’s life.
Use an audio cable without a built-in resistor. Using an audio cable with
a built-in resistor turns down the sound*.
CAUTION: To raise or lower screen, place a hand on each
side of the monitor and lift or lower to the desired
height. When you use handle to lower screen,
you might pinch your fi ngers.