EasyManua.ls Logo

NeoMounts FPMA-D550DBLACK User Manual

NeoMounts FPMA-D550DBLACK
8 pages
To Next Page IconTo Next Page
Page #1 background imageLoading...
Page #1 background image
FPMA-D550DBLACK
114mm
100mm
75mm
443mm
105mm
min10mm-max88mm
75mm
100mm
114mm
140mm
38mm
185mm
36mm
IT
EN
NL
DE
FR
ES
PT
DK
Monitor desk mount
Monitor bureausteun
Monitor Tischhalterung
Support moniteur de bureau
Supporto da scrivania per monitor
Soporte de escritorio para monitor
Suporte de mesa para monitor
Bordbeslag skærm
NO
SE
FI
PL
CS
SK
RO
Bordstativ til skjerm
Skrivbordsfäste för bildskärm
Näytön pöytäteline
Uchwyt nabiurkowy do monitora
Stolní držák monitoru
Držiak na monitor
Suport de birou pentru monitor
WWW.NEOMOUNTS.COM
INSTRUCTION MANUAL
Question and Answer IconNeed help?

Do you have a question about the NeoMounts FPMA-D550DBLACK and is the answer not in the manual?

NeoMounts FPMA-D550DBLACK Specifications

General IconGeneral
BrandNeoMounts
ModelFPMA-D550DBLACK
CategoryRacks & Stands
LanguageEnglish

Summary

Step 1: Install Decorative Cover

Place Decorative Cover

Install the decorative cover to complete the initial setup of the mount.

Step 2 A: Mount Clamp to Desk

Mount Clamp to Rod and Desk

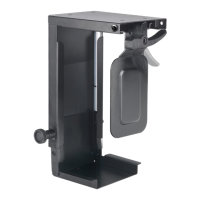
Secure the clamp mechanism to the main rod and attach it to the desk surface.

Step 2 B: Install Grommet Mount

Install Grommet Mount

Mount the grommet to the rod and install it through a desk opening for mounting.

Step 3: Attach Arm and Adjust Height

Attach Arm and Tighten

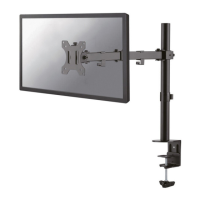
Connect the monitor arm to the rod, set the desired height, and secure it tightly.

Step 4: Attach VESA Plate to Monitor

Attach VESA Plate

Secure the VESA mounting plate to the back of your monitor for attachment.

Option: Use Spacers

Use Spacers if Necessary

Utilize provided spacers if needed to ensure proper VESA plate alignment with the monitor.

Step 5: Attach Screens to Bracket

Attach Screens and Secure

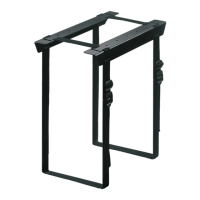
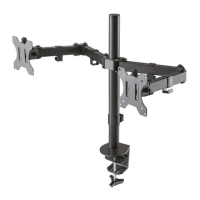
Mount the monitors onto the bracket and ensure they are firmly secured in place.

Step 6: Cable Management

Cable Routing and Tool Storage

Organize cables using clips and store Allen keys in the designated slot for future use.

Step 7: Final Position Adjustment

Adjust Mount Position

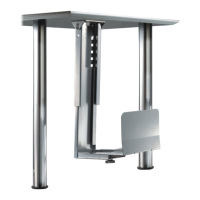
Position the mount and displays to the desired ergonomic viewing angle and location.

General Safety Precautions

Safety Warnings and Precautions

Important safety guidelines, installation warnings, and handling precautions for safe product use.

Related product manuals