Do you have a question about the NeoMounts FPMA-D700DD3 and is the answer not in the manual?
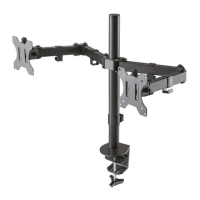
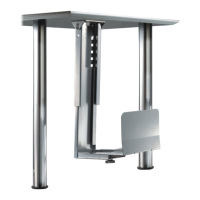
Lists all components included in the Neomounts FPMA-D700DD3 package for assembly.
Instructions for installing the grommet through the desk and connecting it to the rod.
Procedure for securely attaching the main support rod to the base of the stand.
Guidance on connecting the crossbars with the intermediate piece for the stand assembly.
Attaching the crossbar to the rod and fitting the decorative cover.
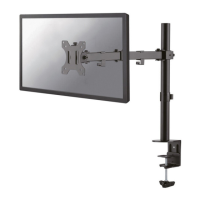
Instructions for mounting the VESA plates onto the monitors.
Guidance on how to mount the monitors onto the assembled stand.
Instructions for adjusting the torque settings on the monitor mount.
Steps for managing cables and positioning the screens.
Important safety instructions and precautions to ensure safe installation and use of the product.
| Category | Racks & Stands |
|---|---|
| Model | FPMA-D700DD3 |
| Type | Desk Mount |
| VESA Compatibility | 75x75 mm, 100x100 mm |
| Height Adjustment | Yes |
| Colour | Black |
| Number of Displays Supported | 2 |
| Cable Management | Yes |
| Maximum Screen Size | 27 inches |
| Tilt Range | 15 degrees |
| Swivel | 180° |
| Material | Steel |
| Mounting Type | Desk clamp, Grommet mount |
| Rotation | 360 degrees |